Submit your project
You and your project could be featured on the show earning you cool prizes from our sponsors. Check out past WAYWO features below.
"What Are You Workin' On?" Partners
Heck Industries was established in 1966 as an inventor and manufacturer of unique cost saving metal working machinery.We soon became the world leader in plate beveling machines.
What Are You Workin' On?
Season 20: Episode 6
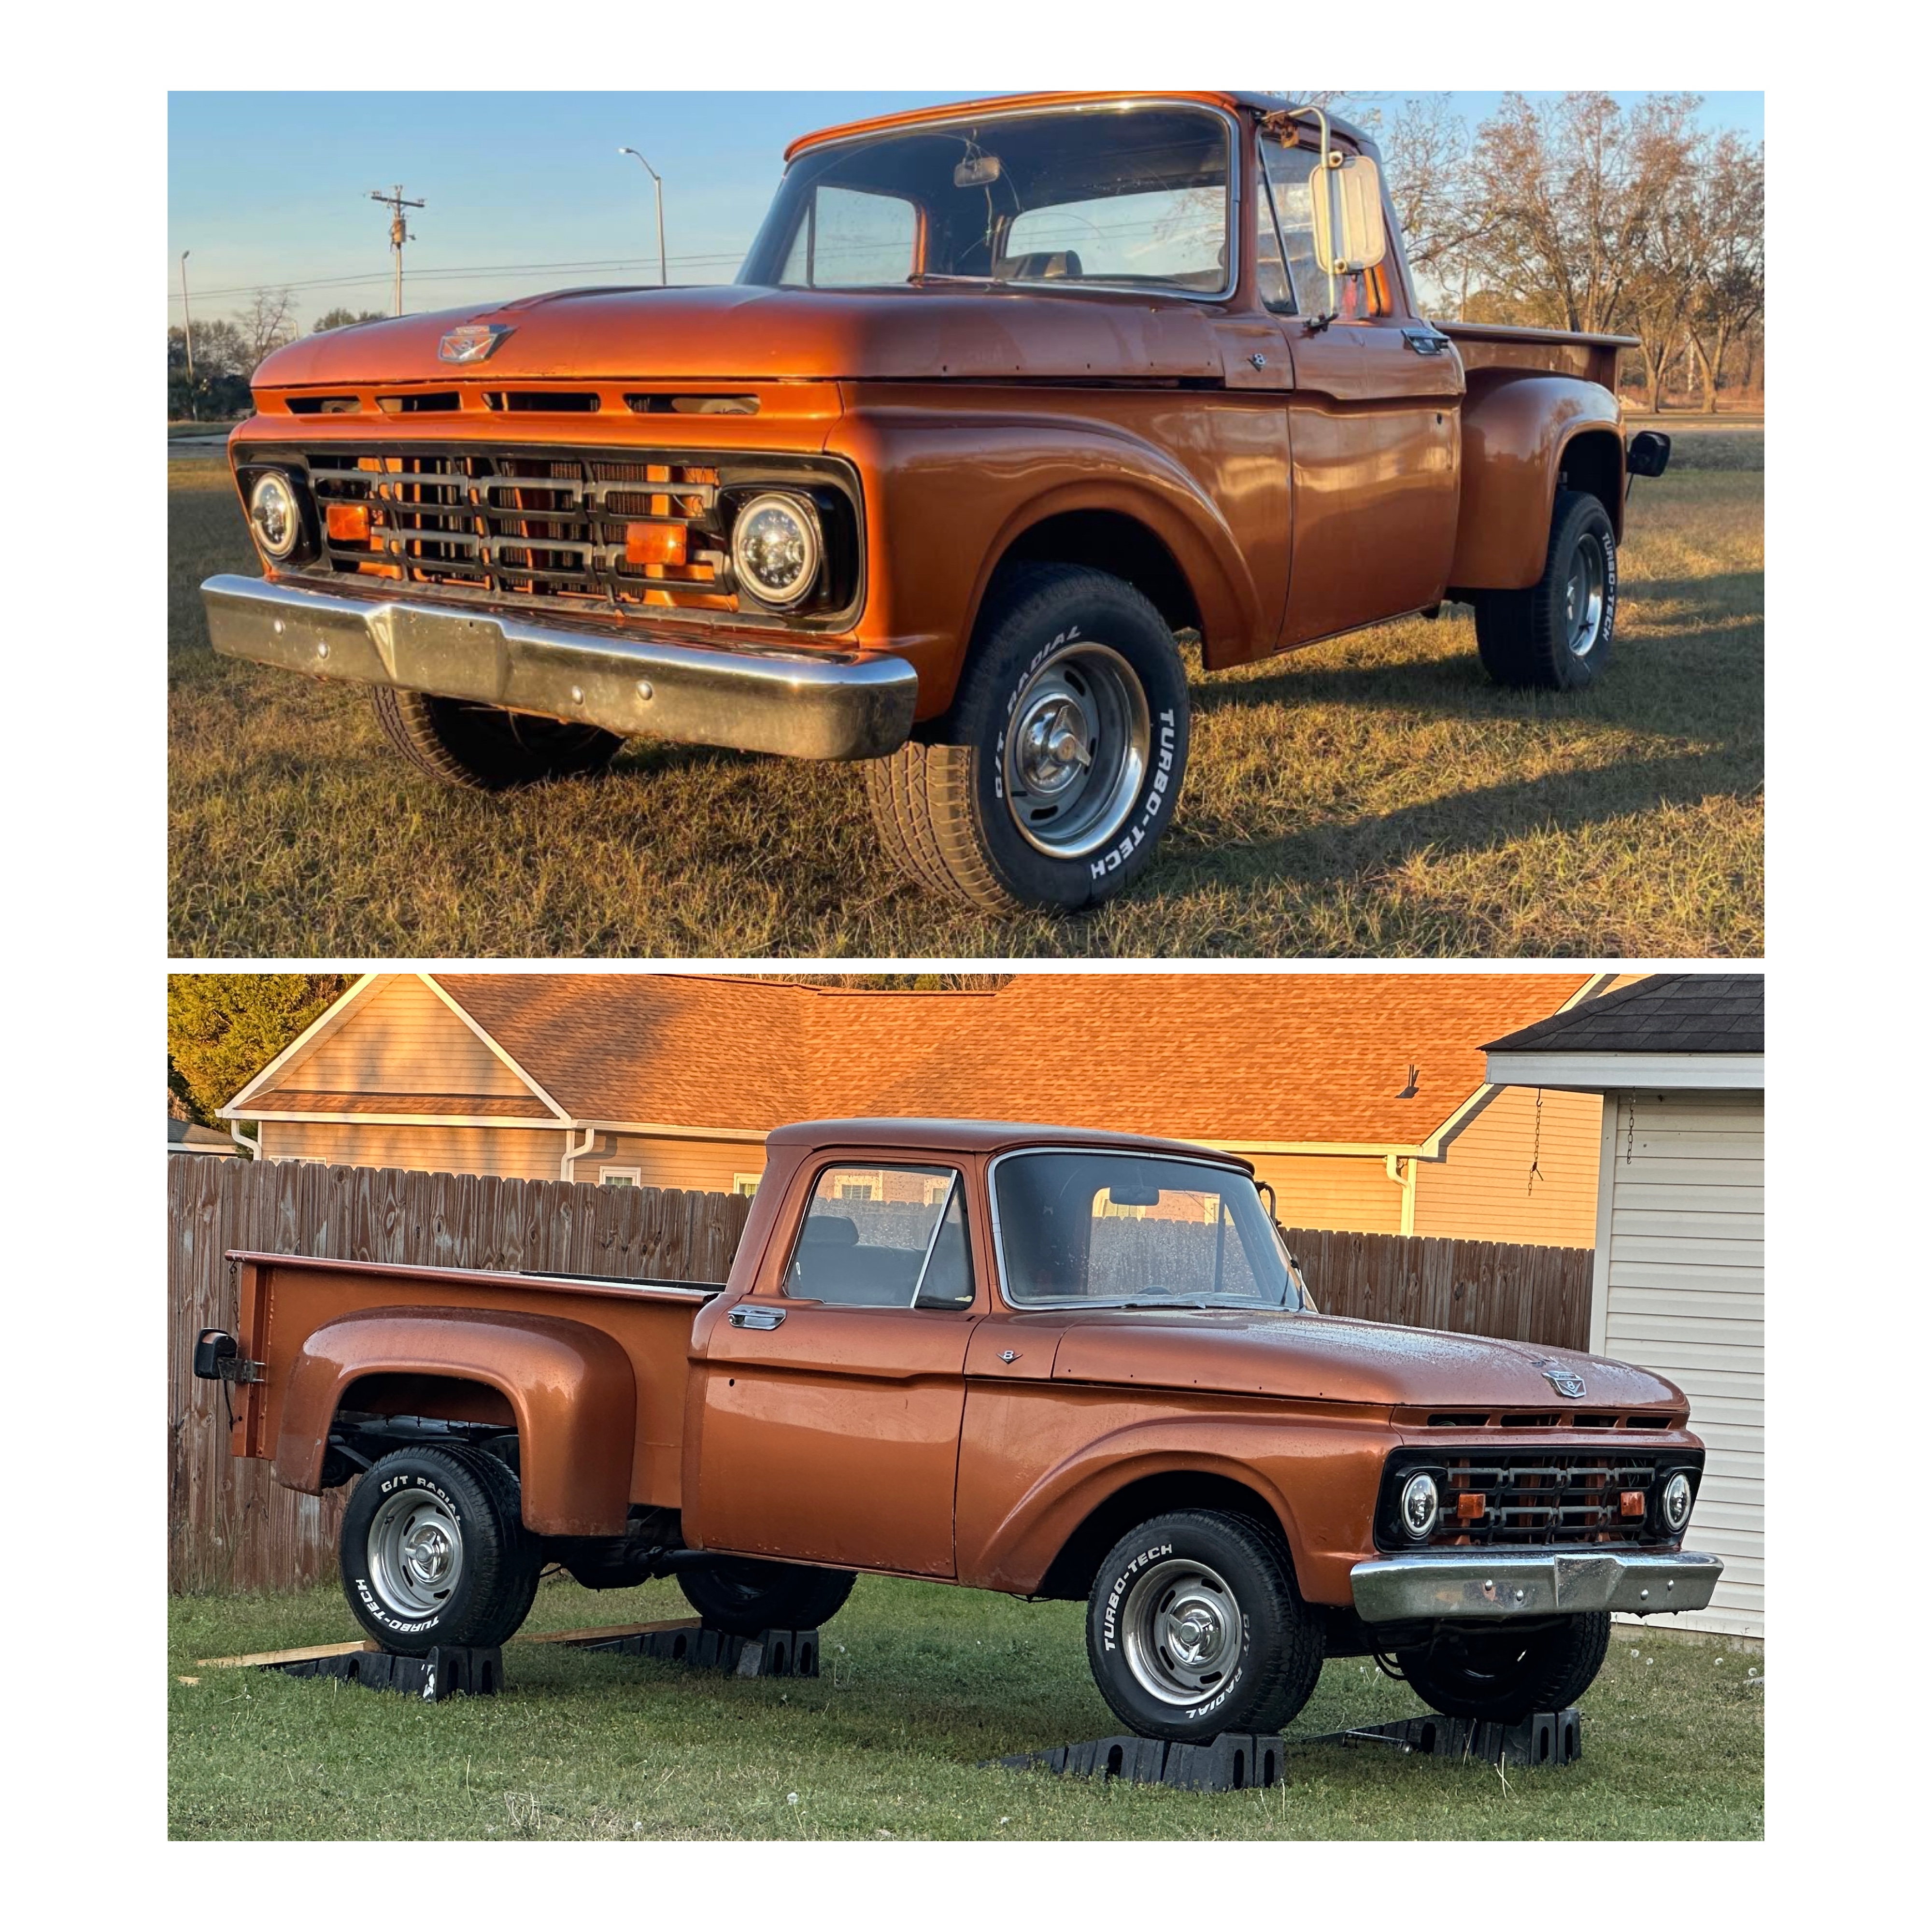
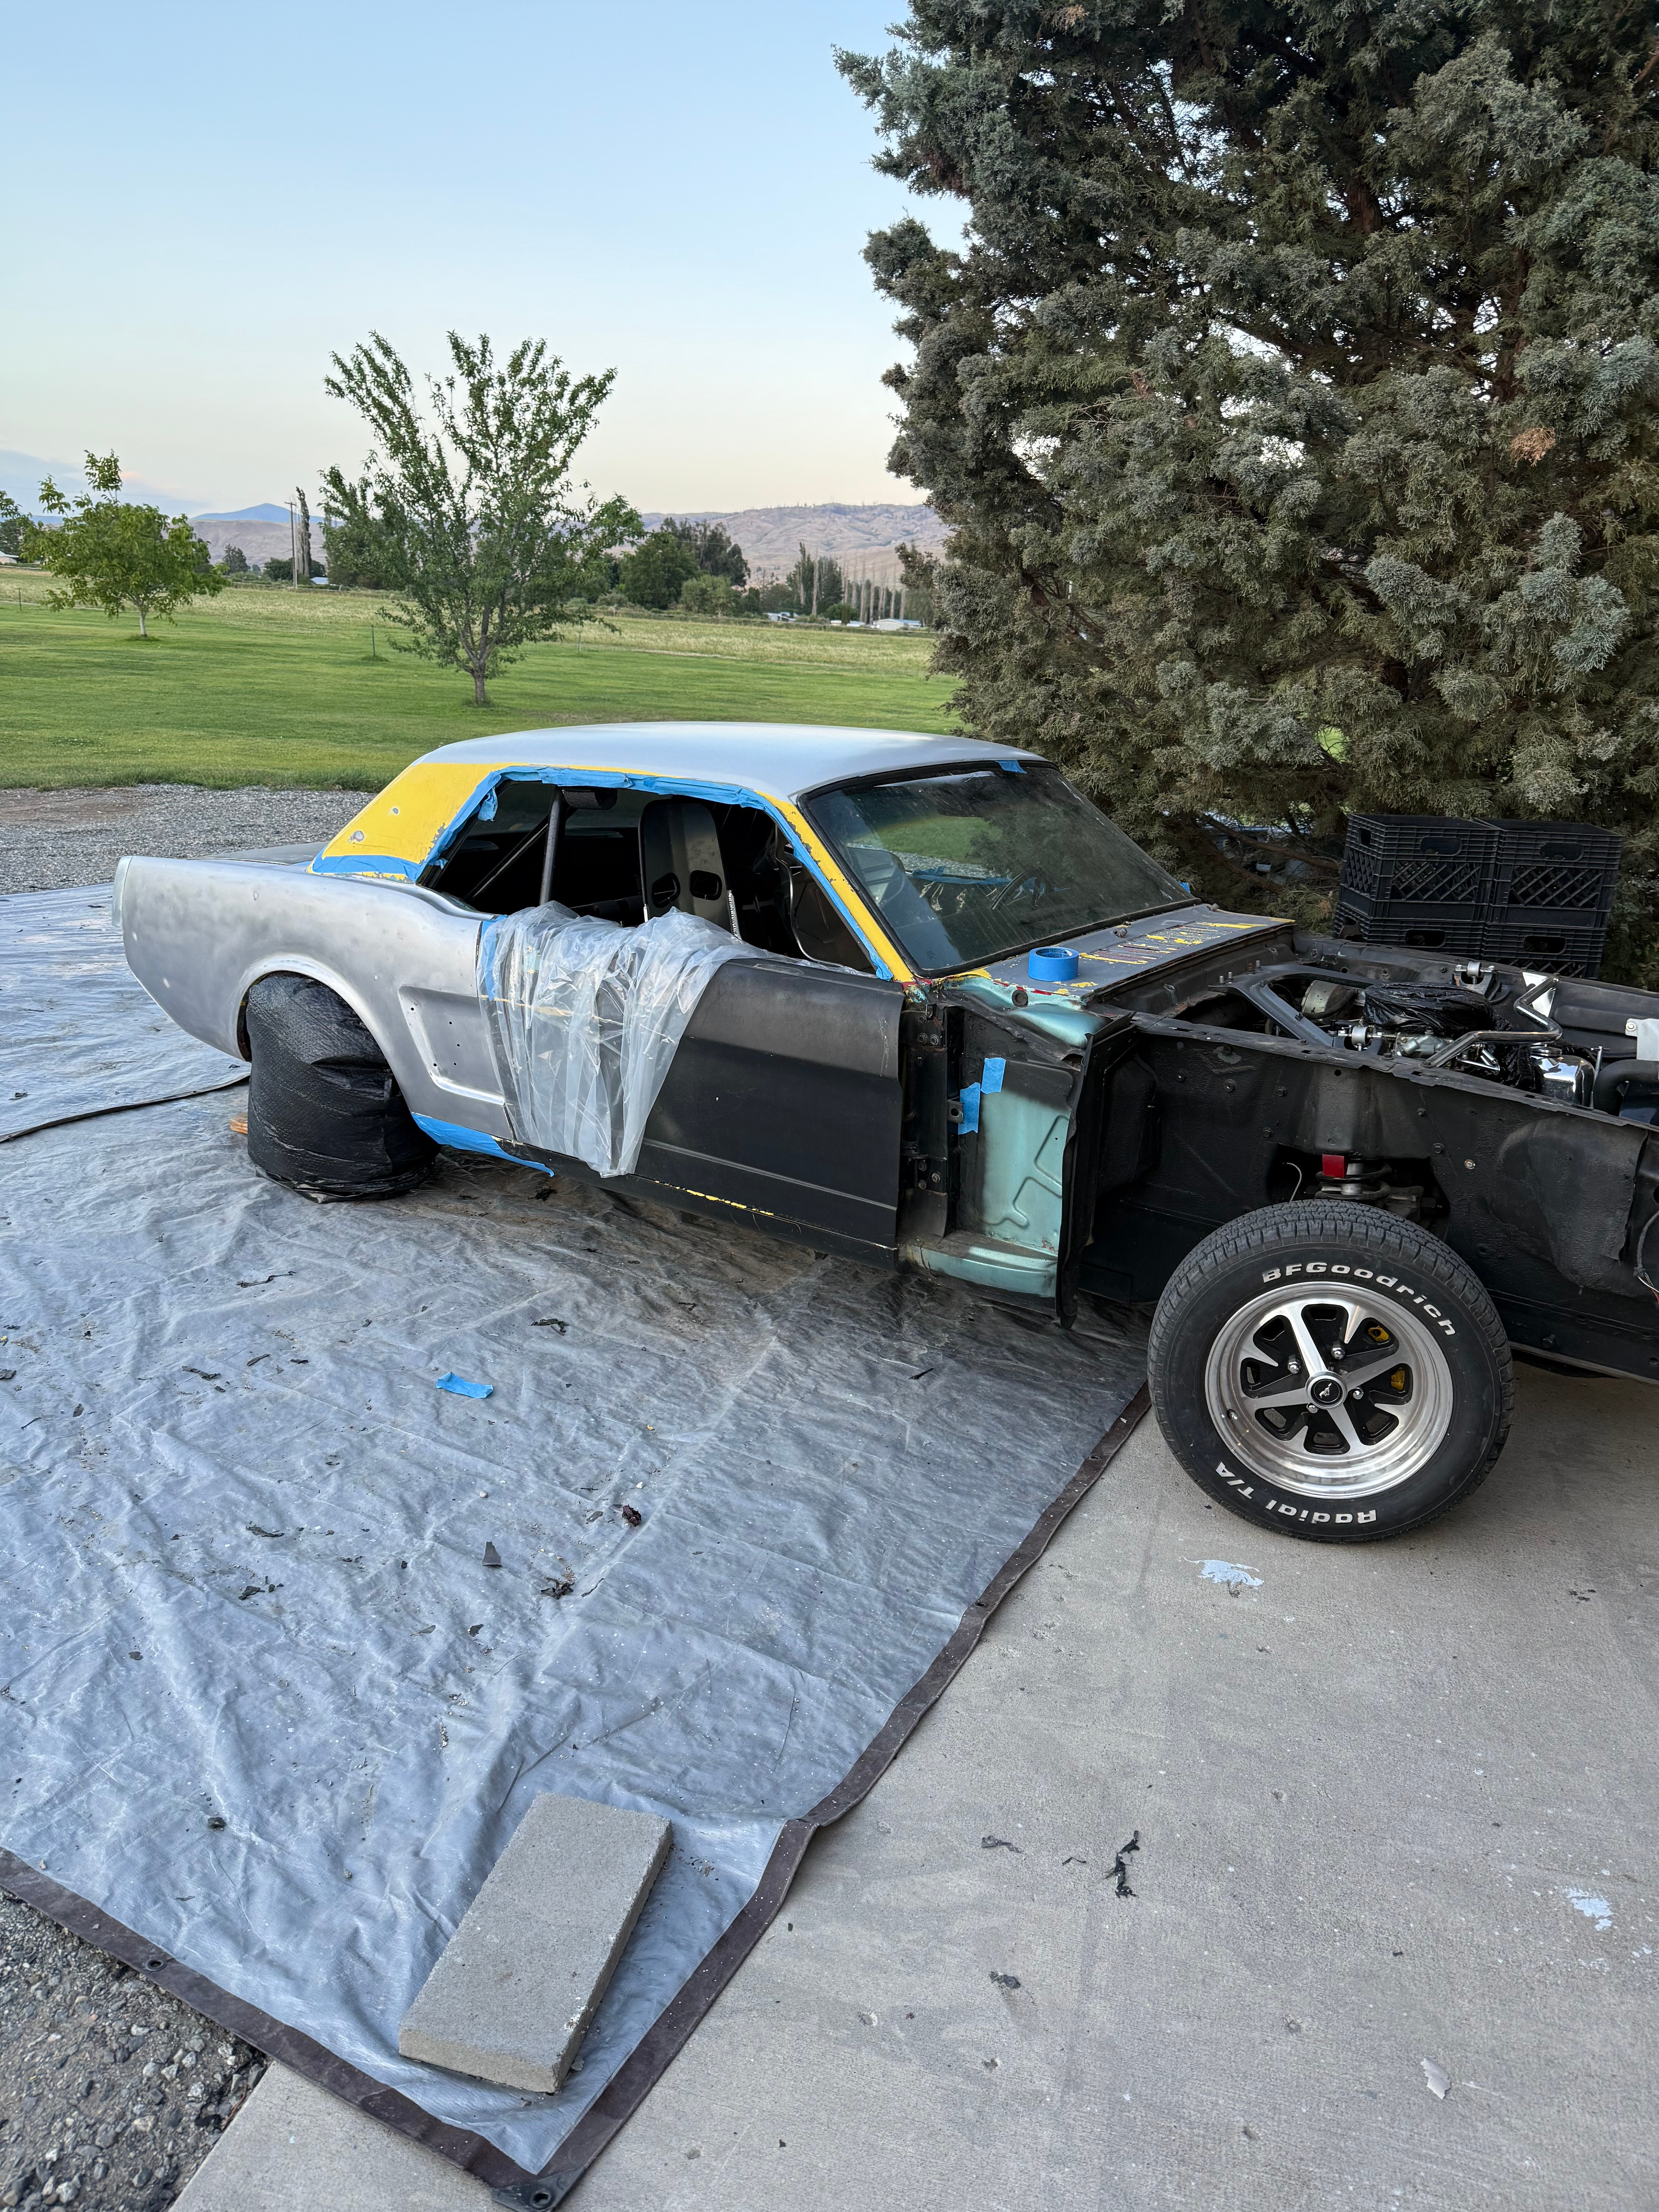
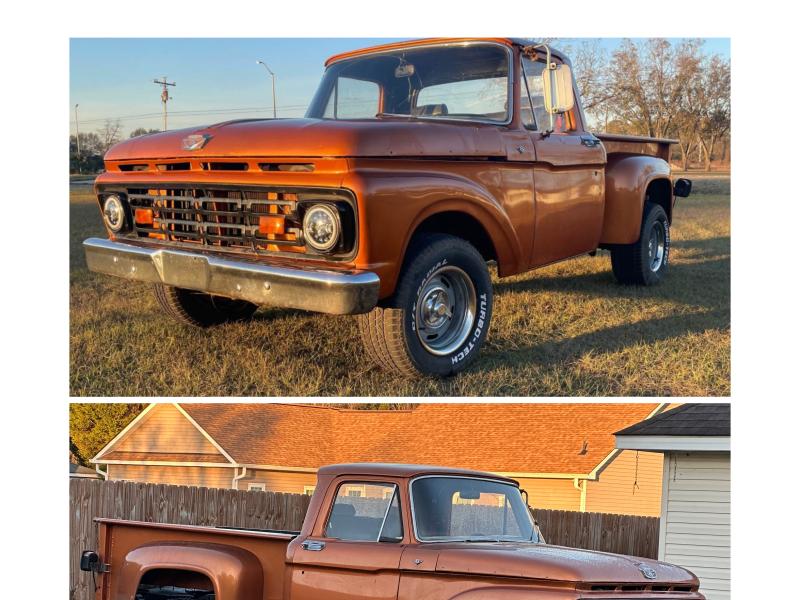
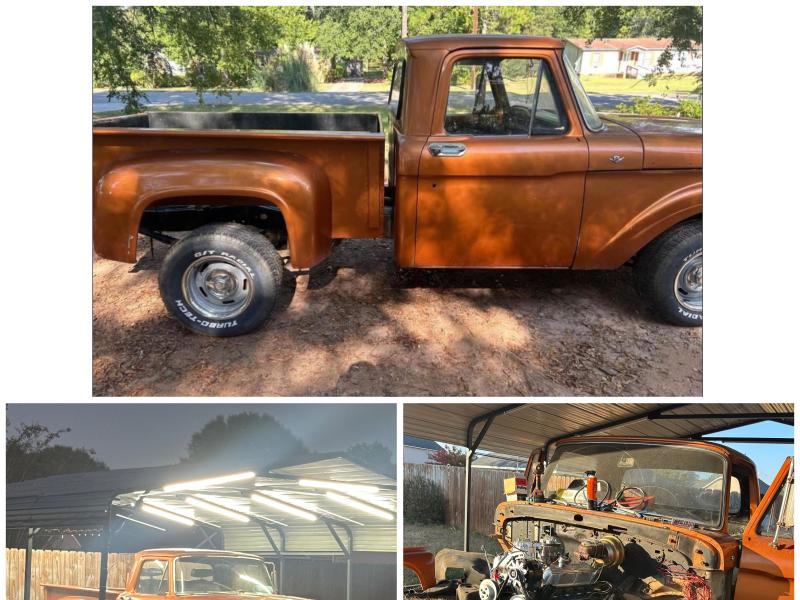
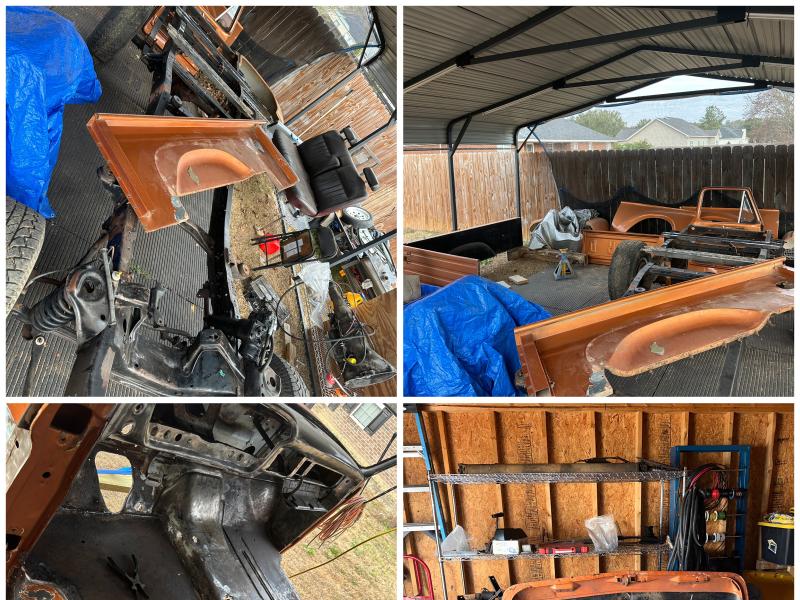
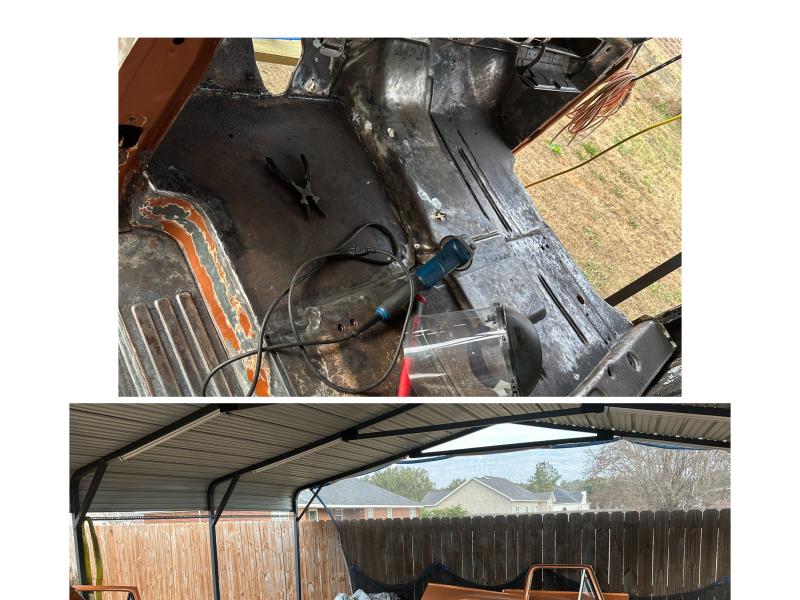
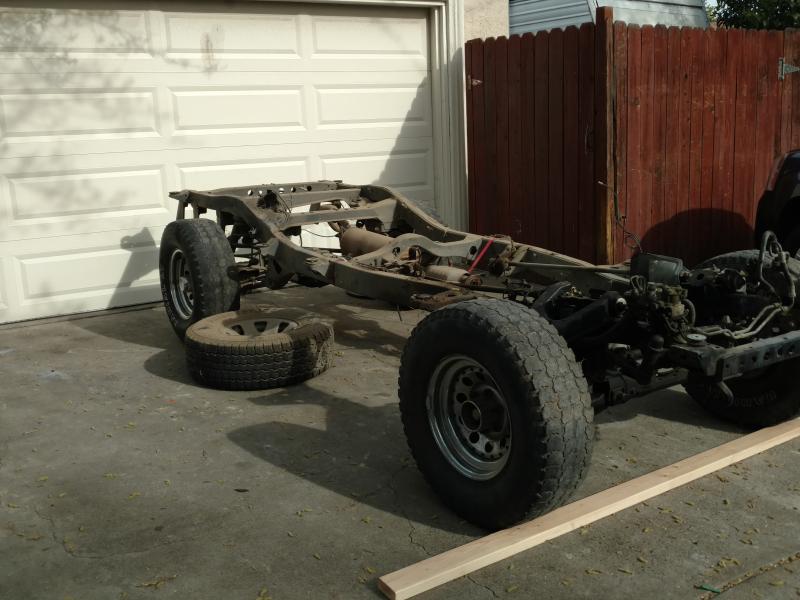
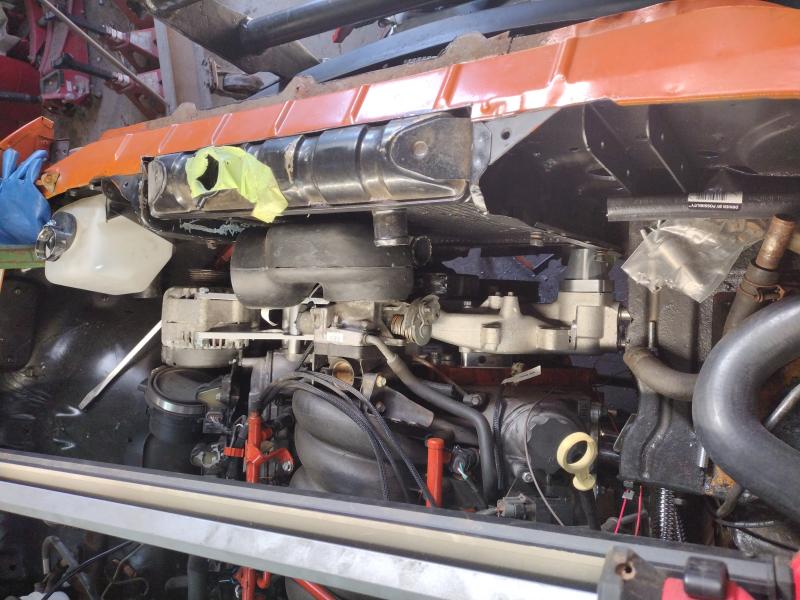
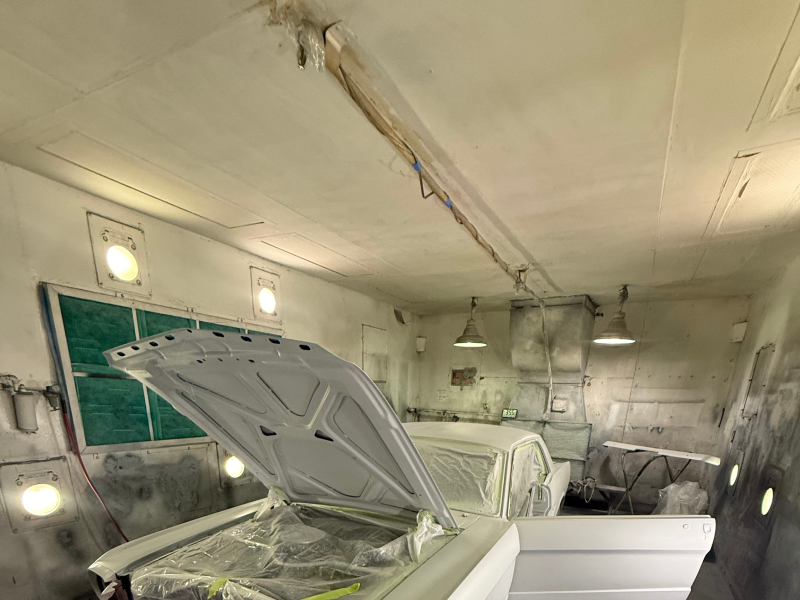
Christian Hadaway | Brooklet, GA 30415From the time I was a child, I’ve always had a love for cars, trucks and motorcycles. I stripped and fully rebuilt a 96 F-150 with my daughter before having to sell it because of needing funds for life changes. Since then, I’ve rebuilt and painted a 2007 Honda VTX1300 as well as custom built an insanely fast 235hp 2006 Suzuki Hayabusa. Since I got remarried and now have 6 kids, I get to share my passion with them and they all love it! I picked up this ‘63 F100 in May as a quick refresher project so we could enjoy cruising around in a classic truck. However, in starting the refresh of it a multitude of issues were found resulting in the need to do a full tear down so it can be fixed and restored properly.
It currently has a cammed 302 from an 89 Mustang, a C6 transmission, and a 9” rear axle which all had leaks. The brakes are nonexistent, the steering was a guessing game of when the gear box would grab, the suspension made it feel like you were riding a horse carriage, the wiring was a nightmare, and the biggest issue of all was finding all the rust and metal work that was repaired simply by being hidden with gallons of body filler. It has turned into a major job, but with all the kids by my side it will all be worth it in the end because of the memories made.
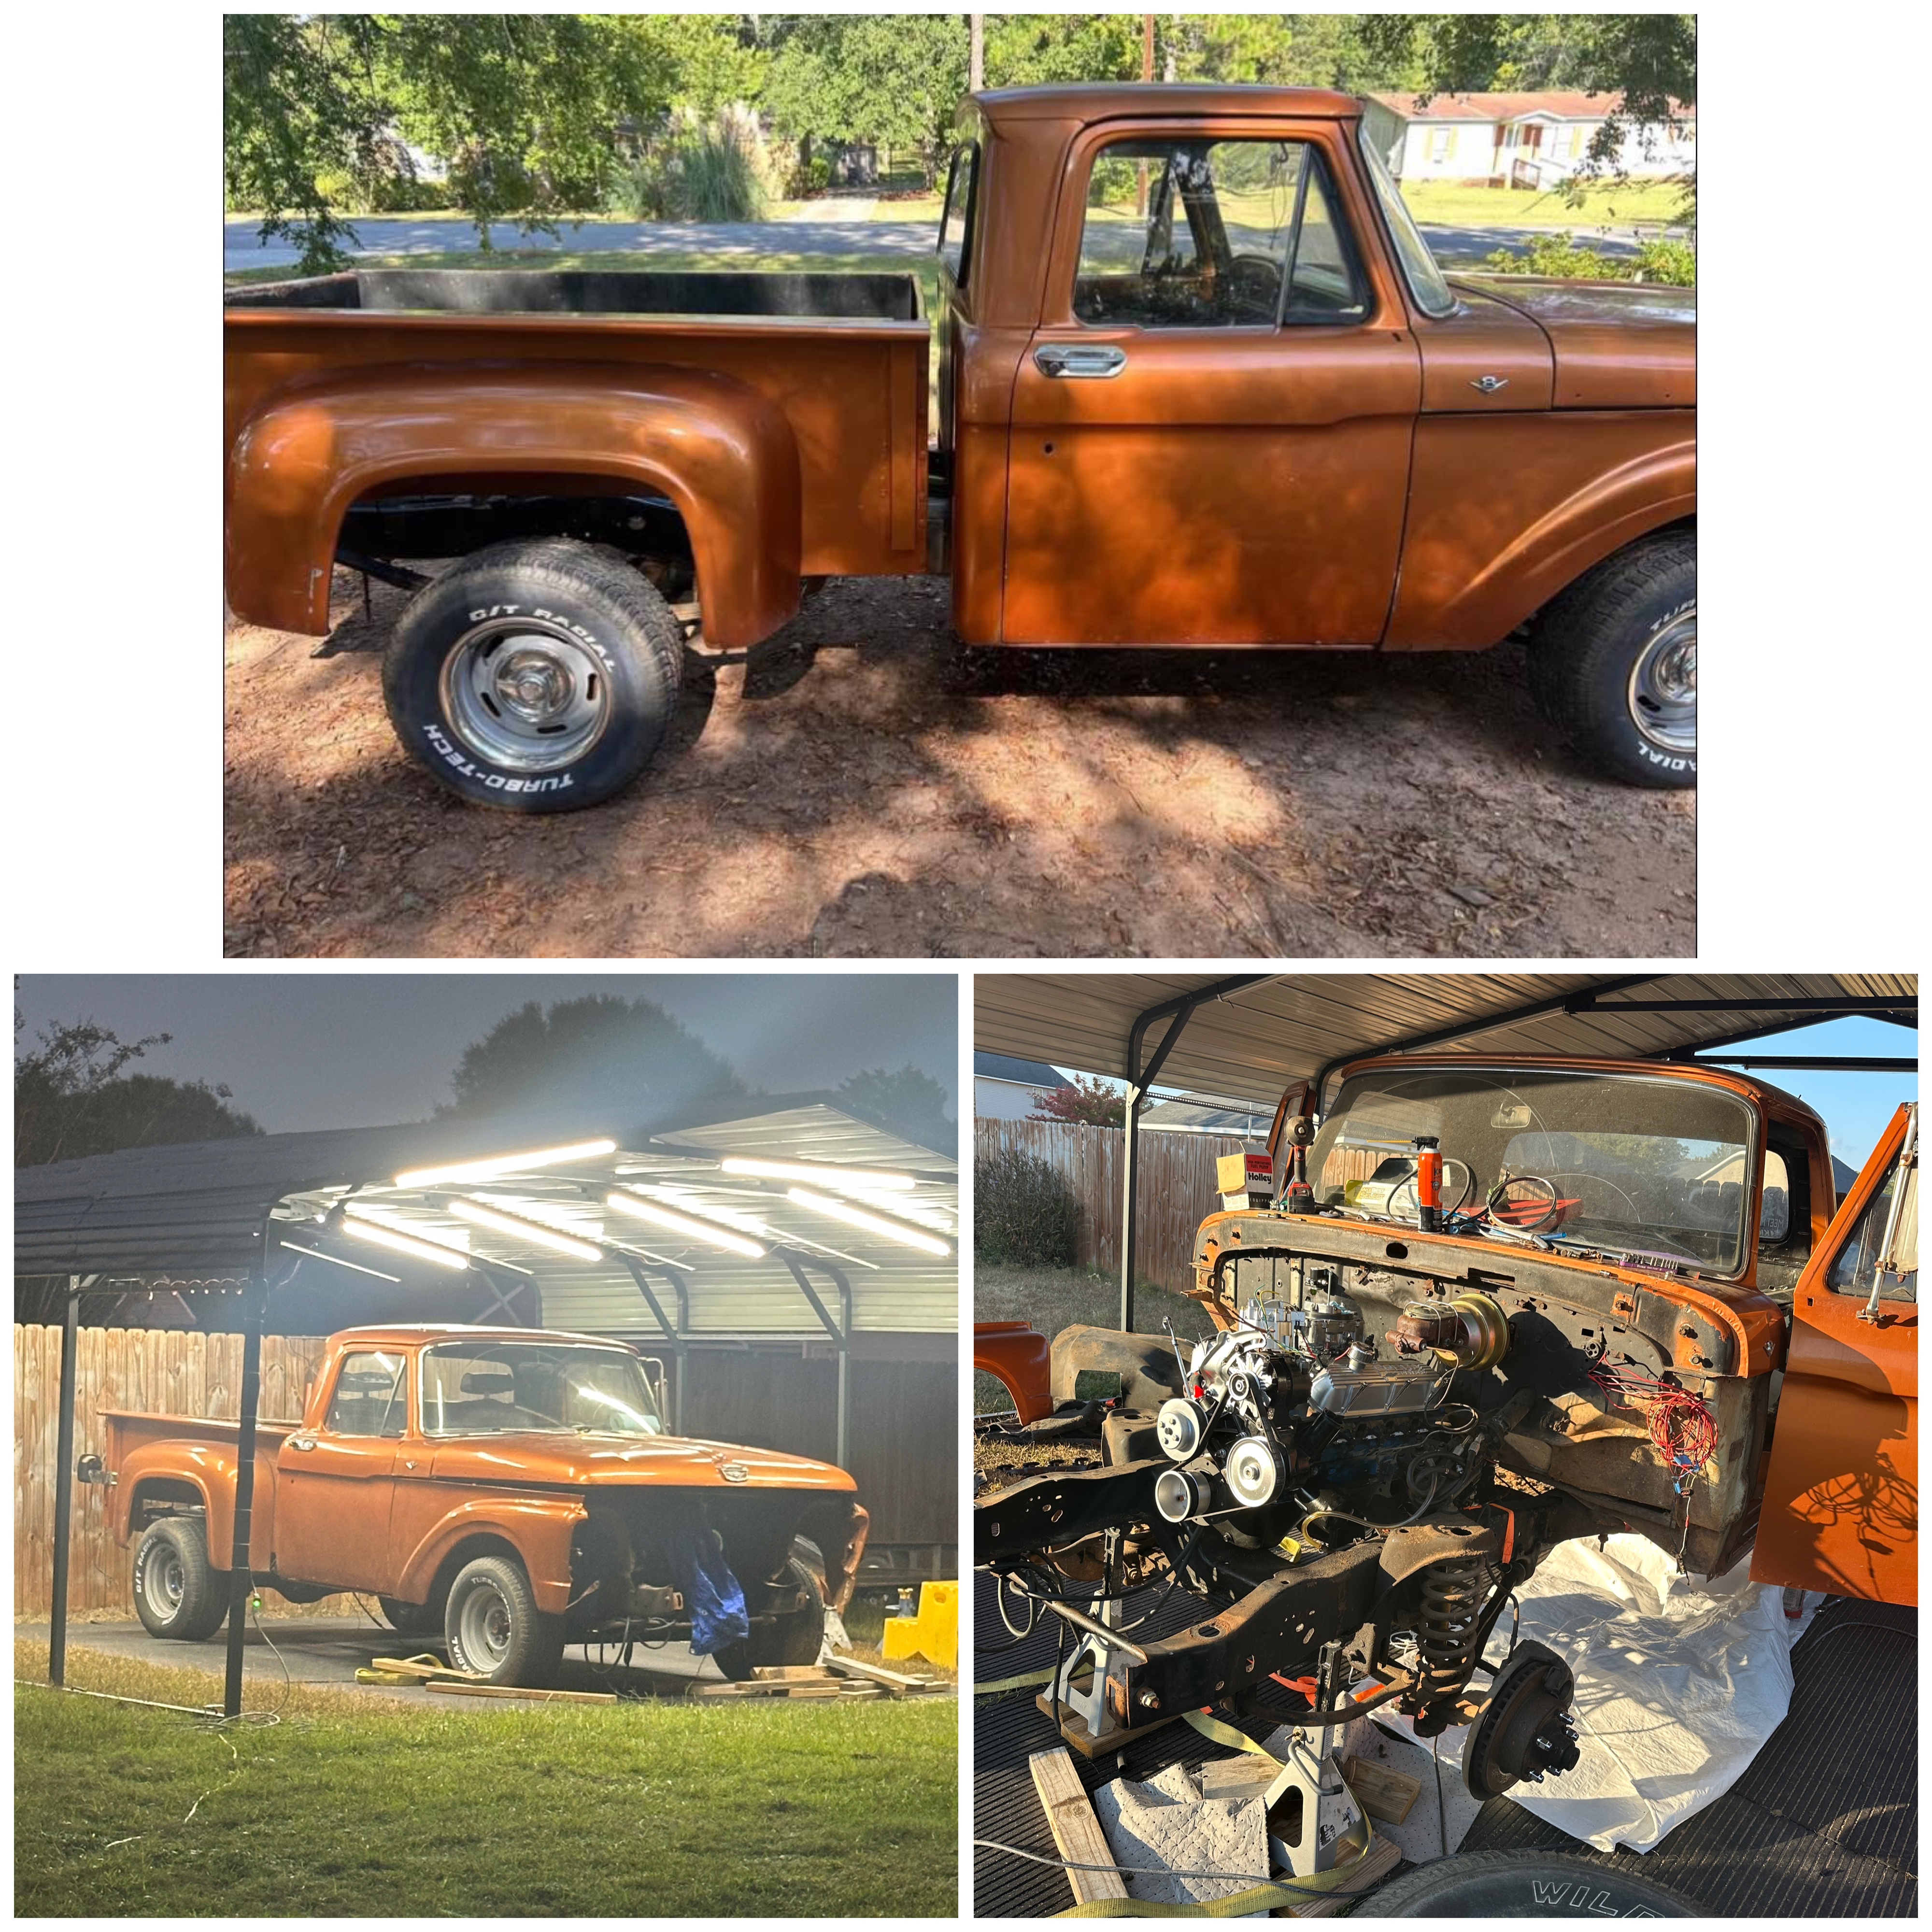
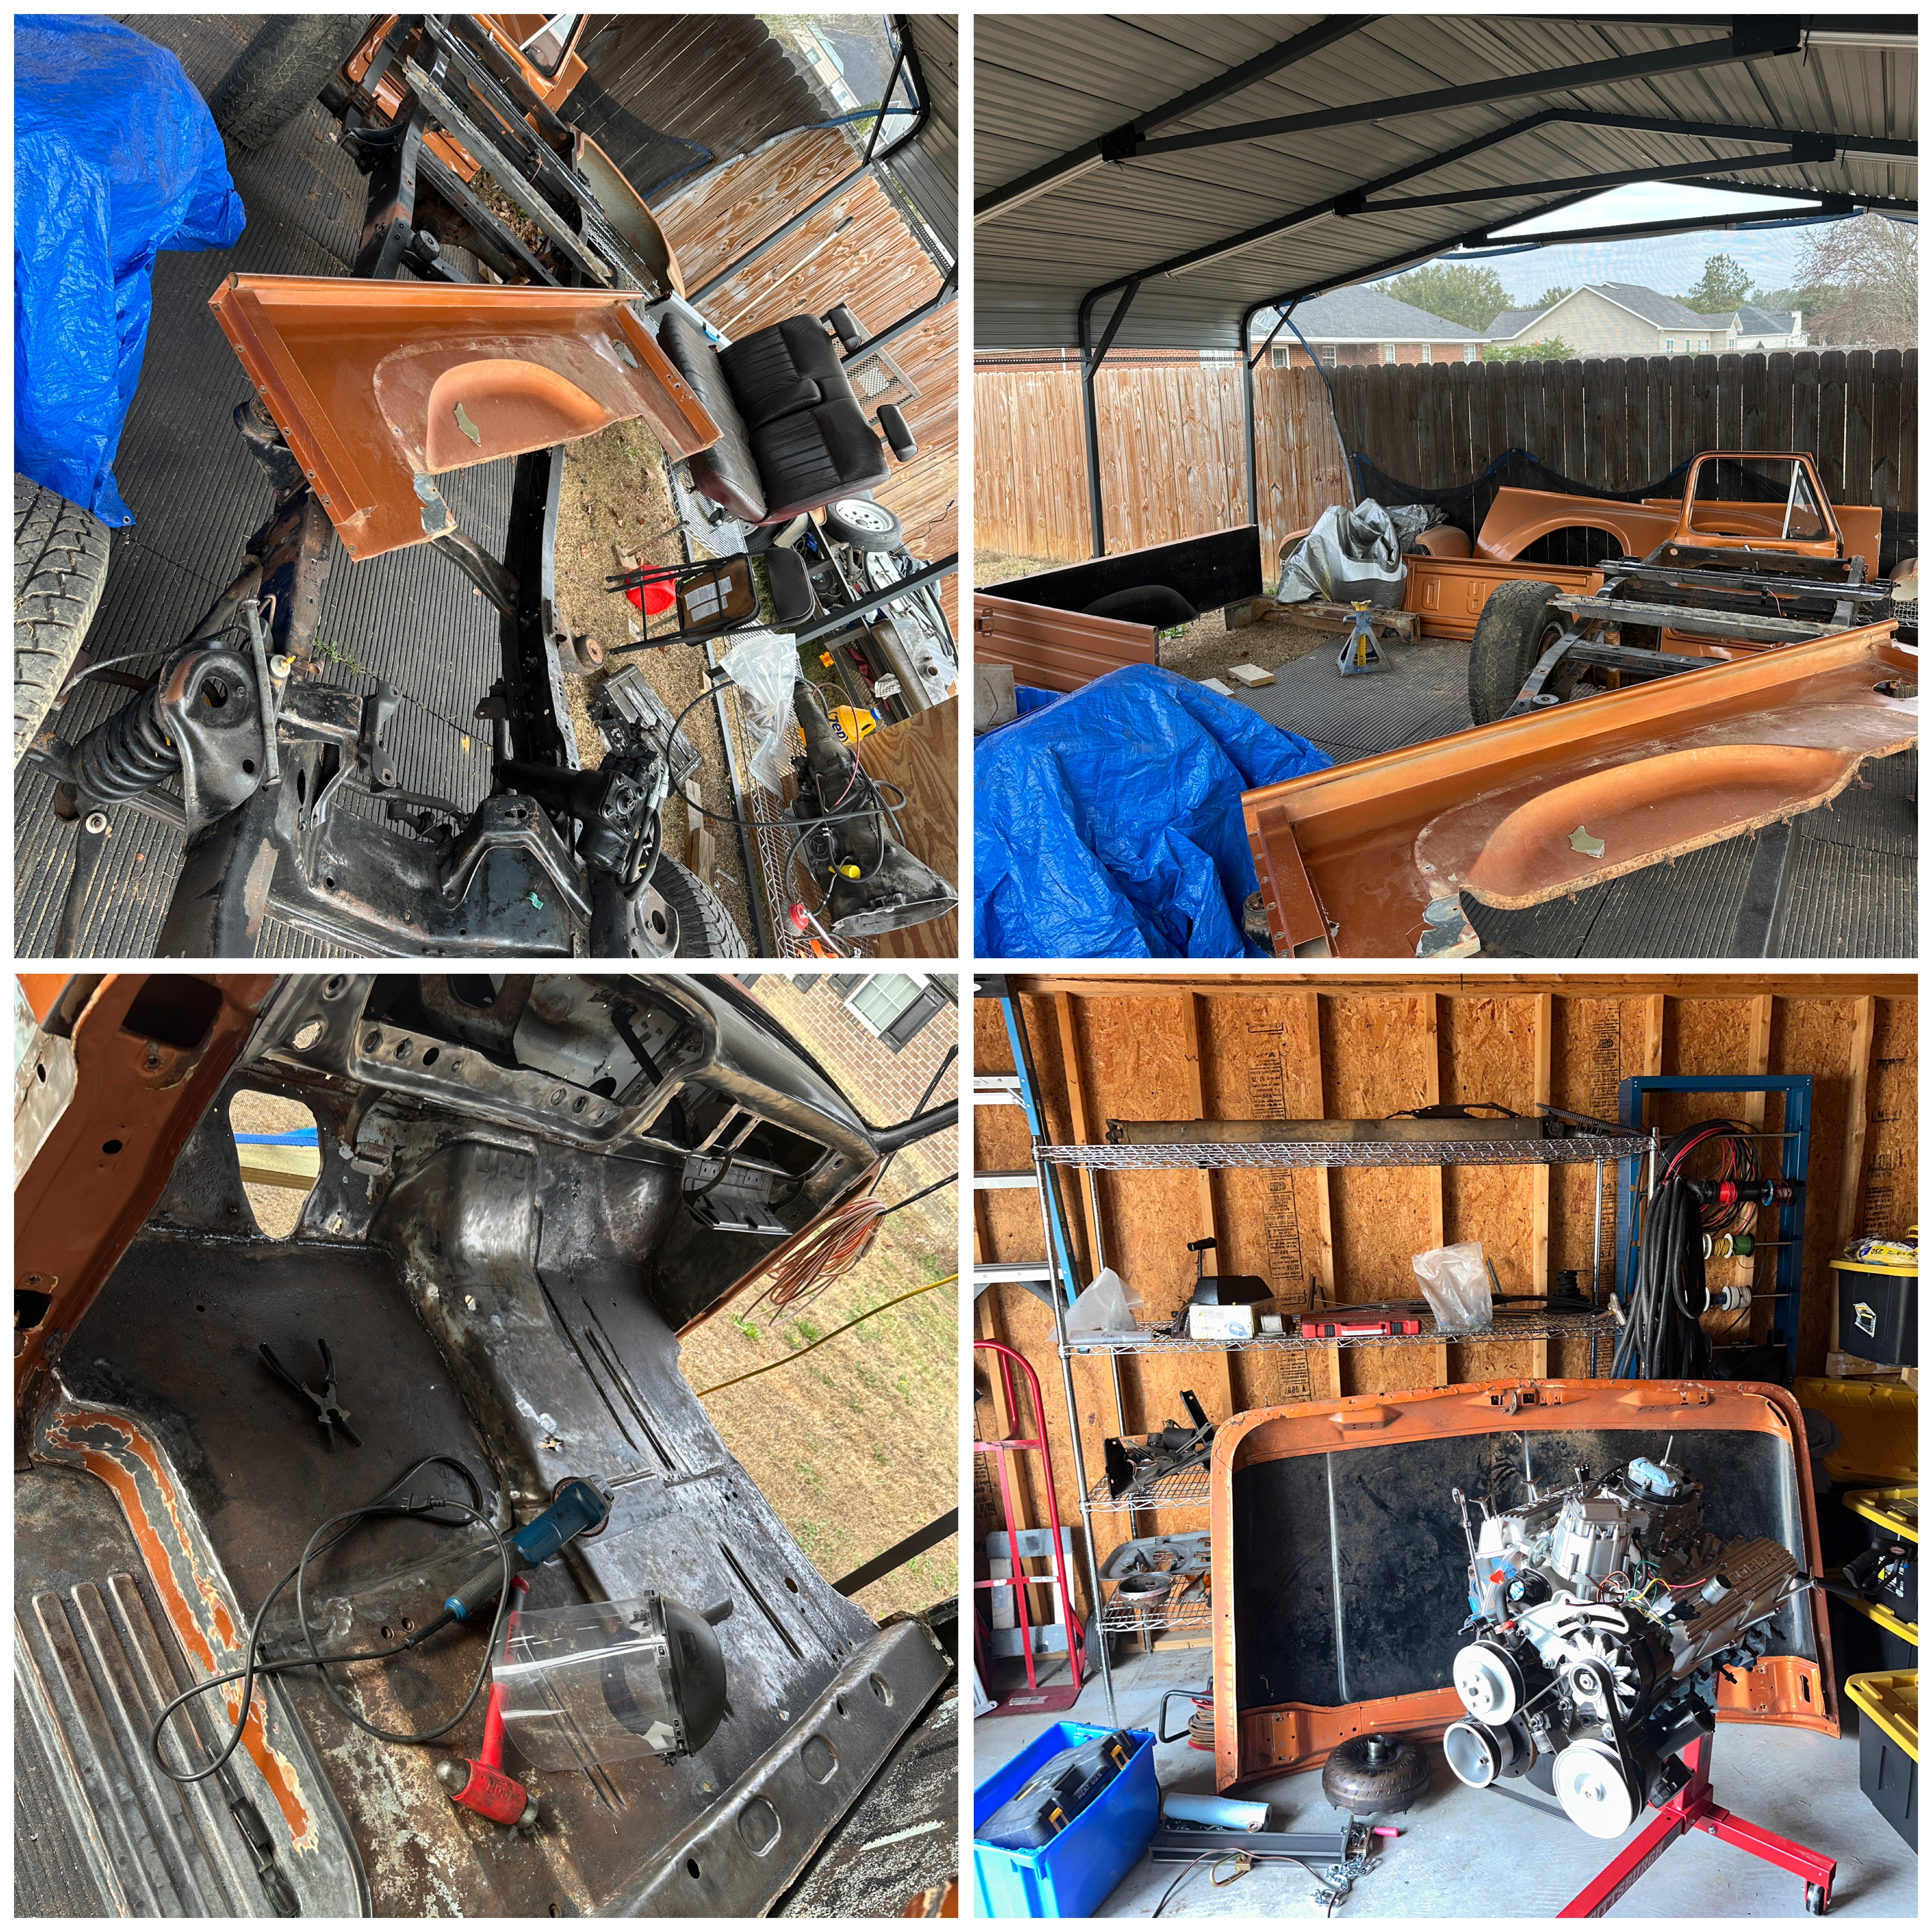
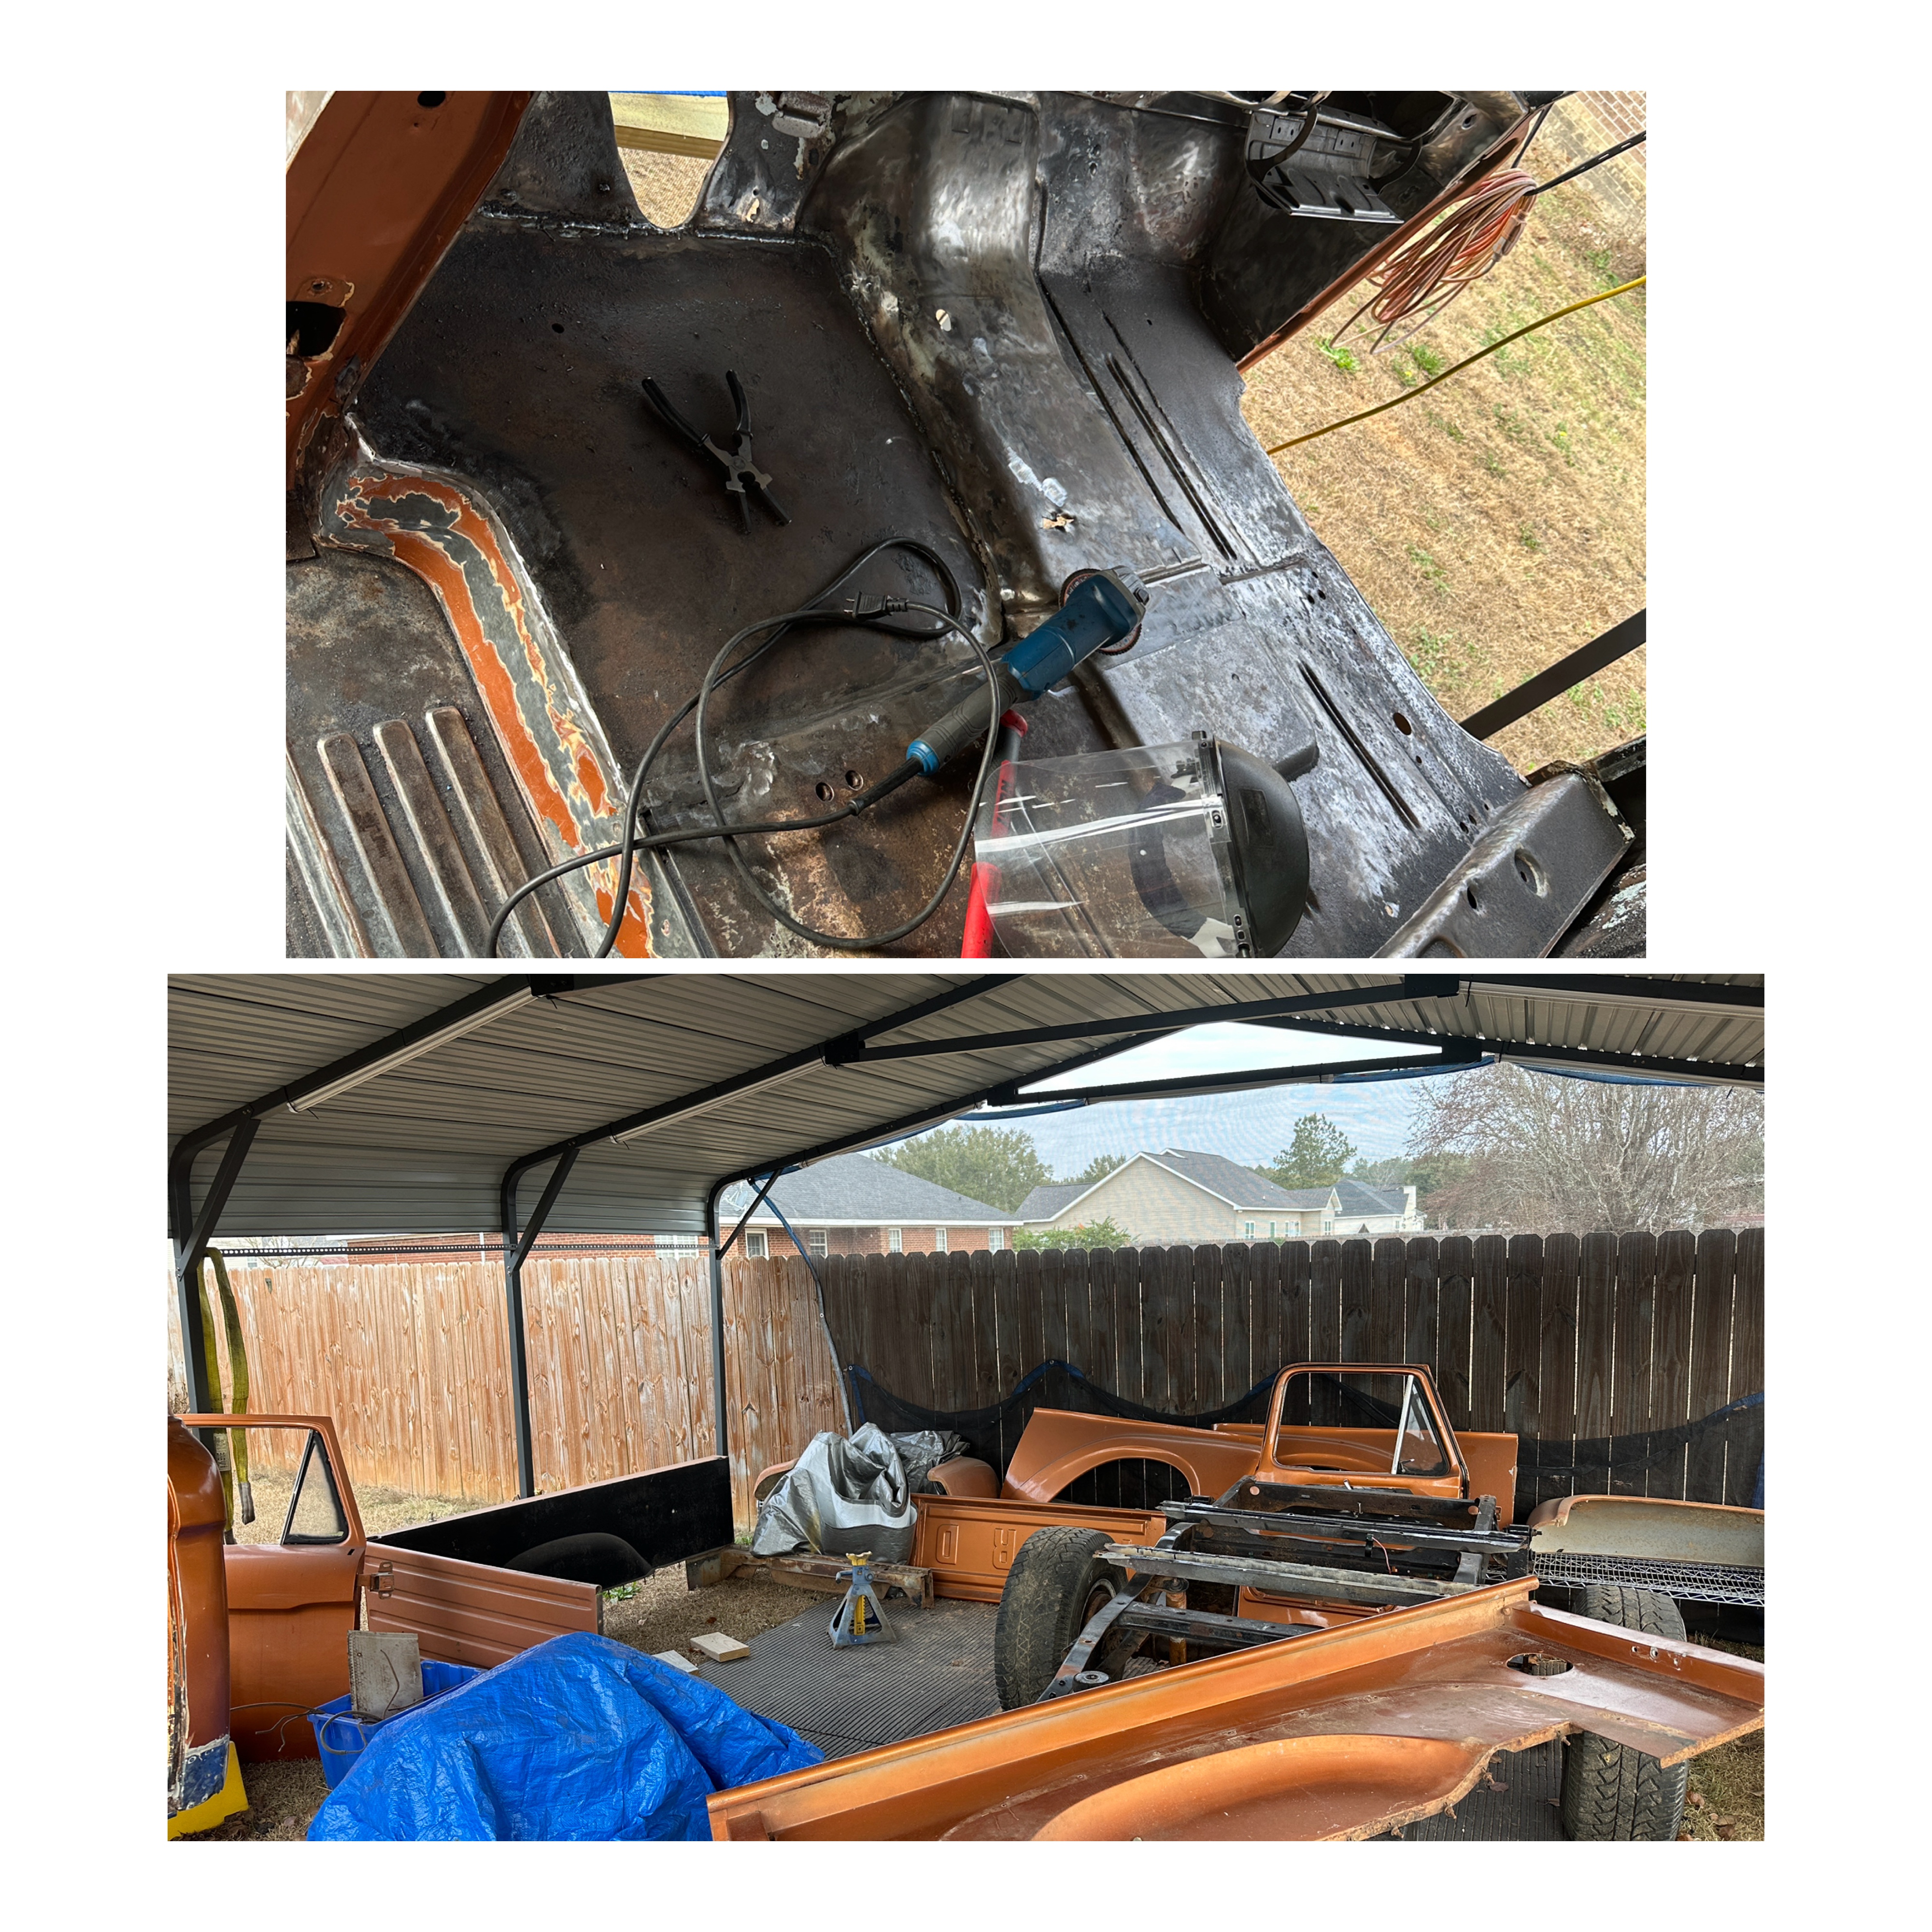
Once it’s finished, it will be passed down from the oldest to the youngest as they become old enough to drive. Currently, it’s all disassembled so each panel can be stripped and repaired, and the frame can be cleaned up and reworked with all new components. The engine will most likely be replaced with something more suiting of the restomod style I’m going for. Eventually, I’ll be giving it a hot rod black paint job with orange and silver leaf accents inside and out so I can have a Harley Davidson edition ‘63 Ford to match my 2025 Harley Road Glide that’s black, orange, and chrome.
Since I’m a blue-collar man working from sunup to sundown, it’s hard for me to work on it continuously to make major progress. It’s also slow going because I’m working in the back yard under a metal shelter I bought to be out of the weather as much as possible. I do have a 15x15 “shop” without electricity, so I’m working off a power strip with extension cords and doing everything manually because I don’t have the funds to buy the tools I really need. I’m trying to make do with what I do have and getting help from friends when needed.
Season 20: Episode 5
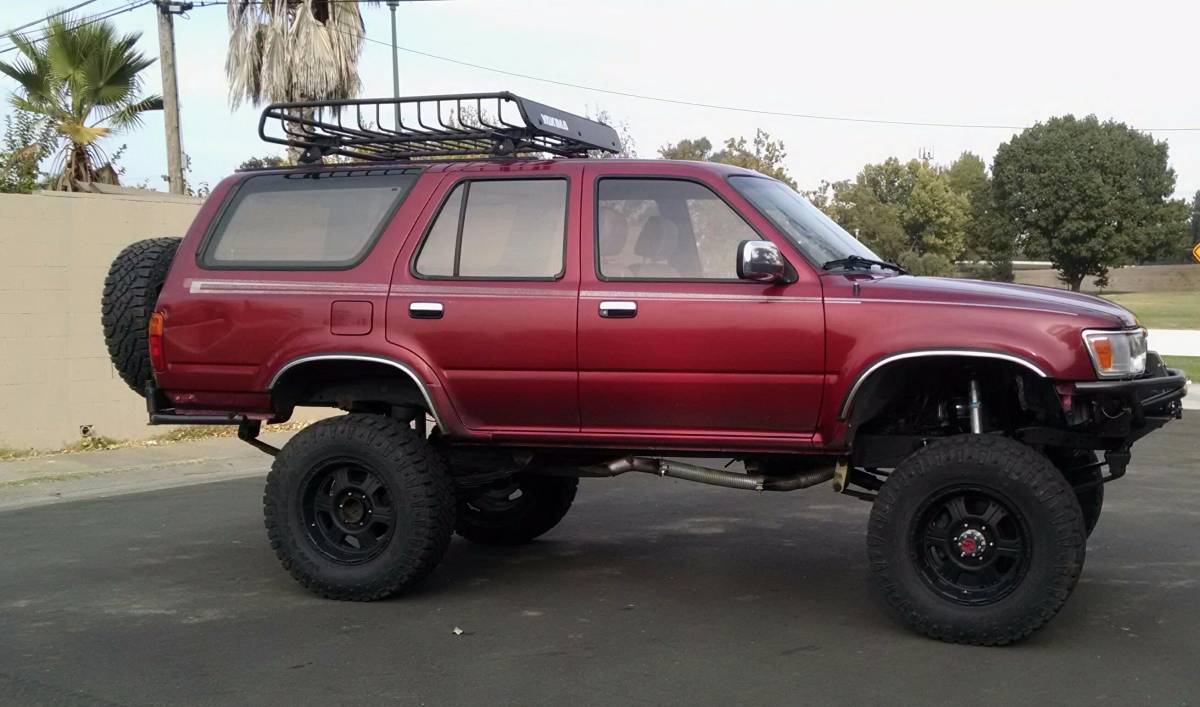
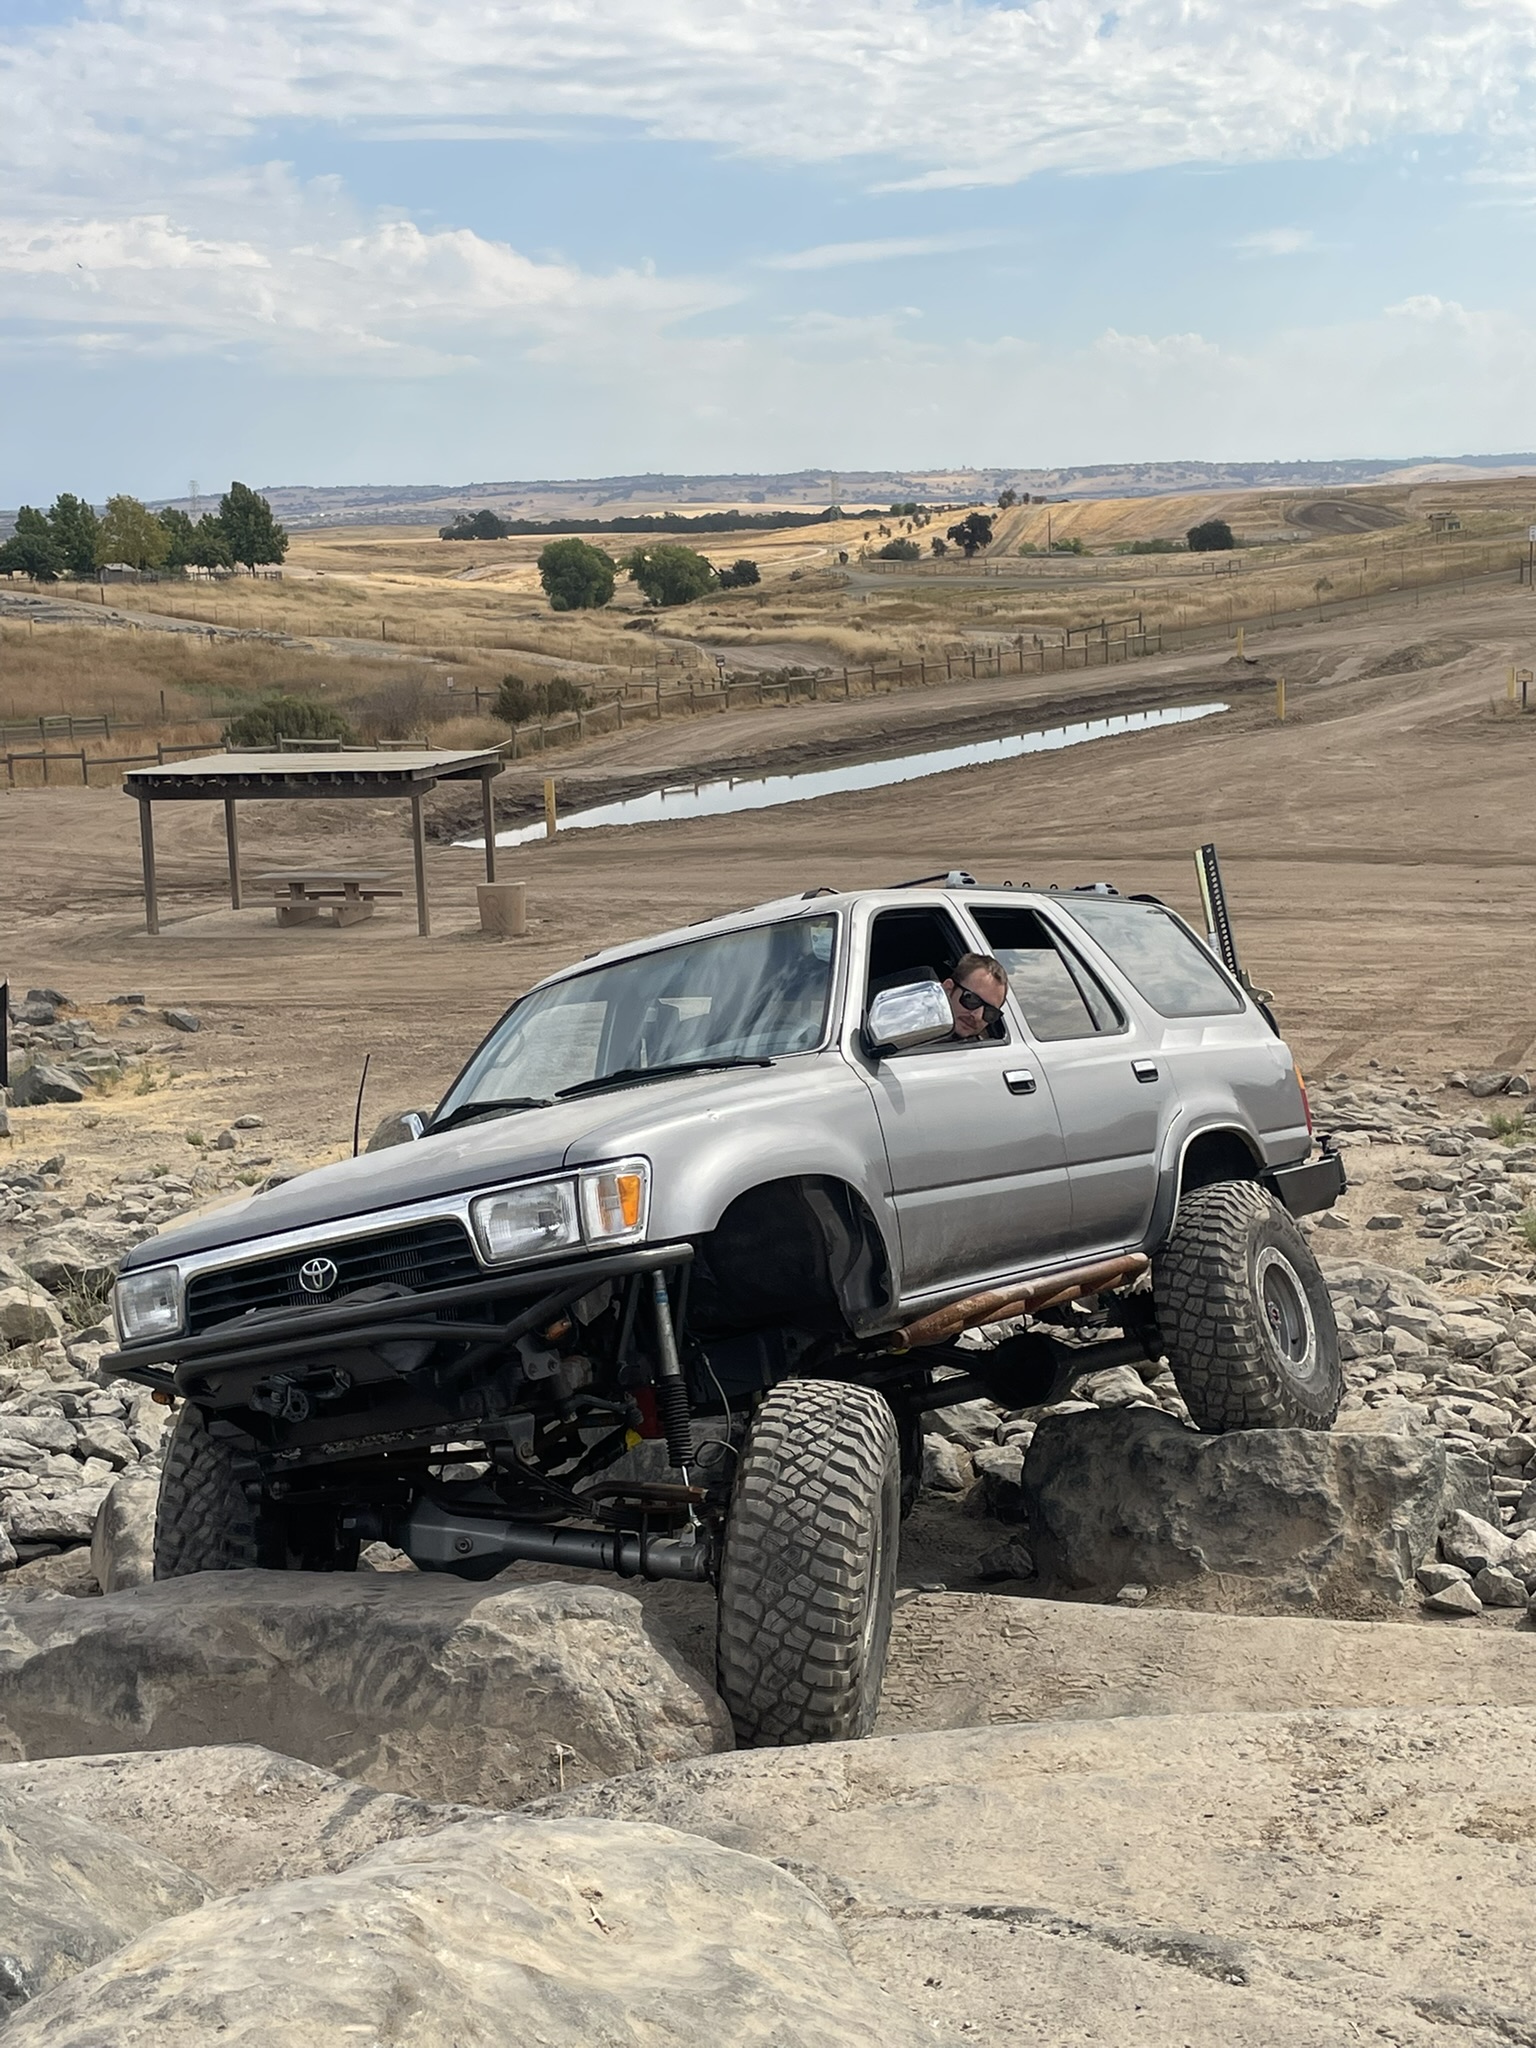
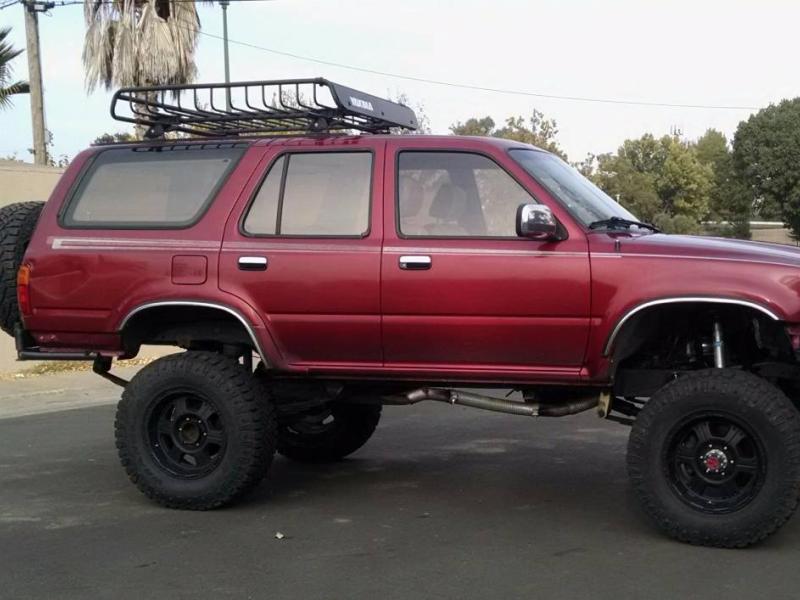
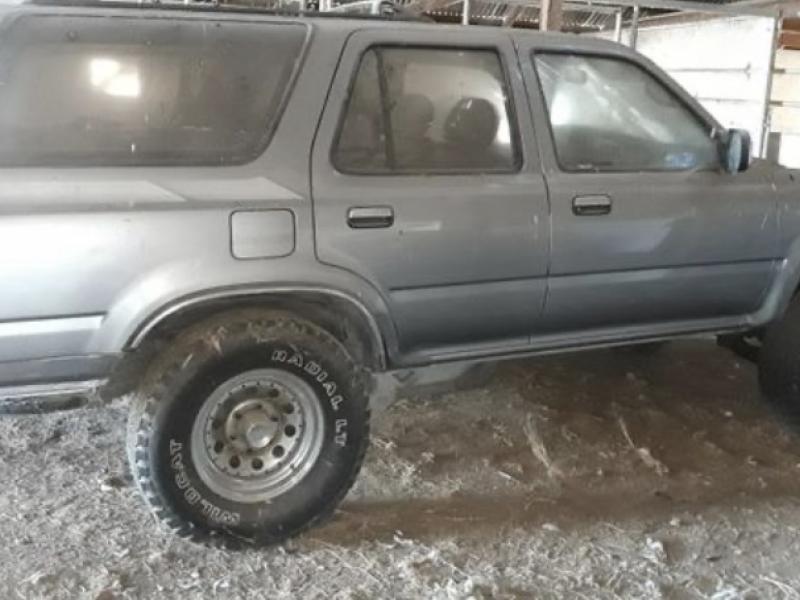
Tyler Teasley | Mather, CAI've always been a Toyota truck guy since I was little in the early 80's to the mid 90's. I've bought a sold a lot of different Toyota off-road vehicles, but this one was different.
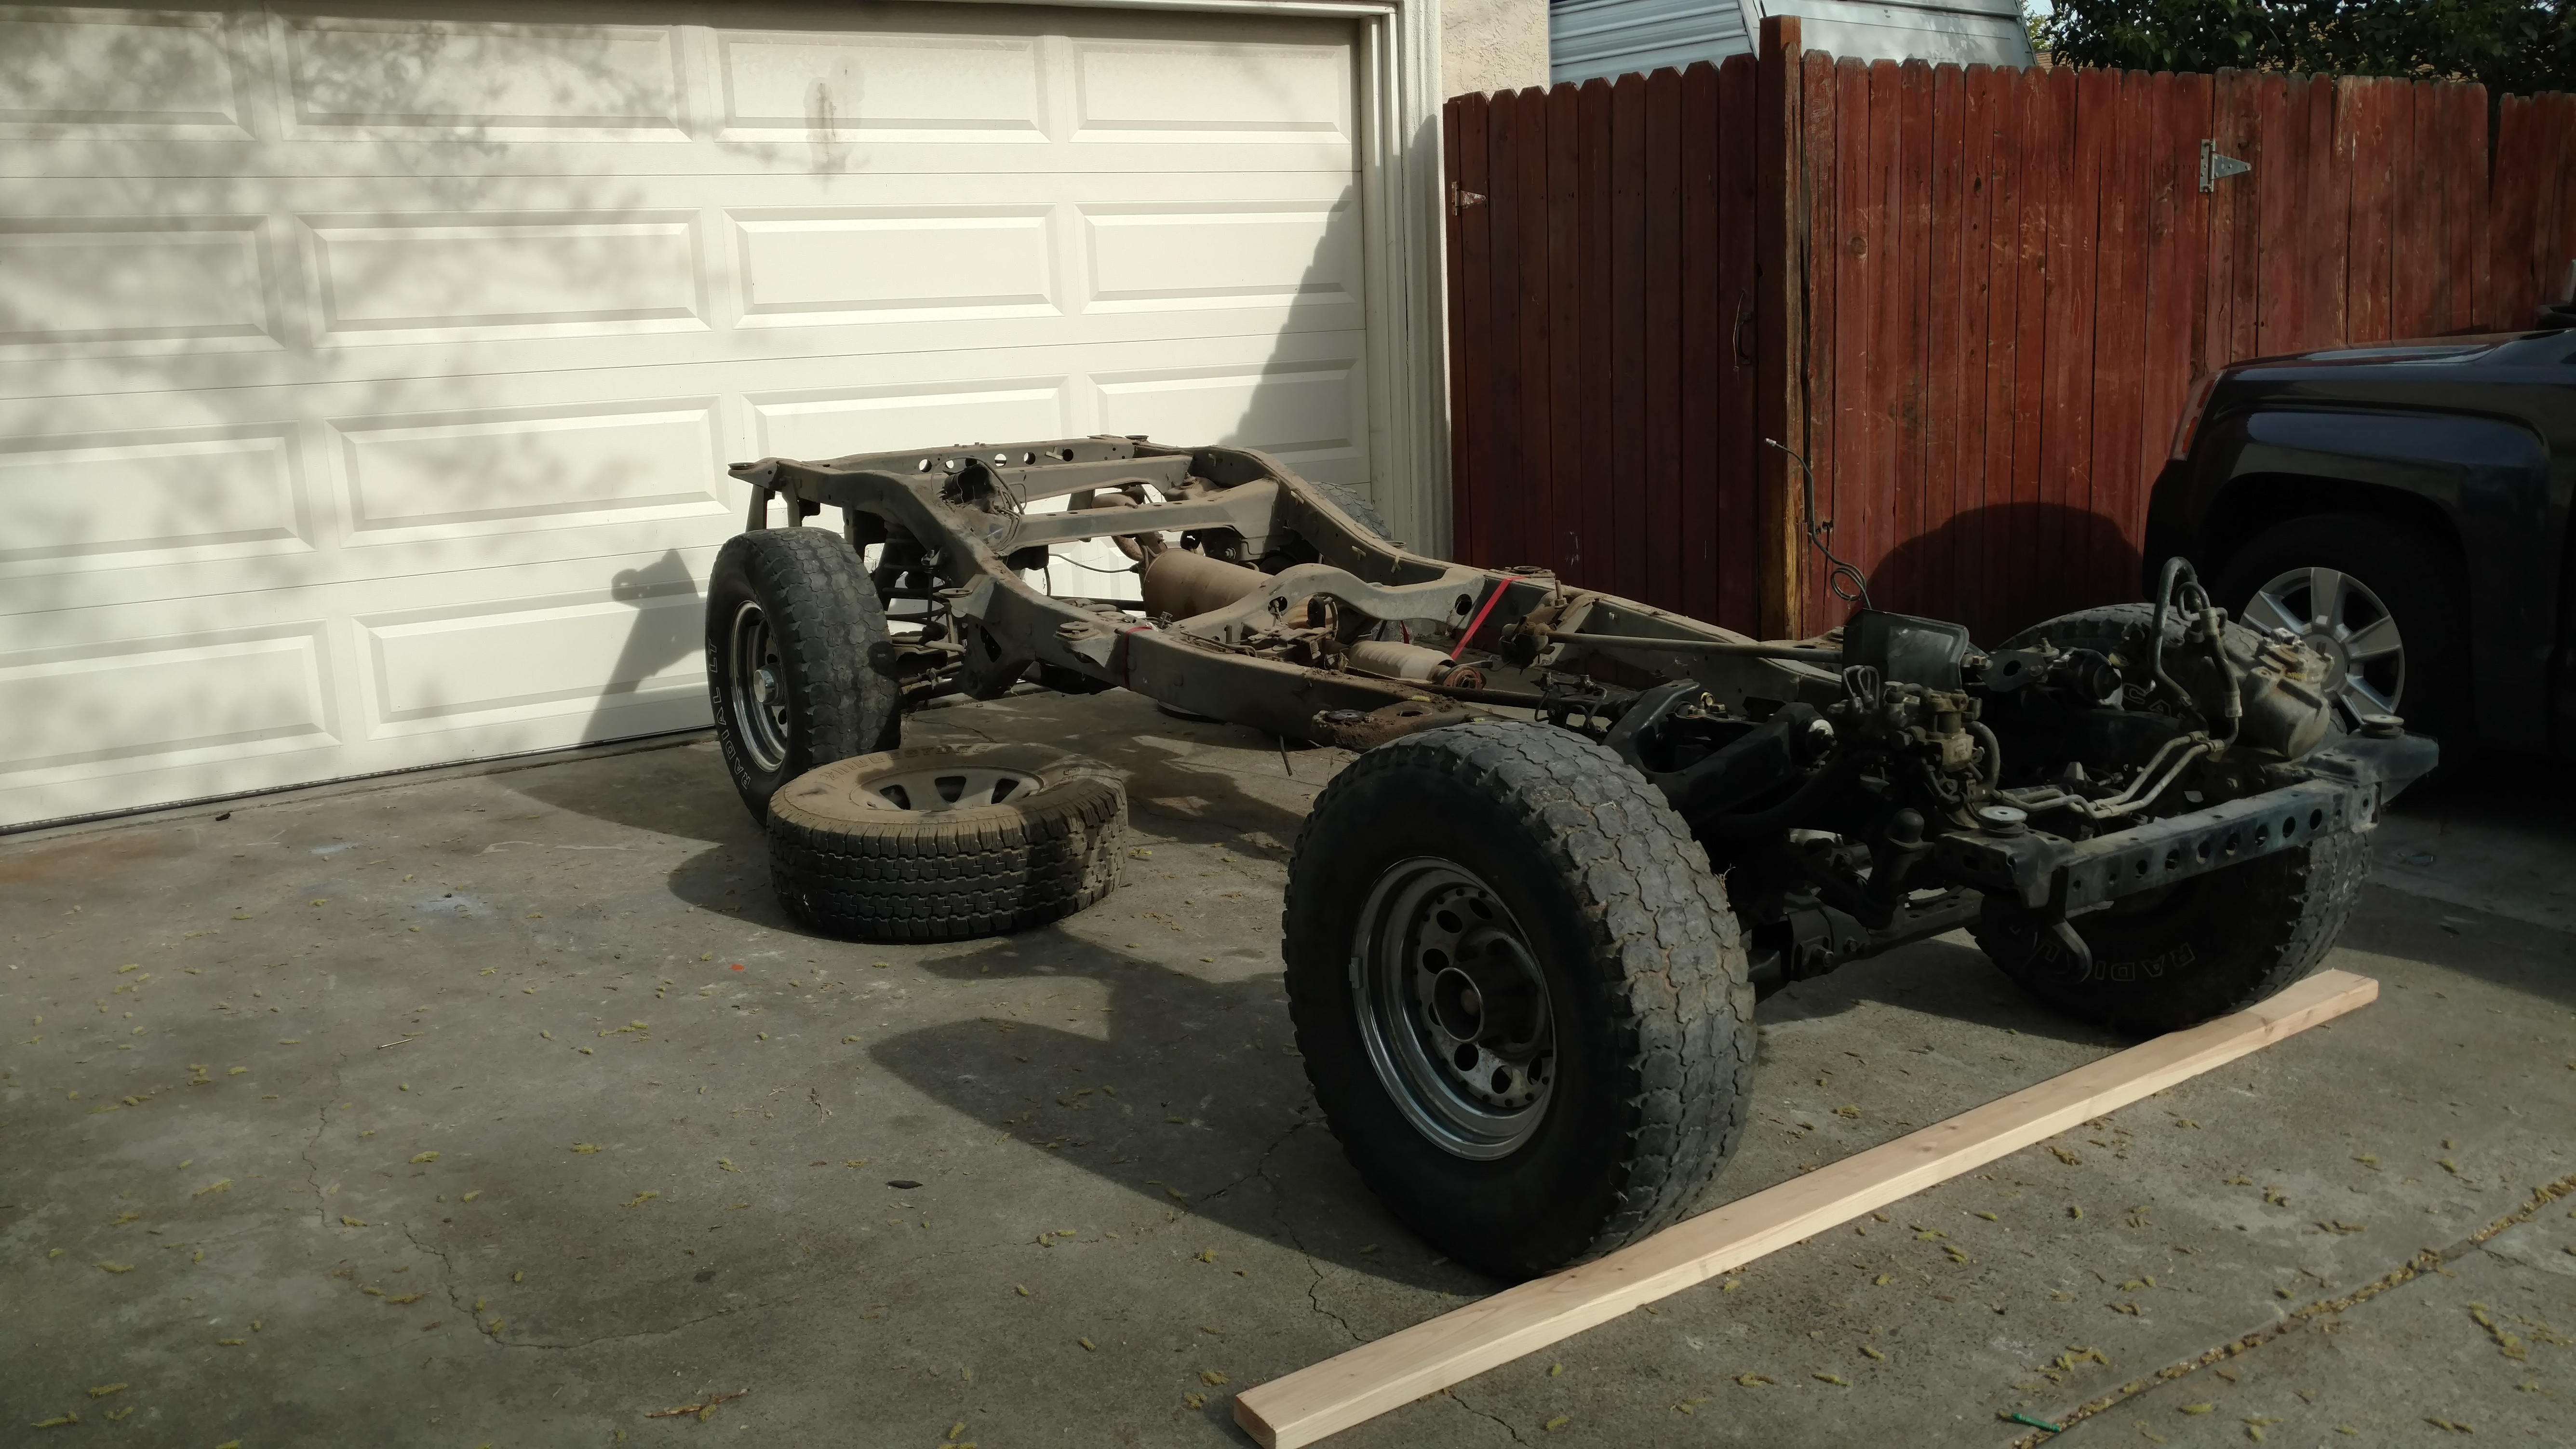
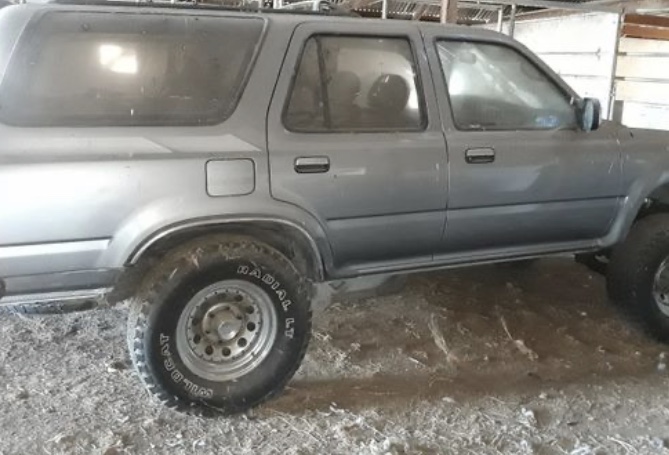
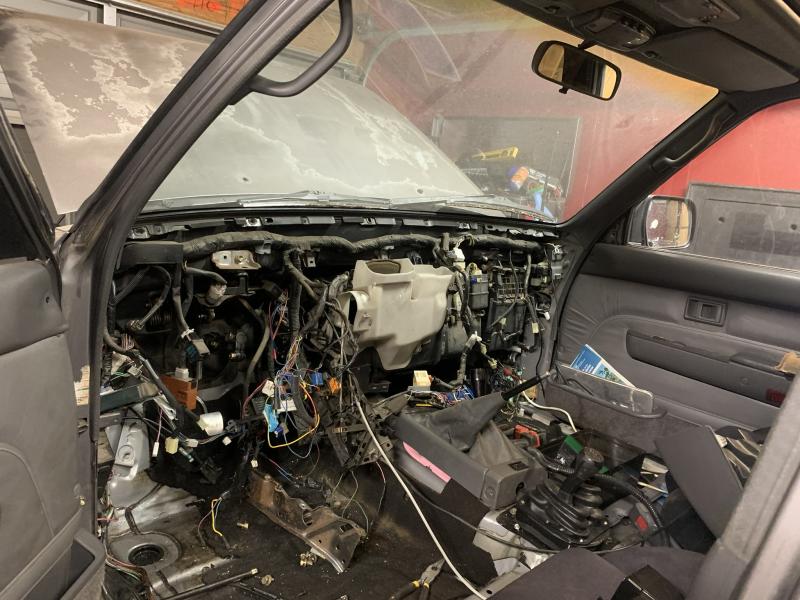
I’m currently working on a 1993 Toyota 4Runner that started life as a red-bodied truck with a 2000 VW 1.9L Jetta TDI turbo diesel swap. When I bought it, the previous owner had converted the engine to a manual injection pump, and the truck was already straight-axle swapped with a Diamond Axle heavy-duty Toyota housing up front. What I thought would be a quick flip turned into a keeper after driving it. It became a family project when my wife surprised me one Christmas and told me to build it the way I wanted — for us to actually use.
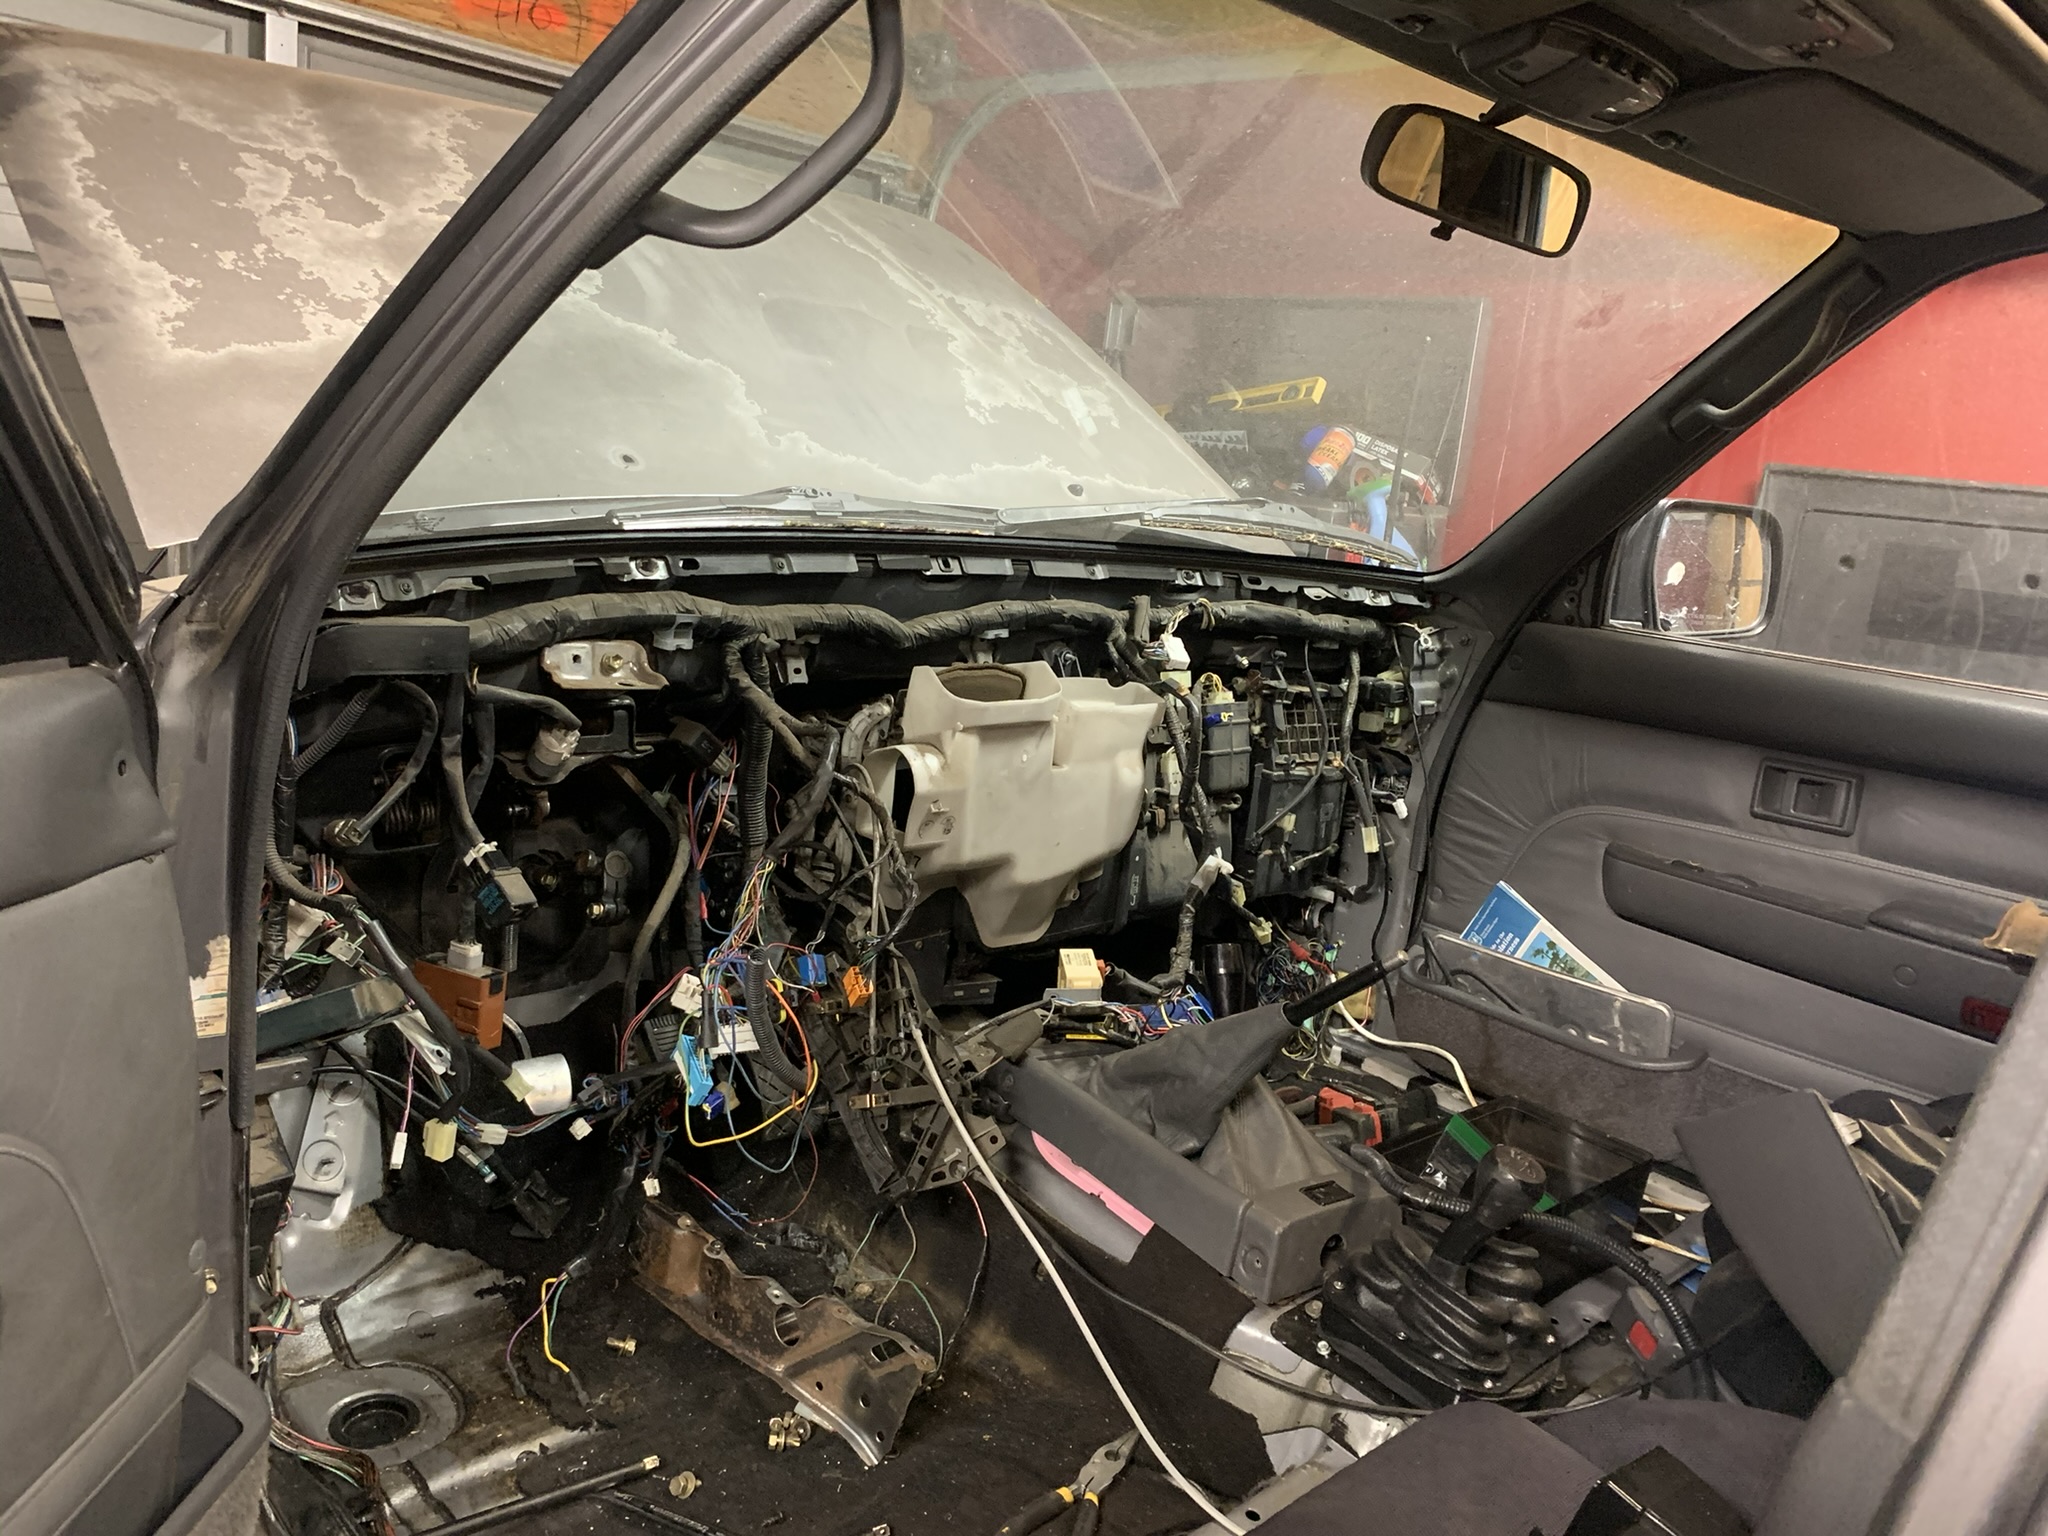
When I got it, it was more of an overland-style rig on 32-inch tires, but still unfinished. The first major change was swapping the red body for a silver donor 4Runner, which also added a factory sunroof. From there, I focused on making the drivetrain and engine work better as a complete system. One of the biggest projects was converting the diesel back to modern electronic injection, which meant building a custom engine harness and doing ECU programming to make everything work correctly and reliably.
For the drivetrain, I tracked down a matching Diamond Axle rear housing so the truck would be properly balanced front to rear. I added ARB air lockers to both axles, a high-pinion front third, and dual Marlin Crawler transfer cases with 2.28 and 4.7 reduction gears. A lot of those parts came from donor vehicles I bought specifically to scavenge and then part out — very much a budget-minded, hands-on build.
One challenge with the diesel swap was highway driving. With the axle gearing it needed off-road, the engine RPMs were too high at freeway speeds. To solve that, I modified the transmission with a 5th-gear ratio change, dropping it from 1:1 to 0.75:1, which made the truck far more usable on long drives.
Right now, the truck sits on 15-inch trail-ready beadlock wheels, again sourced from a donor vehicle I bought just for the wheels. The build is still evolving, but the focus has always been the same: solving real problems, understanding how each system works together, and building something reliable that can be driven, wheeled, and enjoyed with my family.
It’s still not done, but we have taken it on a couple test runs and one family off roading trip so far.
Season 20: Episode 4
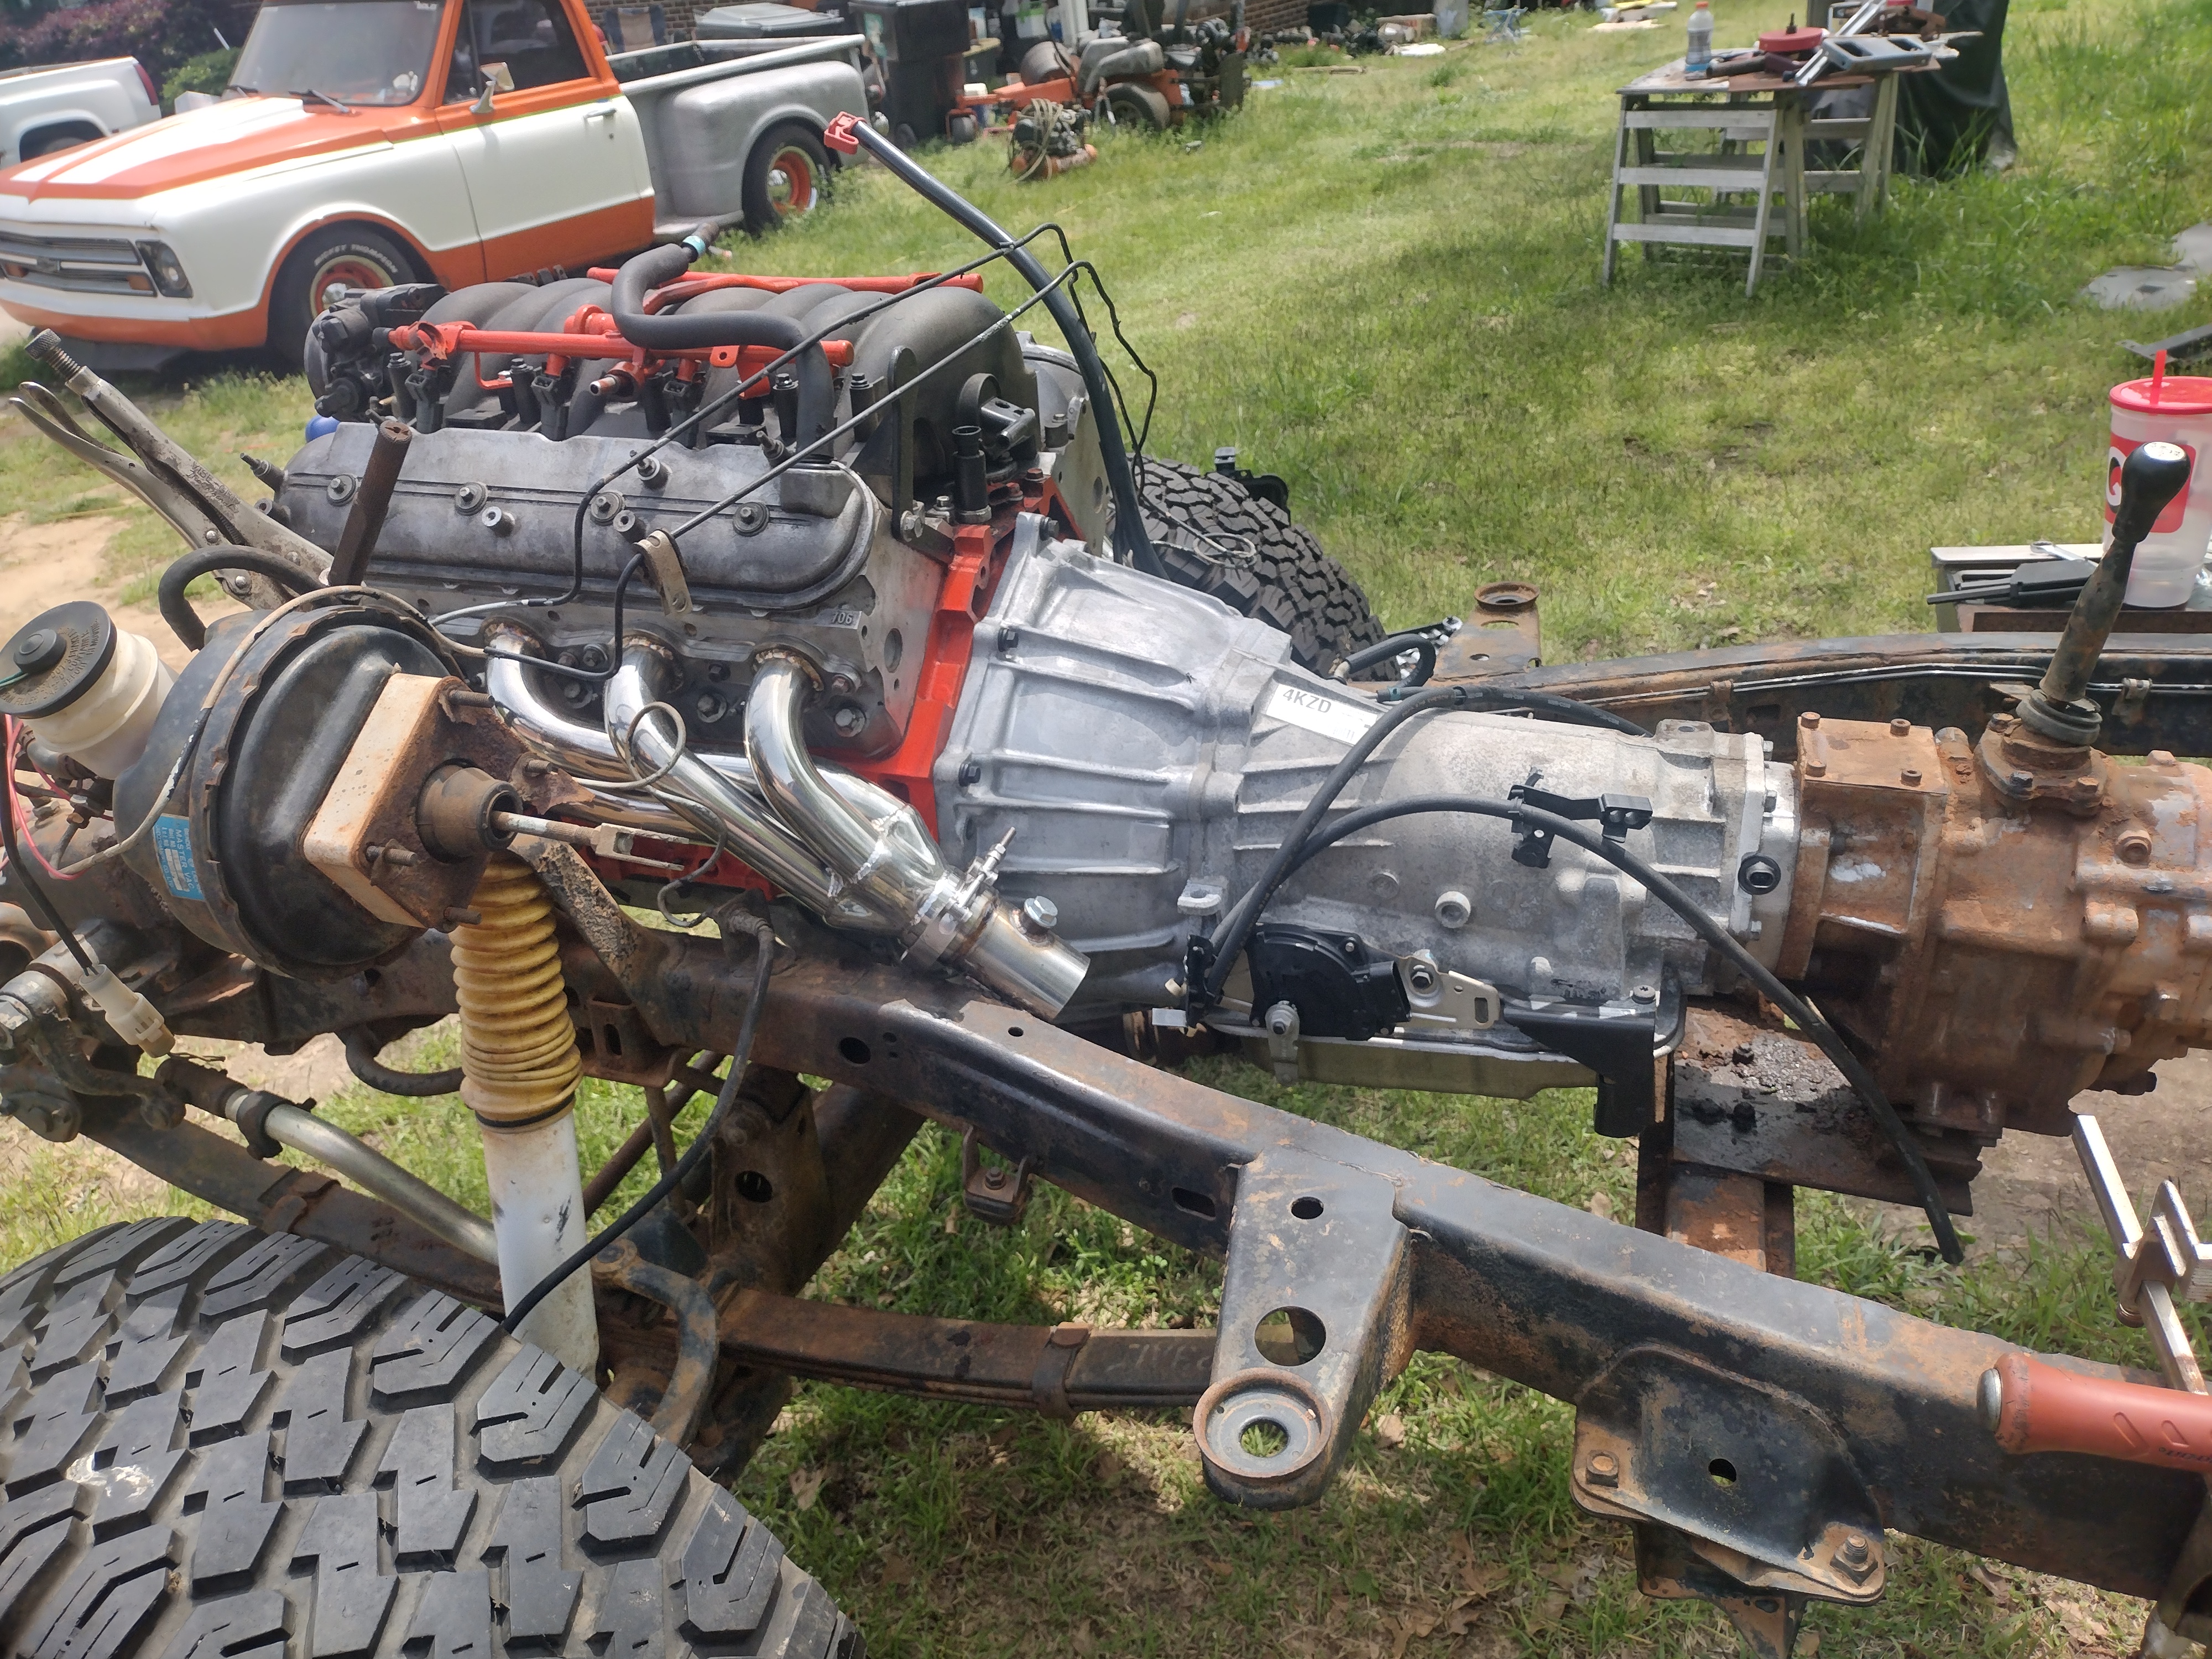
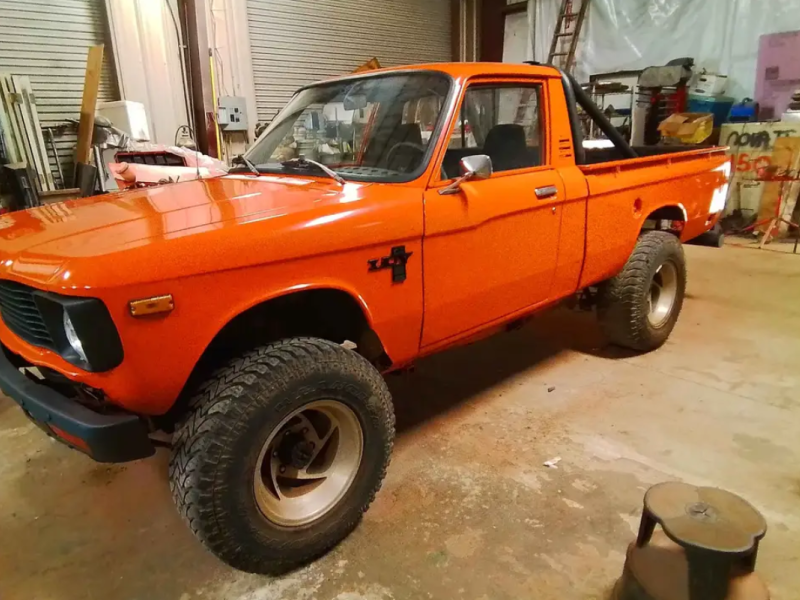
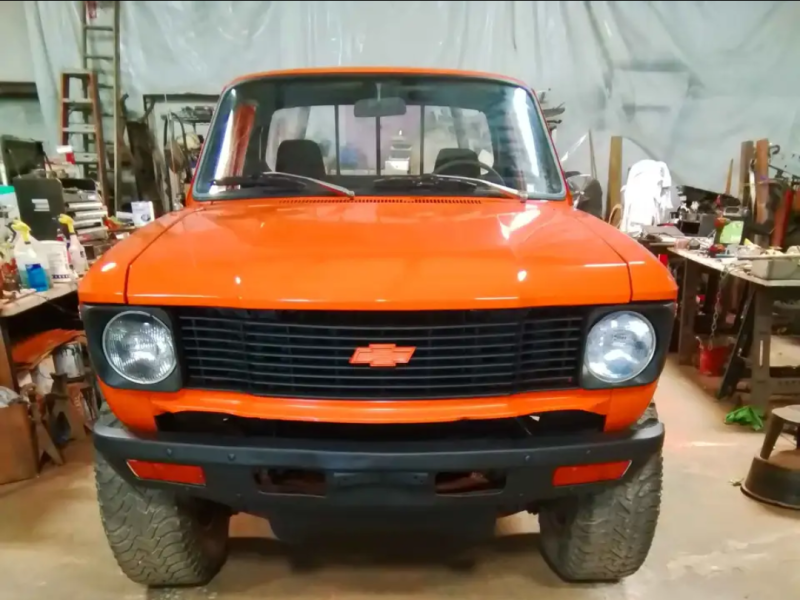
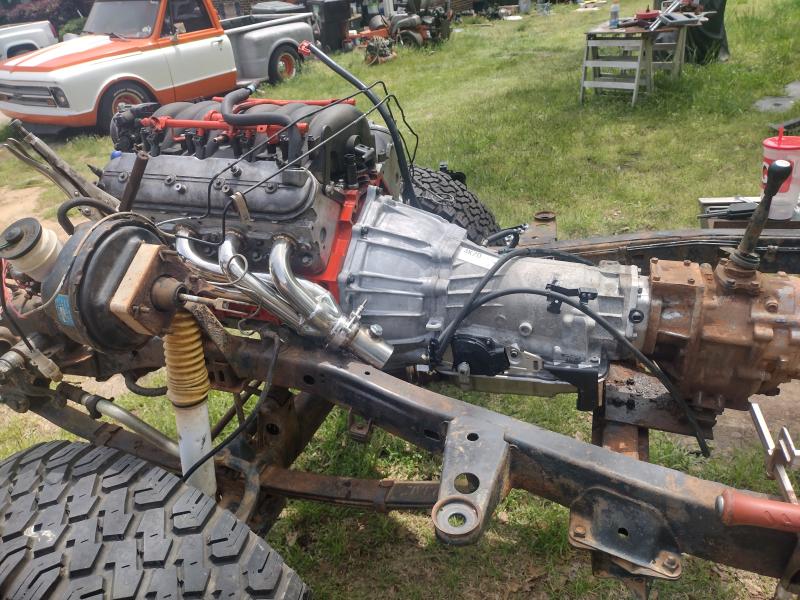
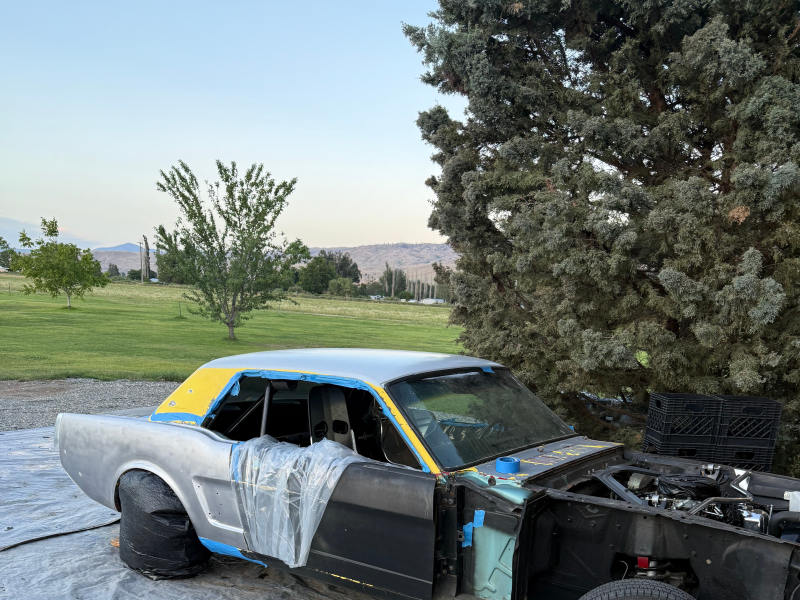
Walter Wilkins | Rex, GAAbout 3 years ago when my grandson was 14, we decided it was time for him to build his first vehicle. After scouring the internet, we found a 1980 four-wheel drive Chevy LUV. My grandson fell in love with it and that's the main reason why we purchased it. I've always had a project of some sort going since I was about 12 years old starting with bicycles, go karts, and toy cars and trucks. Once we complete it, my grandson is planning on daily driving it for a while, taking in a bunch of local car shows and the occasional regional shows. The truck started off bone stock with the exception of a lift kit. We got it running and driving but it wasn't happy. Once the engine decided it wanted to let loose, we decided it was time to do an LS swap. To date we have done a Toyota chassis and straight axle swap, installed the LS motor and a 4l65e with a Transdapt adapter kit to the stock Toyota transfer case, and mounted the body. We are in the middle of installing the cooling system and new chassis and engine harnesses. Once that is complete, we will turn our attention to the interior and body work.

Season 20: Episode 3
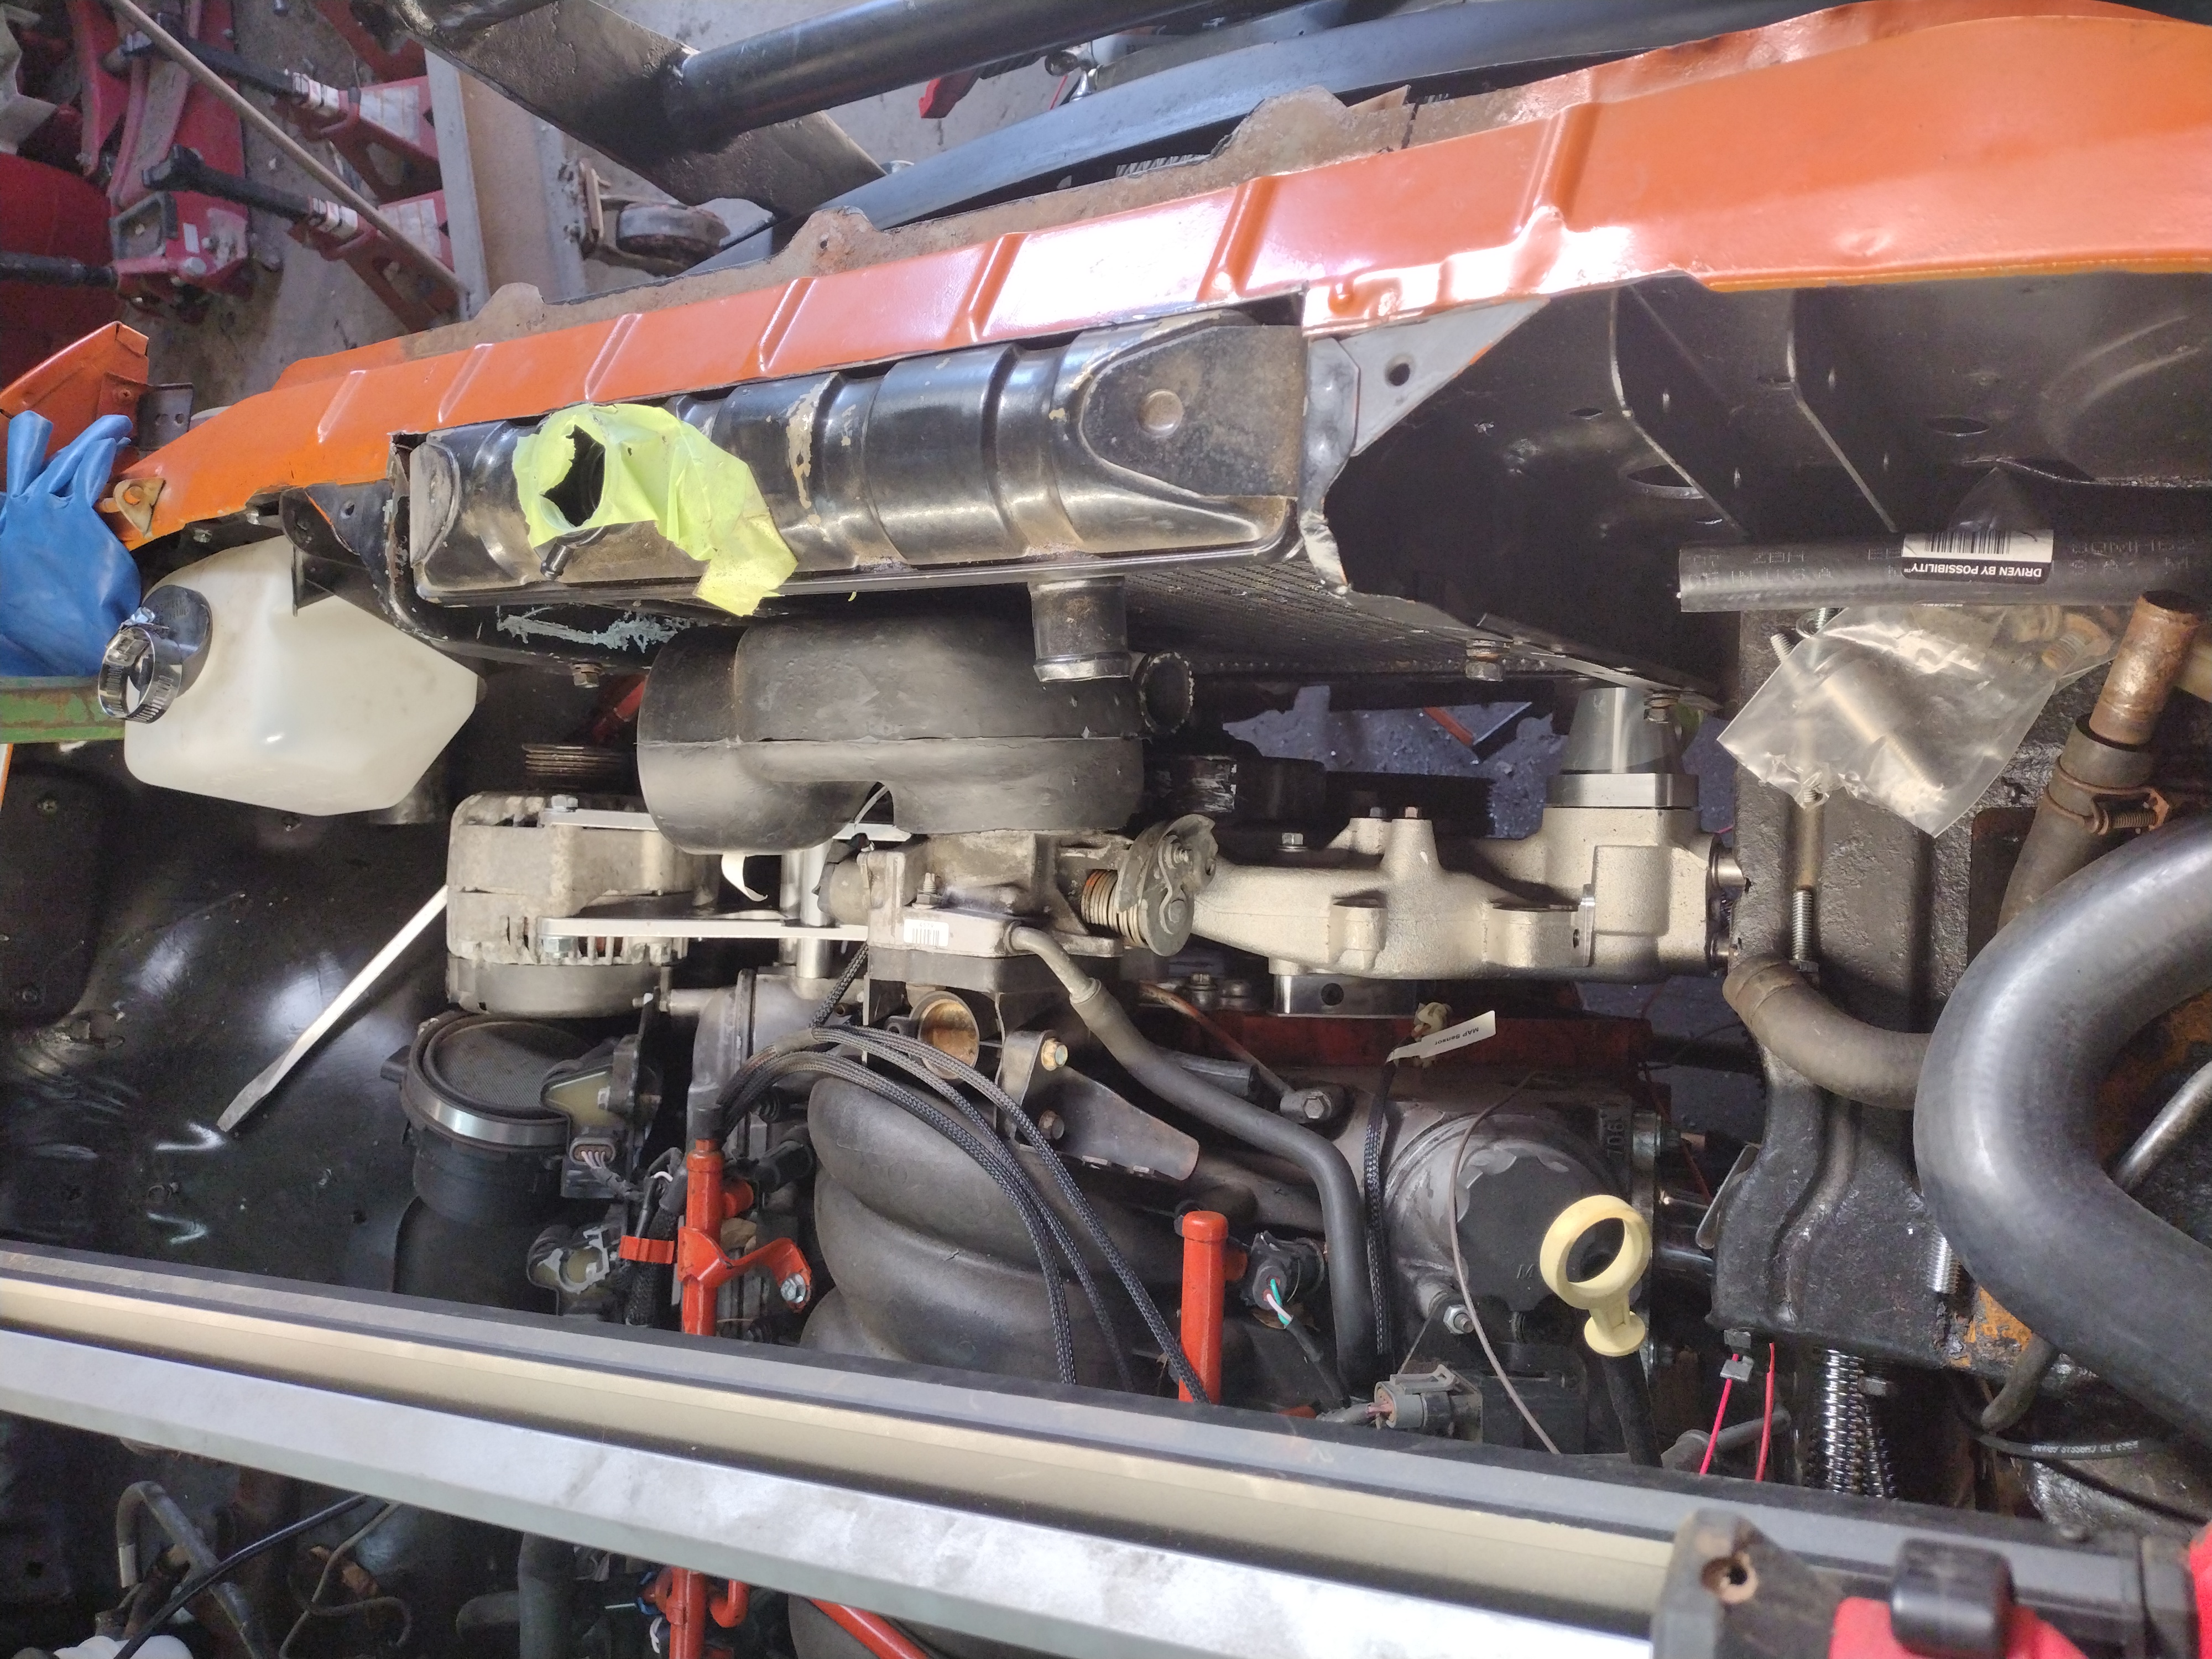
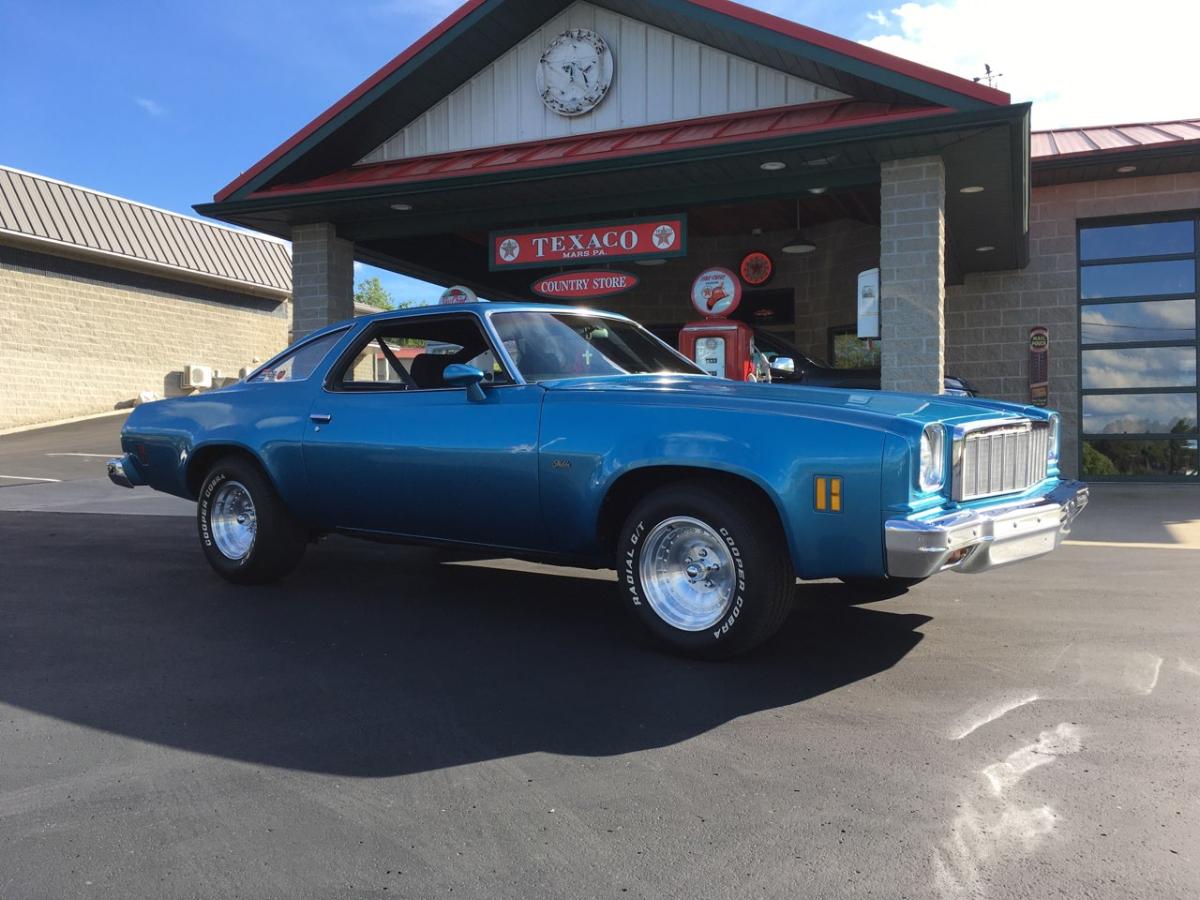
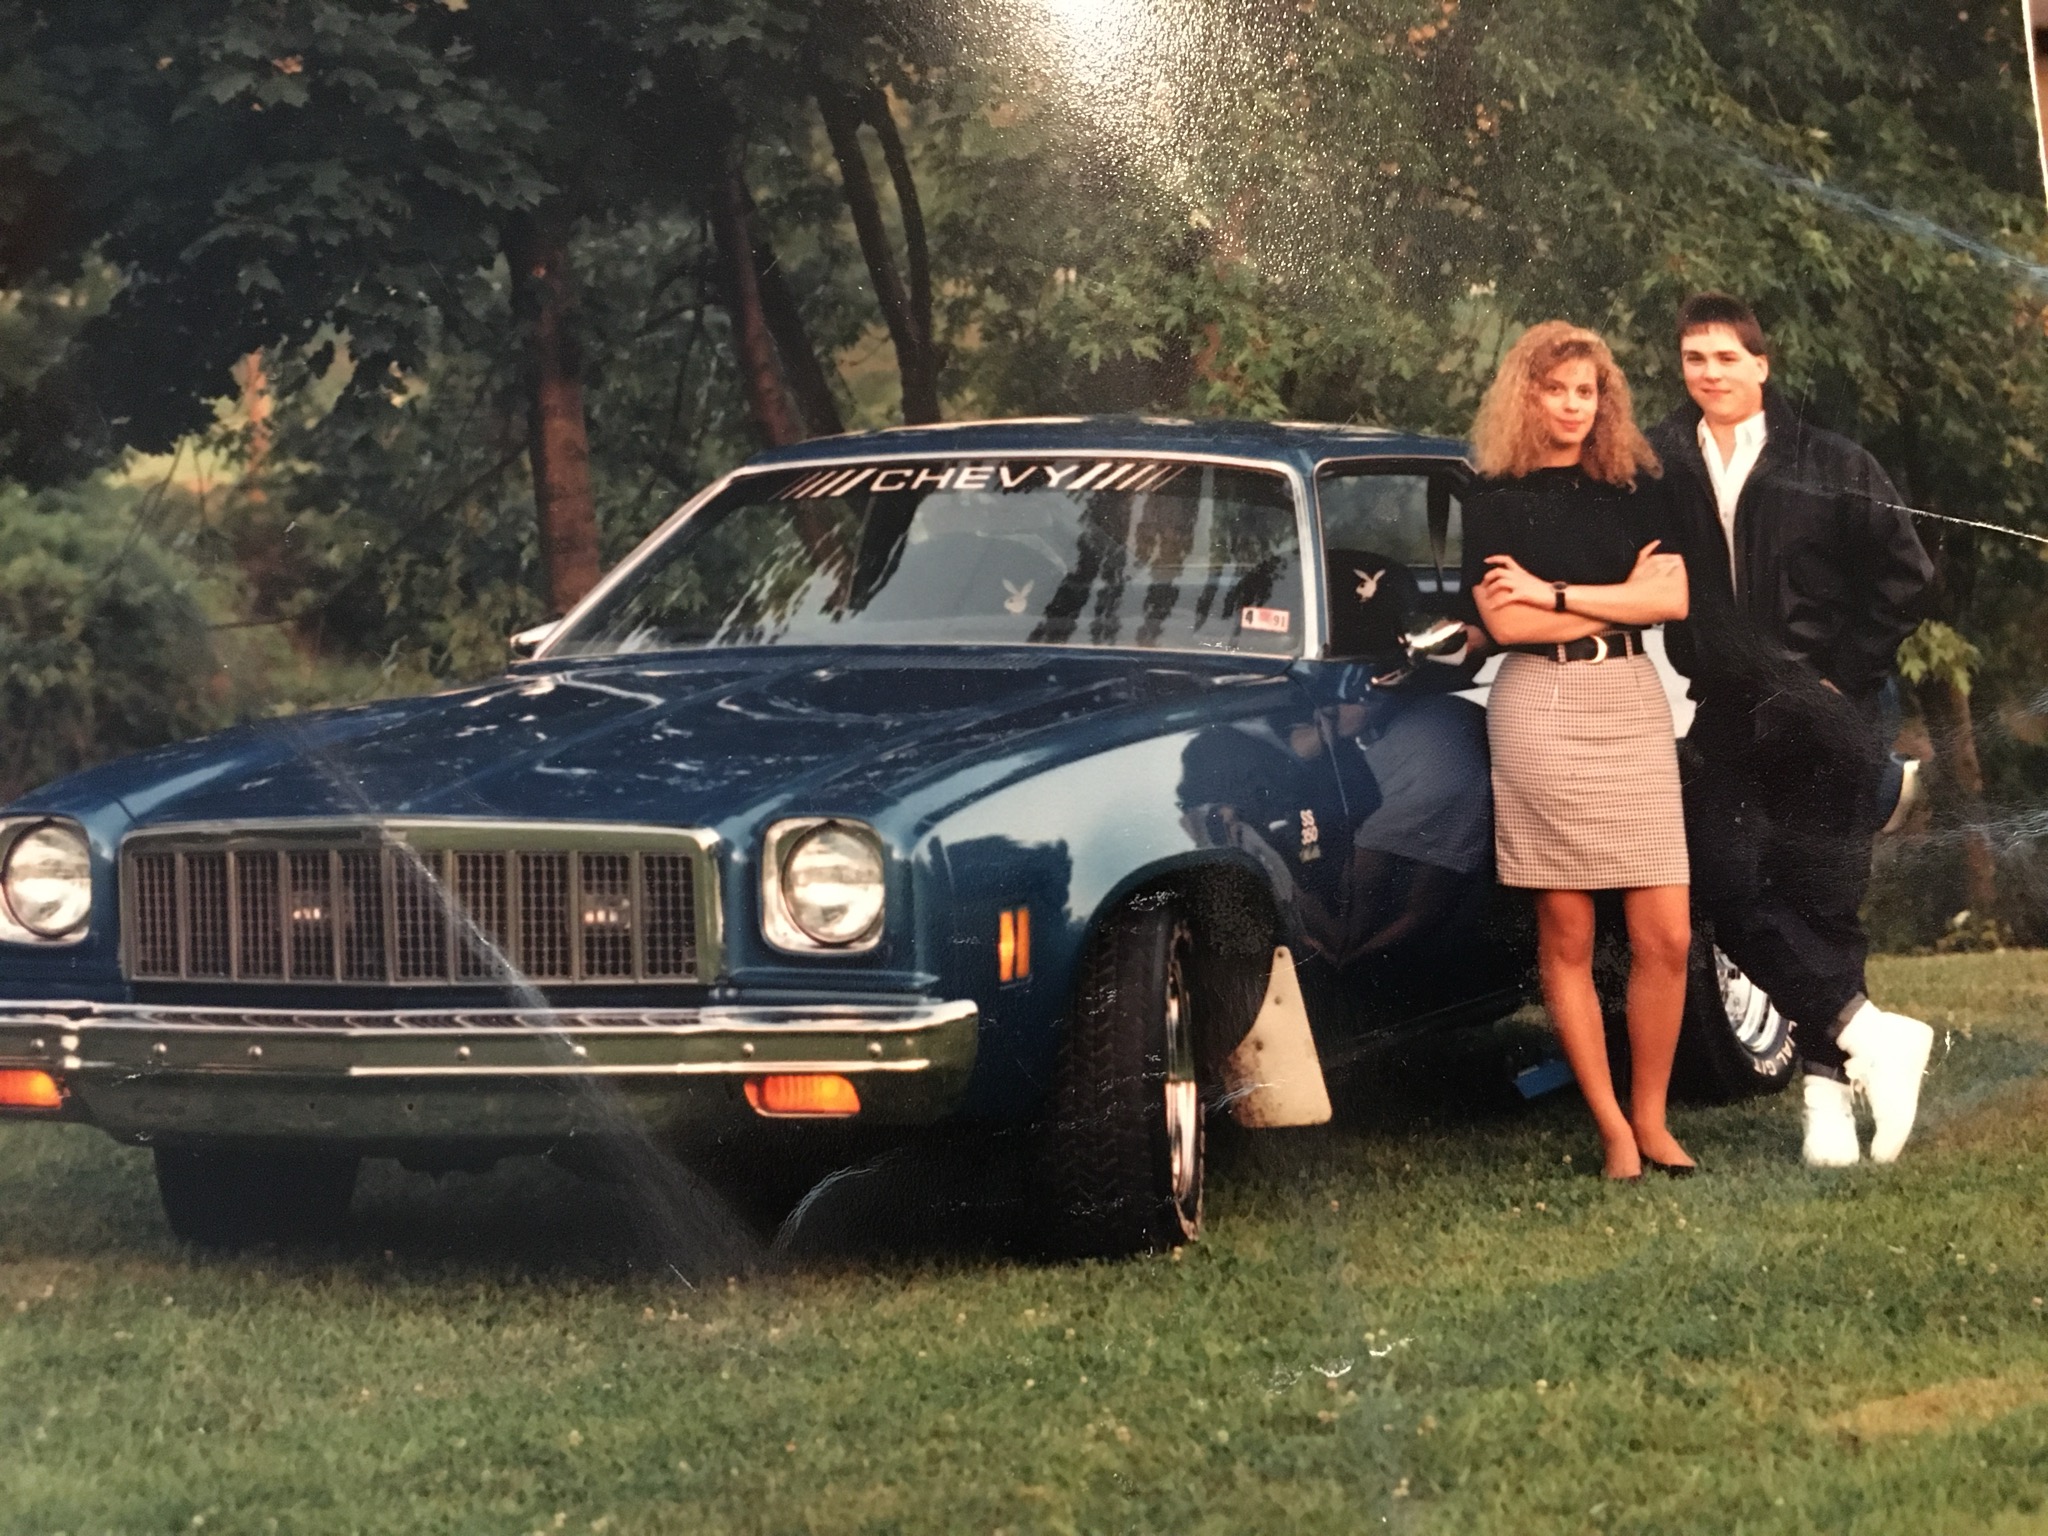
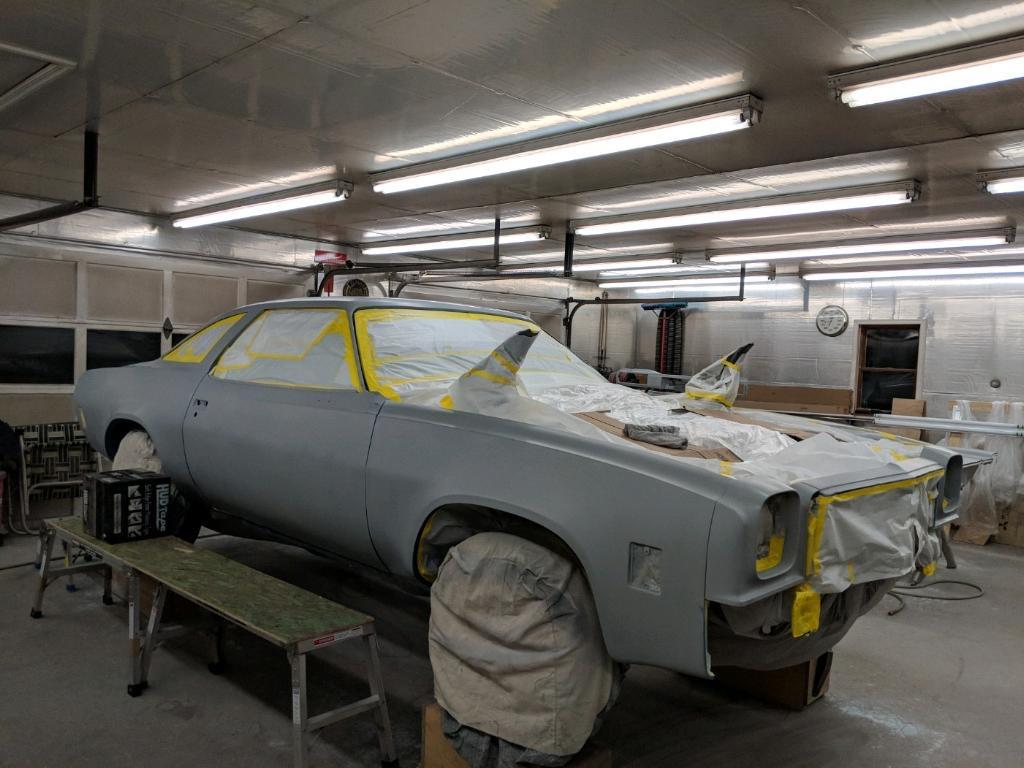
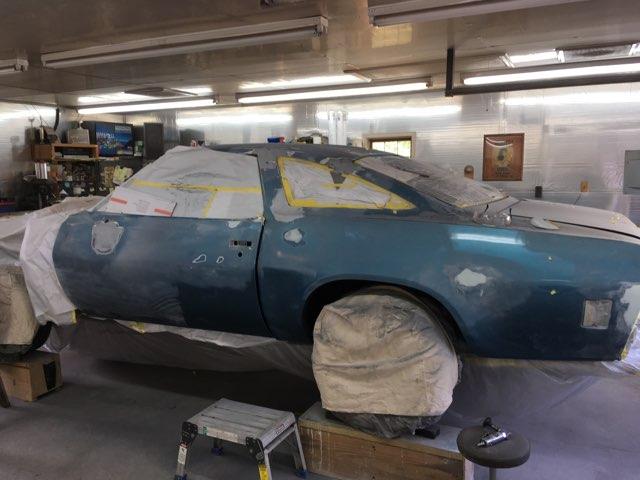
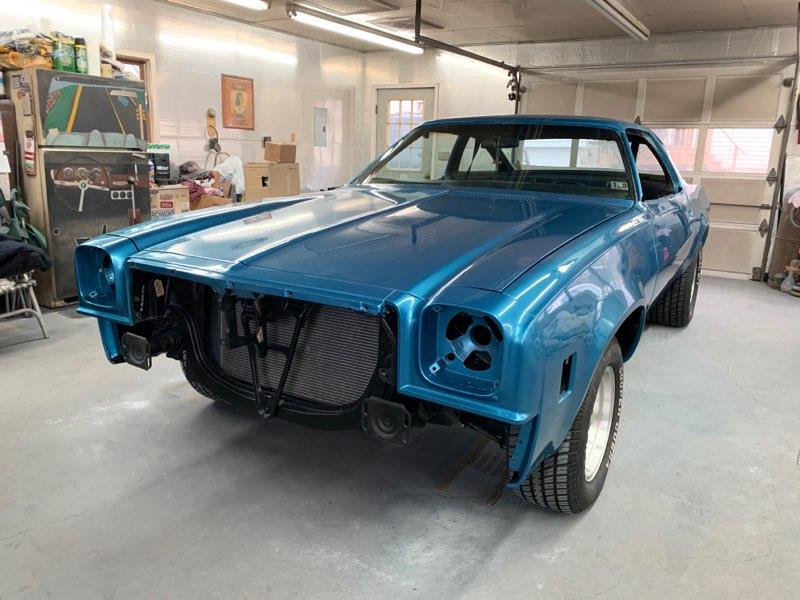
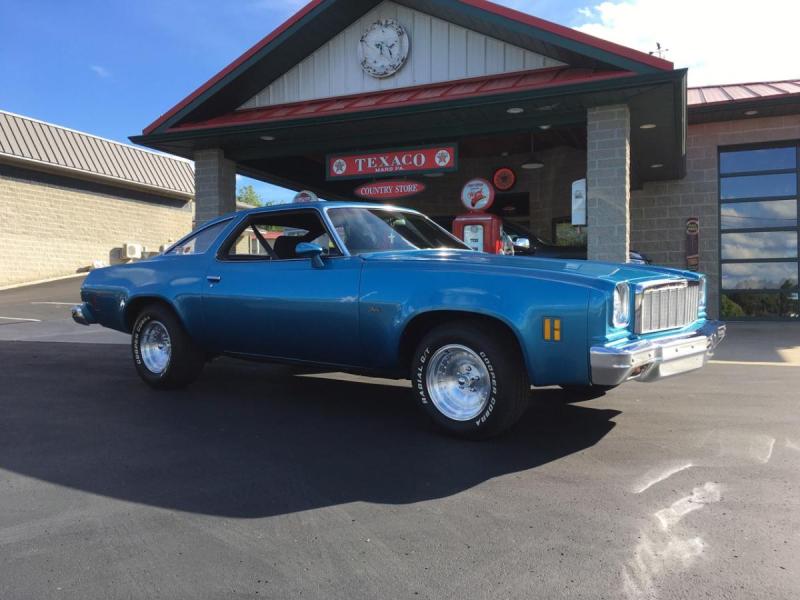
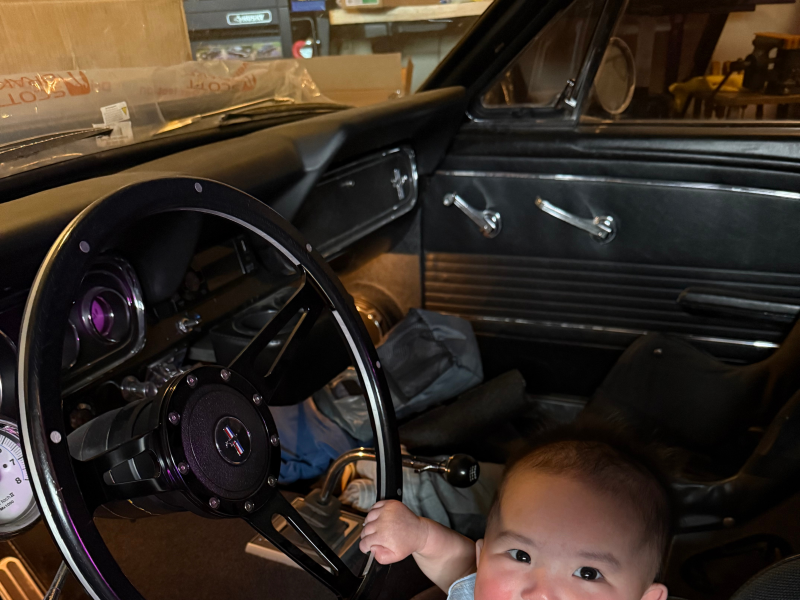
Mark Wolfe | Wexford, PAThis is my original (daily driver) High School car, a 1975 Chevy Malibu/Chevelle. I owned it from late 1989 to 1992, when I sold it. I located it in Frederick, Maryland in 2009 (yes, my original ‘75, VIN verified). It took me seven years to purchase it back from the third owner in June 2016. My son, Mark, and I started to tear her apart in 2018 and had it completed just before Christmas 2019. It needed a lot of love when purchased back. I observed that some of the performance parts/tach & gauges I installed back then were still on the car. I am a 33-year Police Veteran which made it a little easier to locate my old blue friend. lol.
What's really special about this ‘75 Chevelle is that it's the car I owned when my now wife and I were dating in High School. I drove this car in the winter and delivered pizza in it back in the day. It’s just a power steering and brake car only with no creature comforts. Upon purchasing it back, she needed the rear end rebuilt along with wheels, tires, hoses, and all brakes, which allowed me to actually drive it and enjoy it for a bit before tearing her apart. The original 350 was still in the car, which I had rebuilt in 1990 after suffering an oil pressure loss going to school one morning. I learned this car was redone at a shop back in 2006, but all that body work had popped back out and needed redone. It would have been cool if my original Cragar SST rims were still on it, which I sported back then, but they’re now replaced with American Racing Outlaw One's.
It's now powered by a Blueprint 383 Stroker and rebuilt 350 transmission. It has a stock rear end rebuilt with Richmond 3.42 gears and an Auburn Posi unit from its original highway 2.56 open rear end. Pretty much everything from front to back was replaced. It was a frame-on restoration along with my now ASE Auto Technician son. I did have an old friend finish the body and paint work; the car is still blue today, painted to its original GM paint code 26 "Poly Blue". It was a darker solid blue back when originally purchased in 1989. The interior was completely redone as well. The carpet, package tray, and rear seat were reupholstered and SCAT bucket seats added.
About 98% of the parts were located on eBay, and similar websites due to many companies not making ‘73-‘77 Malibu aftermarket parts. A lot of my parts were NOS/OEM such as the grill that came from a seller out of Canada. The radiator support, bumpers, turn signals, and taillamps all came from different states.


Season 20: Episode 2
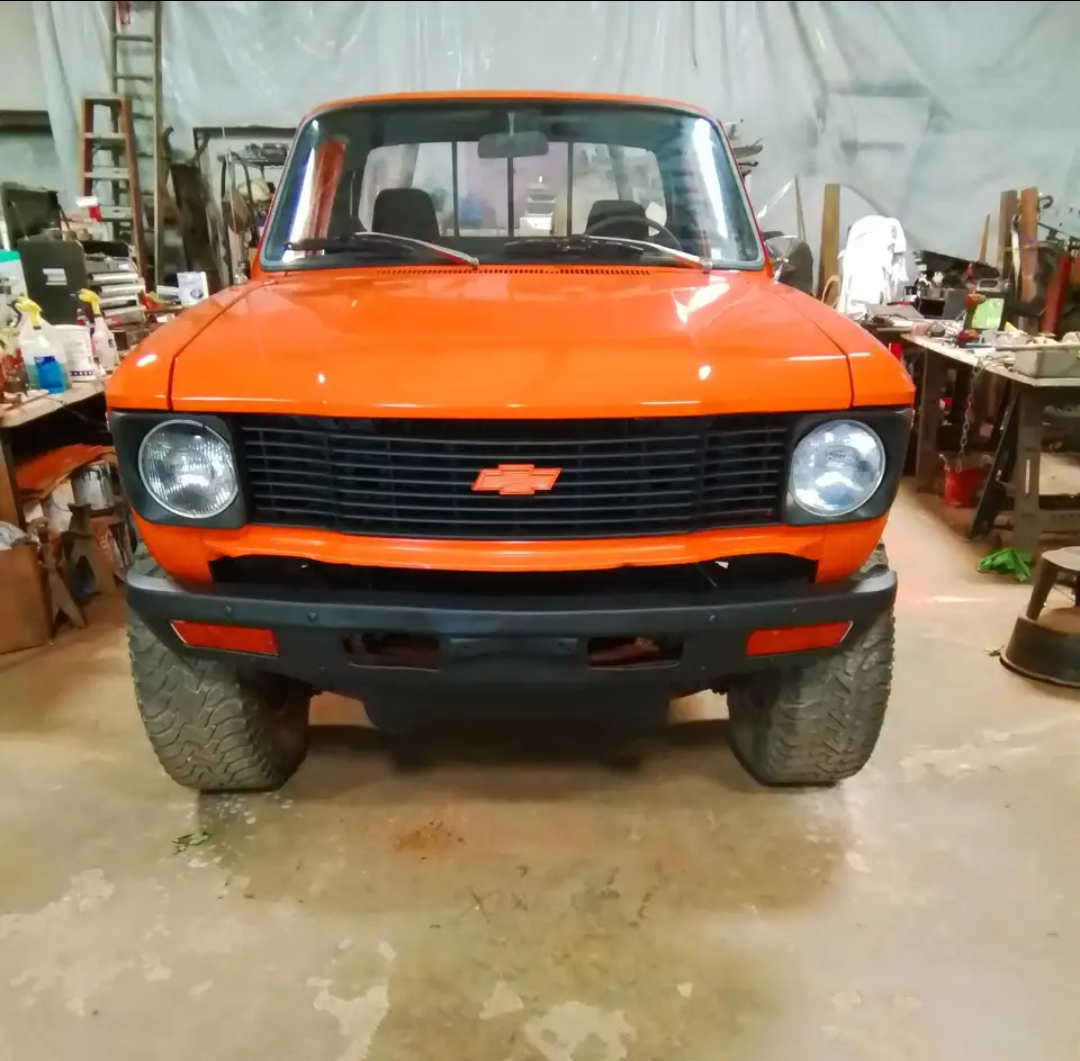
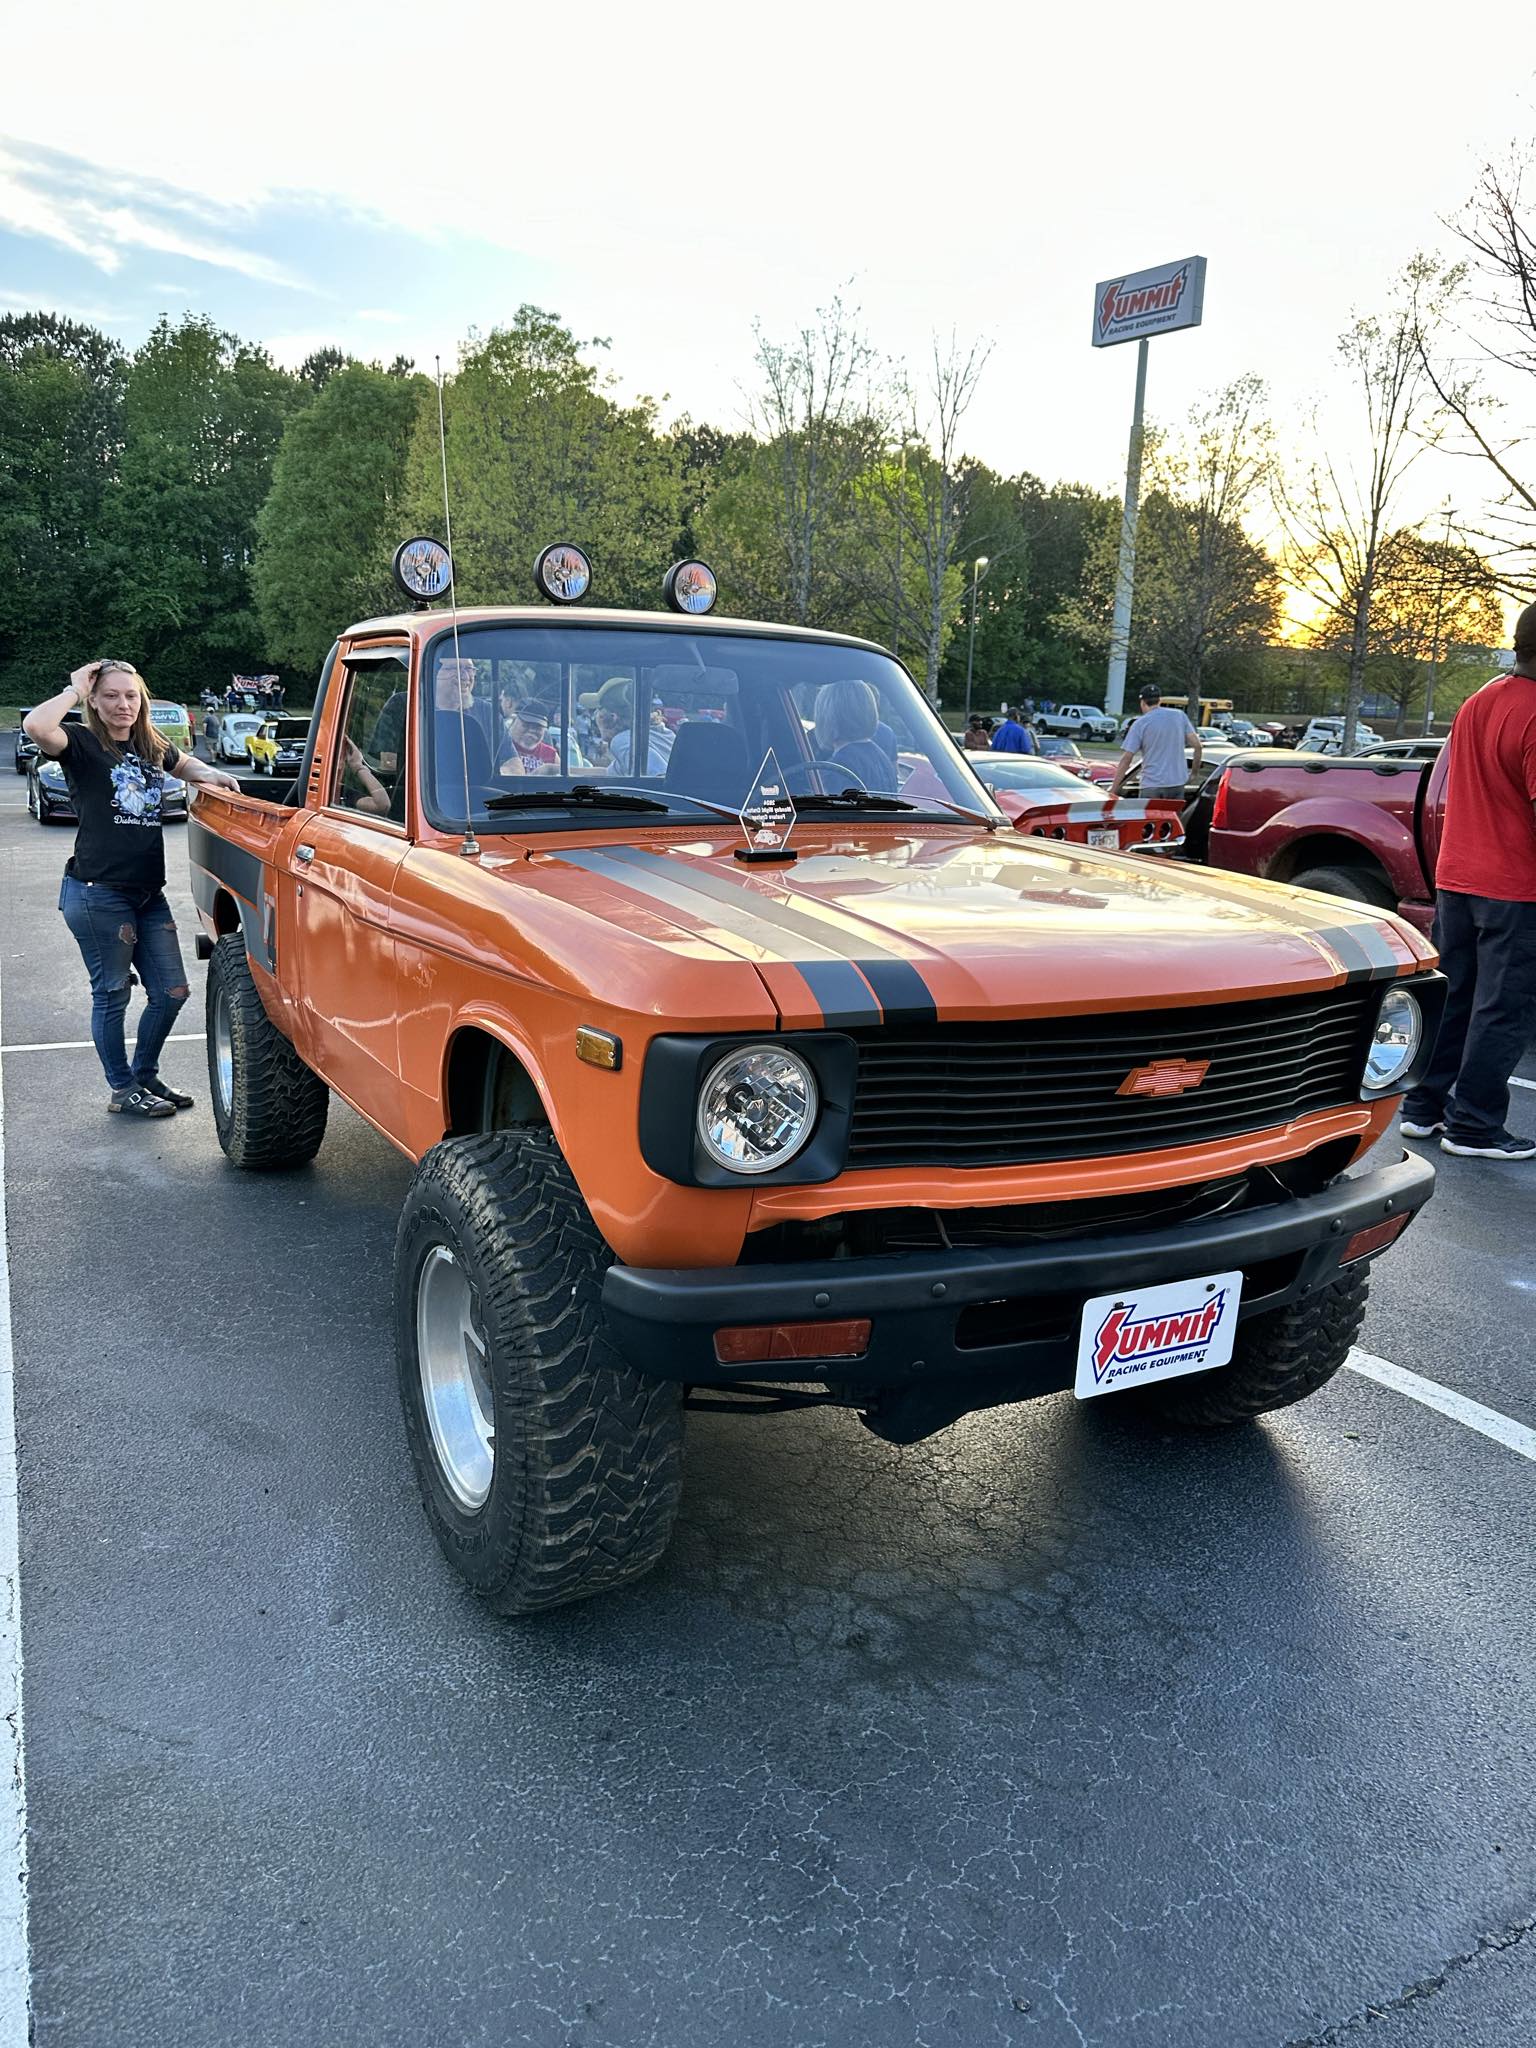
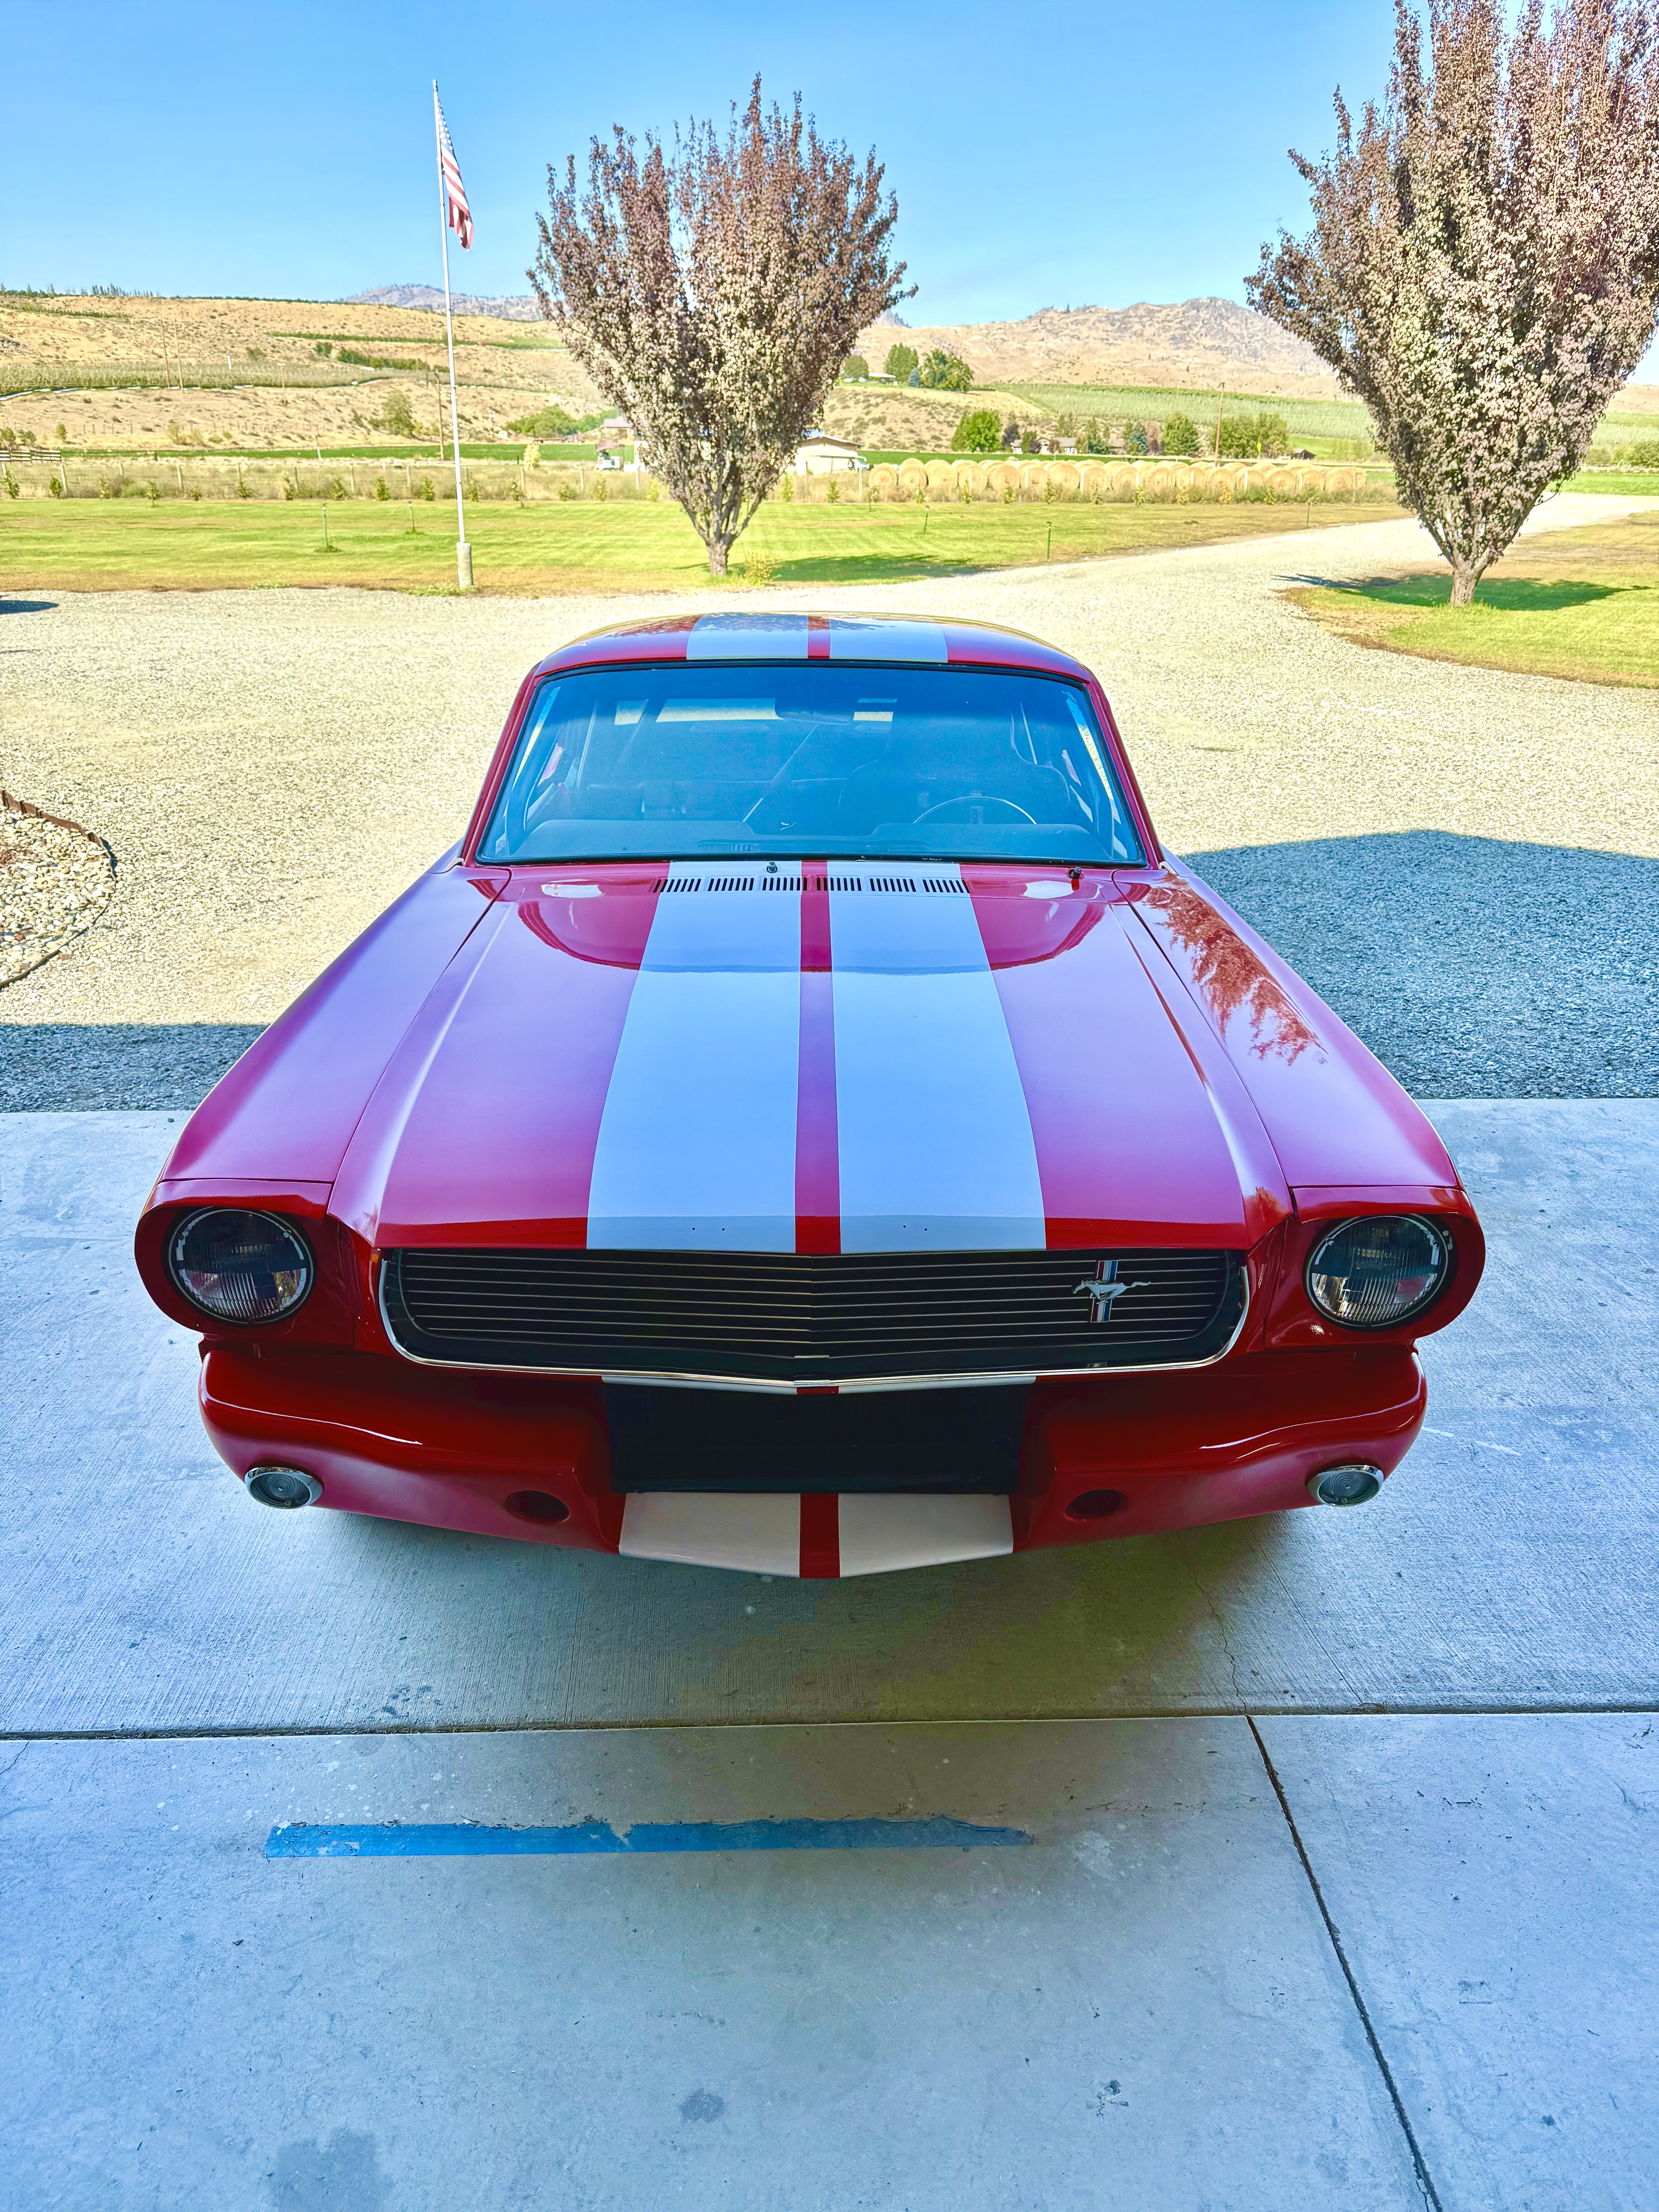
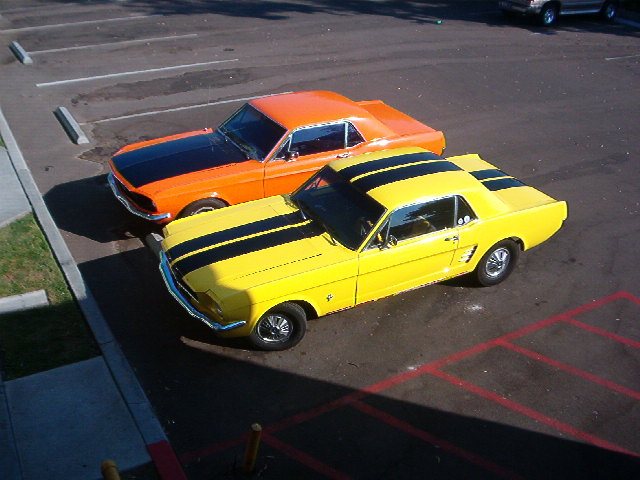
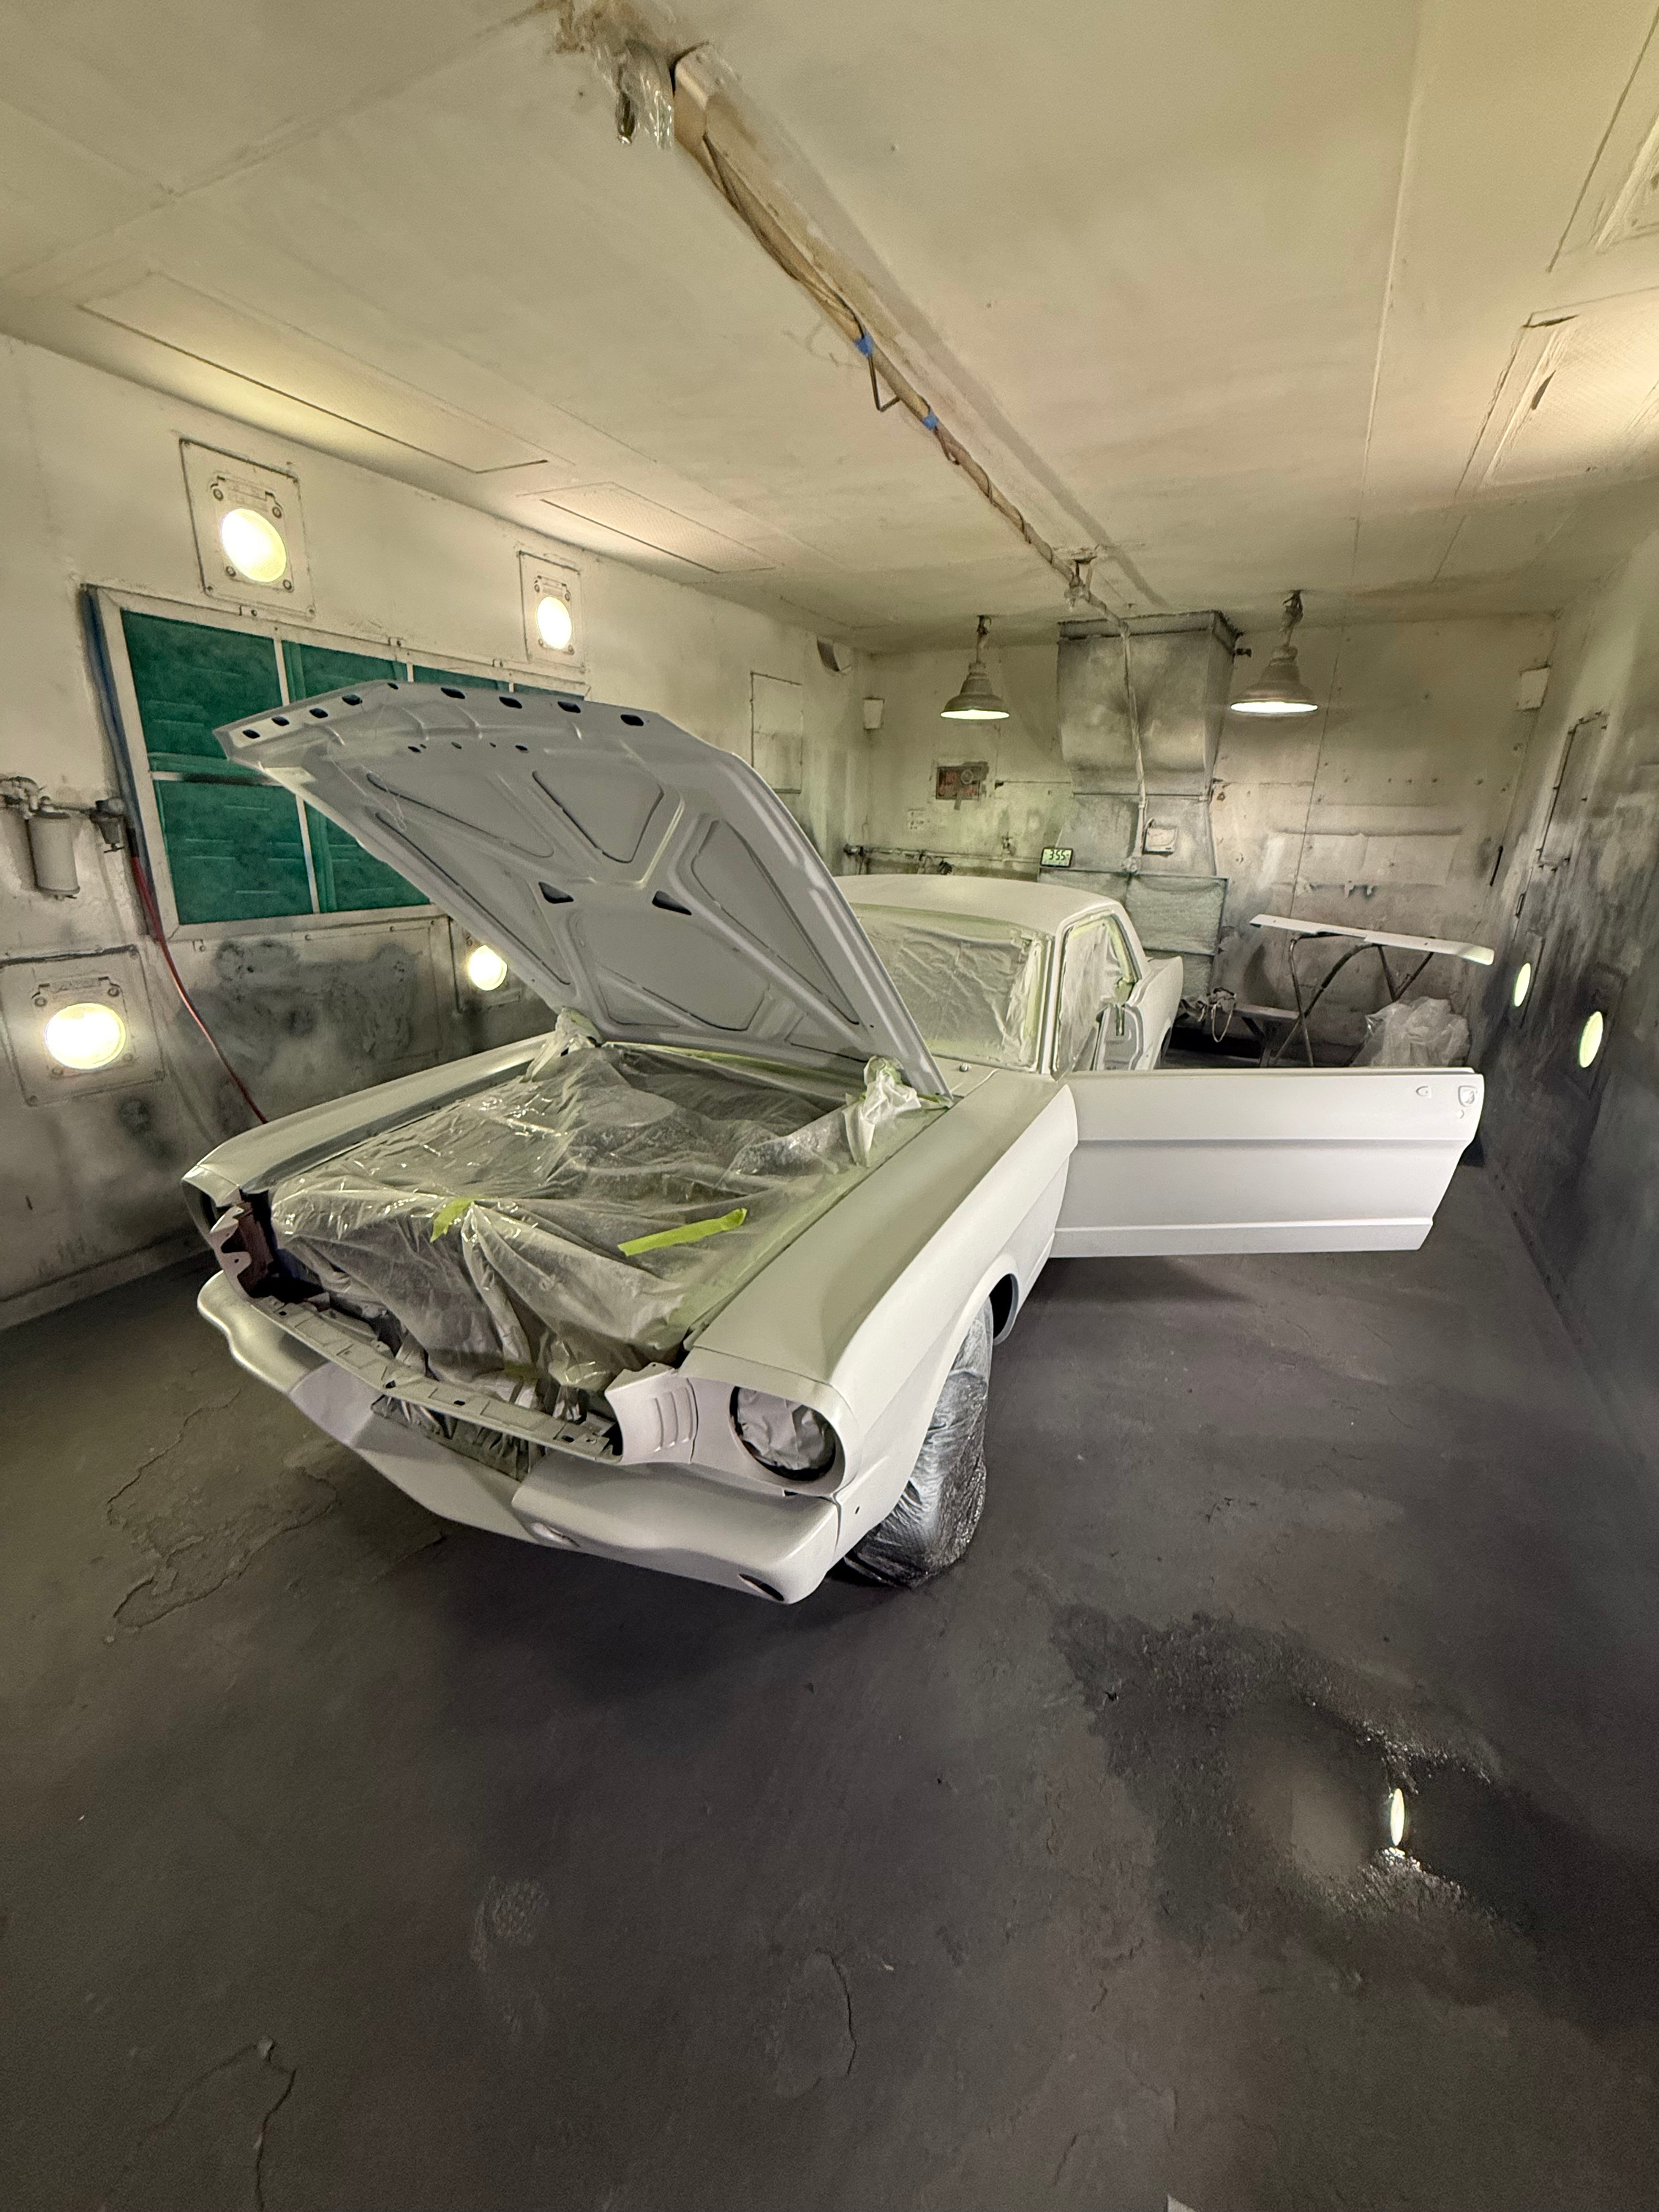
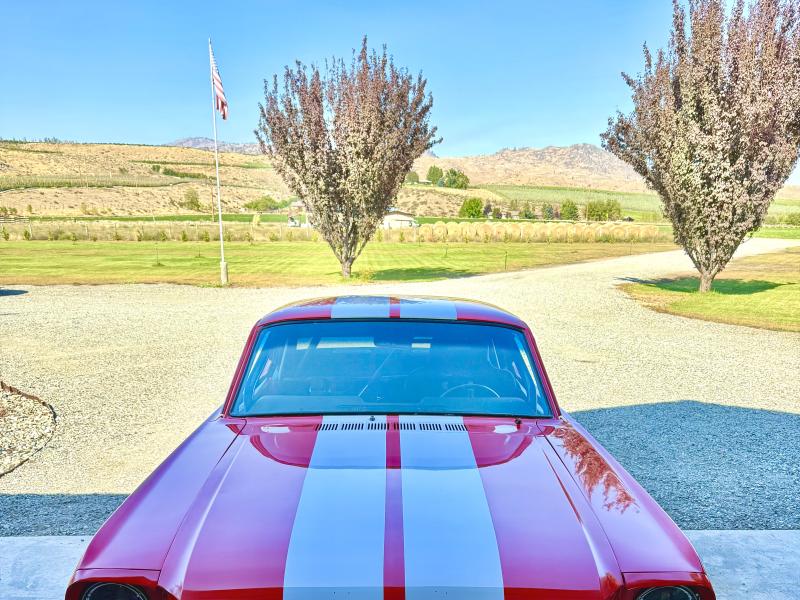
Michael Arthur | Okanogan, WAThis was my first car in high school back in 2003. My dad (who passed away in 2024) bought it for me as a beater for $2000 from someone who pulled it all apart and couldn’t put it back together. We had to drive it across Phoenix in the summer heat, stopping every 5 blocks to clean silt out of the carburetor. It took forever, but it was a great first bonding experience, of many more to follow, with my dad. He picked up a $900 1967 200-powered Mustang for himself so we could cruise together. He painted them in a rental booth – mine yellow and his orange. He taught me bigger isn’t always better and set us up in our little sixes for a lightweight, zippy runabout. We put on things like headers and distributors, channeled air where we could, and upgraded the cooling. We installed dual master cylinder brakes and anything to squeeze out any performance.
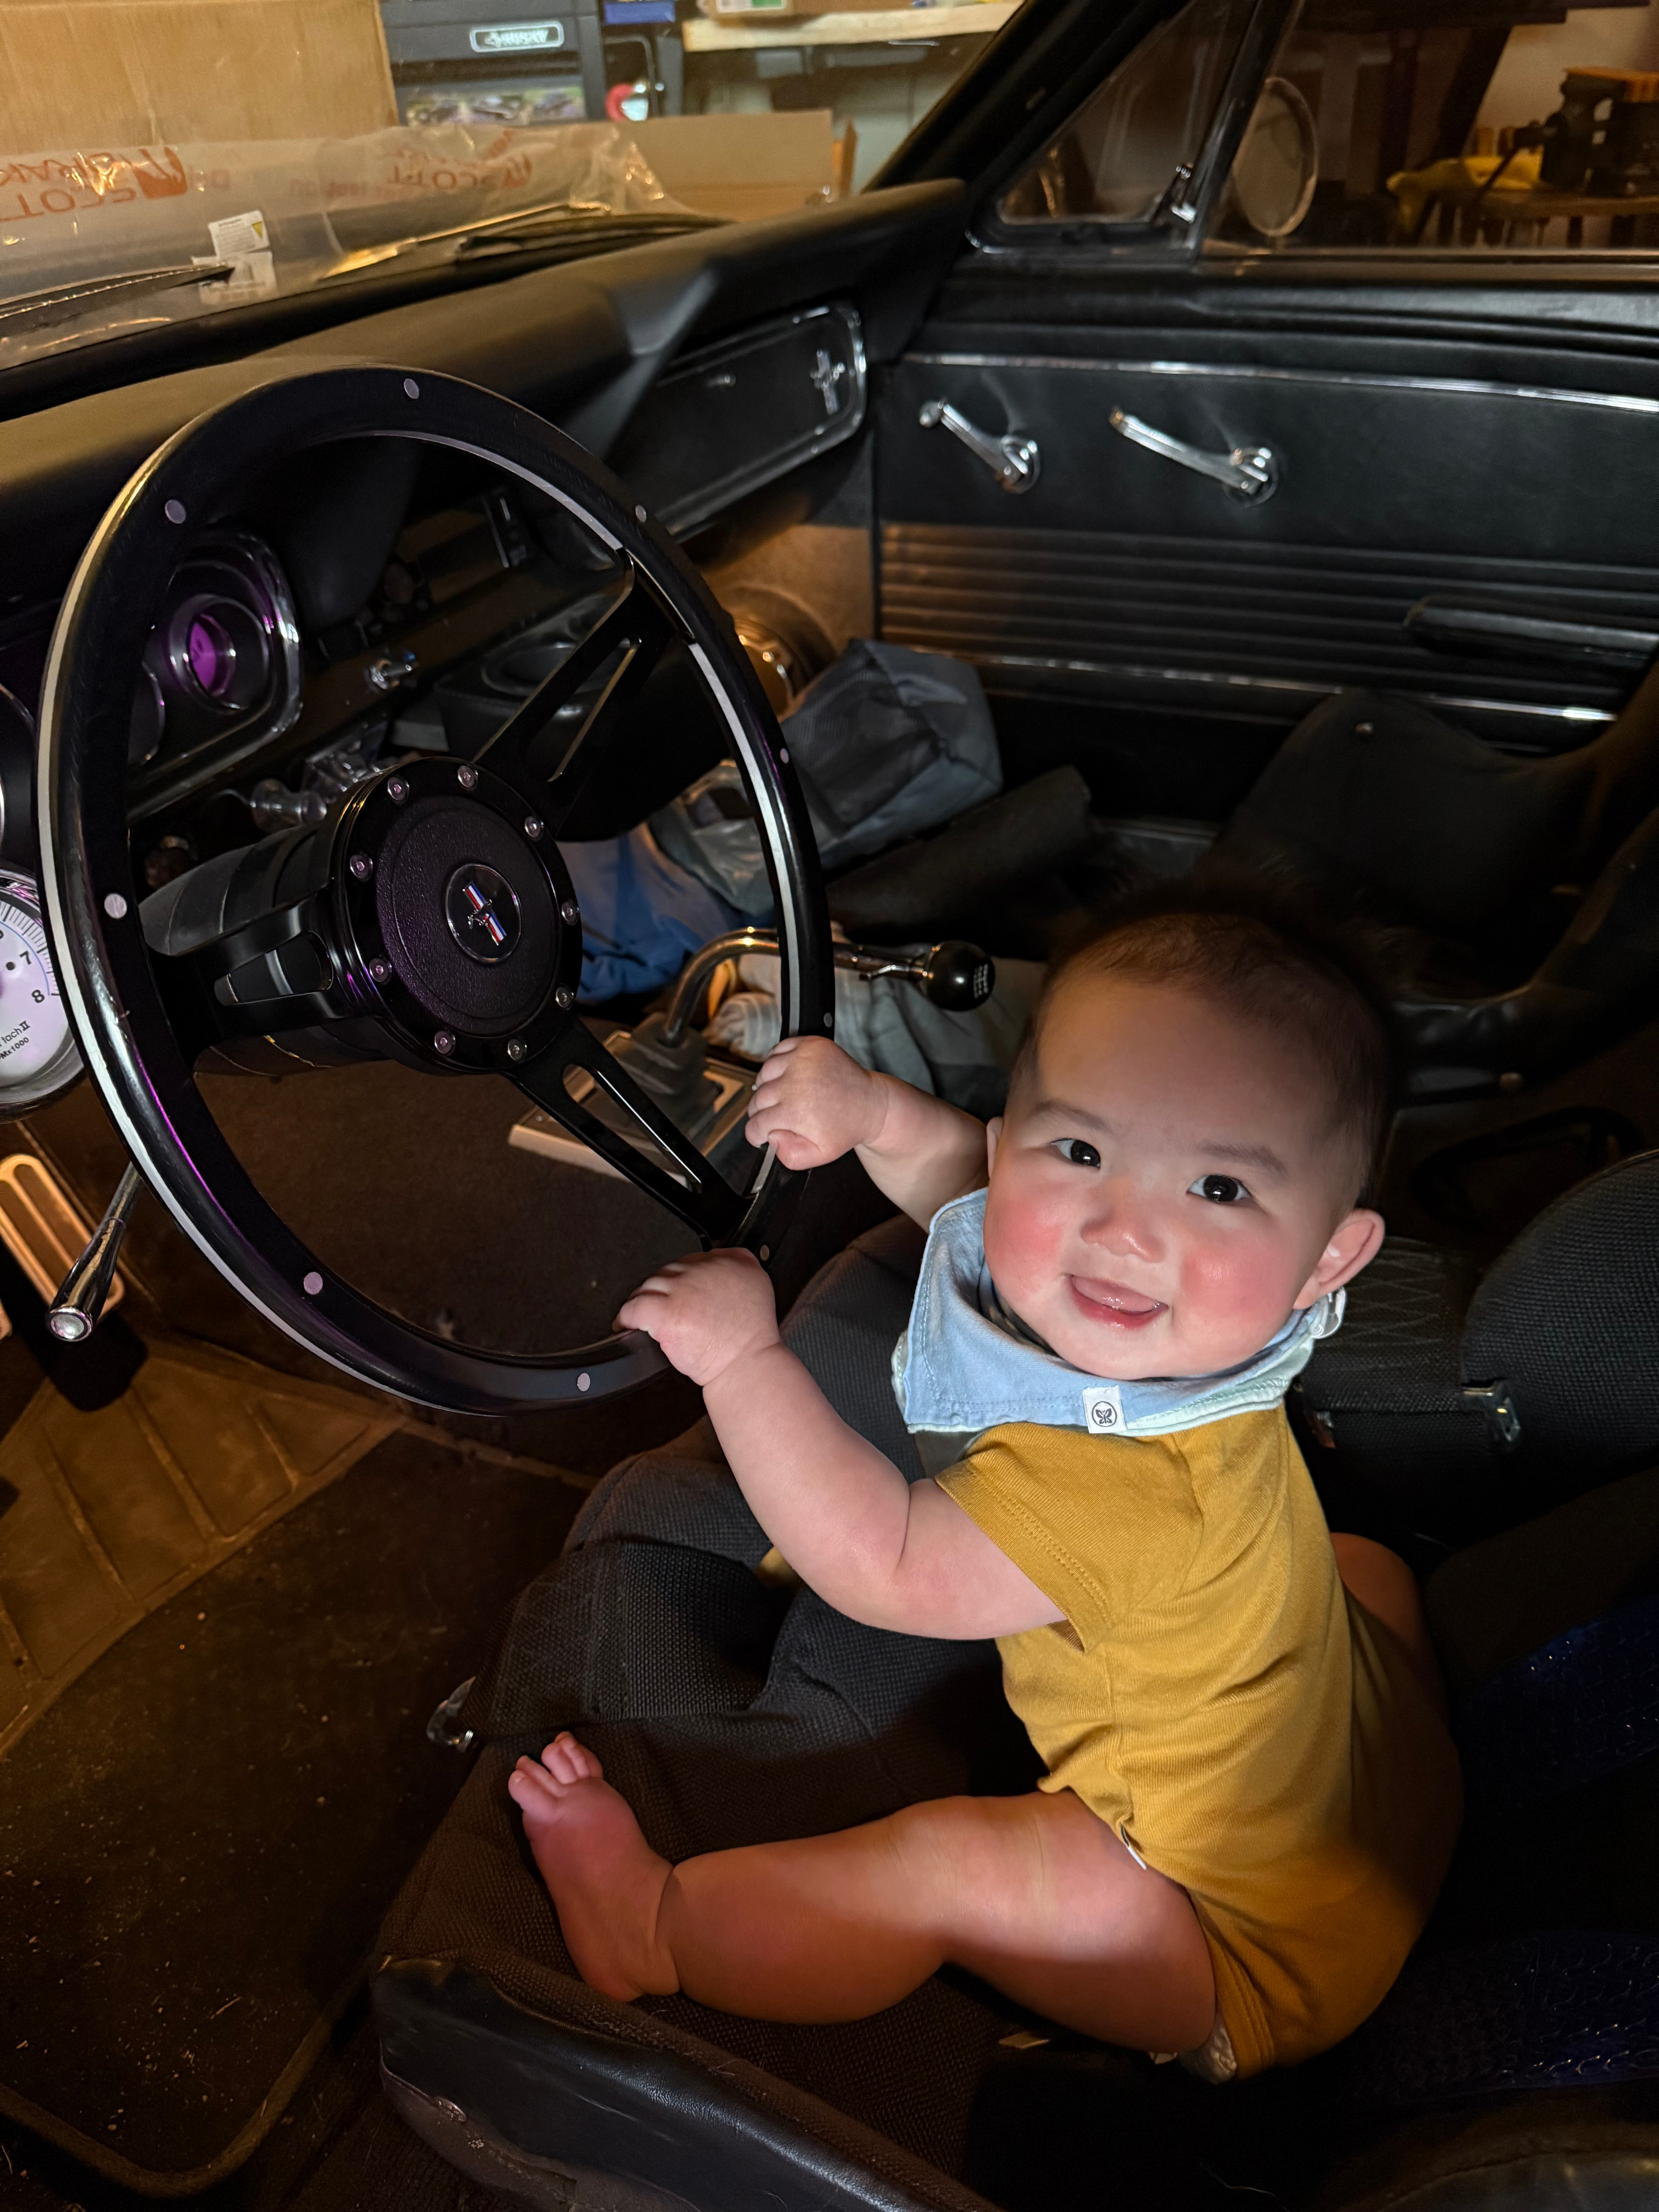
After I went through school, college, and my jobs as an aerospace engineer, the Mustang sat on the sideline deteriorating until 2023. I finally had the time and place to restore it in preparation for my new baby girl who came in 2024.
The car is important in so many ways, is full of memories, and is now a generational item. I can’t wait to take my daughter for rides!
It’s a 6 cylinder and I plan to keep it that way! I have rebuilt the entire car from the ground up, doing 100% of the work myself using skills my dad taught me (he was an aircraft mechanic and ran a British motorcycle restoring shop). I upgraded all the suspension to modern parts where possible while keeping it cost effective. I’ve done things like the Shelby drop, bigger sway bar, rear sway bar, roller spring perches, and cut springs. I put in a Ford Racing T-5 and a custom diaphragm clutch and disc from McLeod. I added power disc brakes and more leaves to the rear springs. I installed a DUI distributor with coil pack and a custom curve. Currently it has a Holley 2300 2-barrel carb and a 3-row radiator, all pumping through 6-into-2 headers thru a 2-1/4” glass pack dual exhaust. It sounds meaty for sure!
The interior has a full roll cage from when I track raced in high school / college and still has racing seats.
I also sanded, prepped, and painted it last summer (2025) myself. I rented a paint booth over the mountains in Seattle and trailed the Mustang with my Toyota for a weekend spray event. It was quite the challenge juggling the cure times of each paint stage! But it came out great - red with white racing stripes.
I am waiting for an aluminum cylinder head to come in the mail for extra power.
Now I just need to find some nice comfy seats so I can take my daughter for a ride!

Season 20: Episode 1
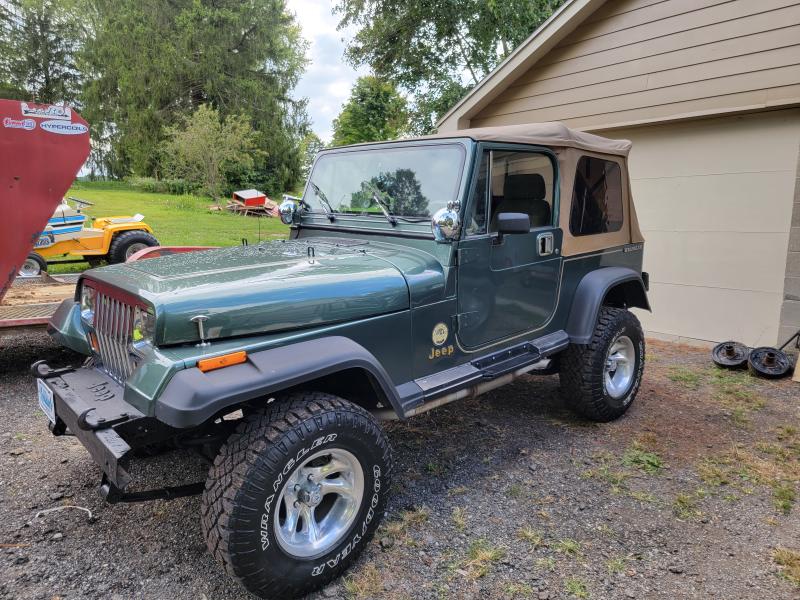
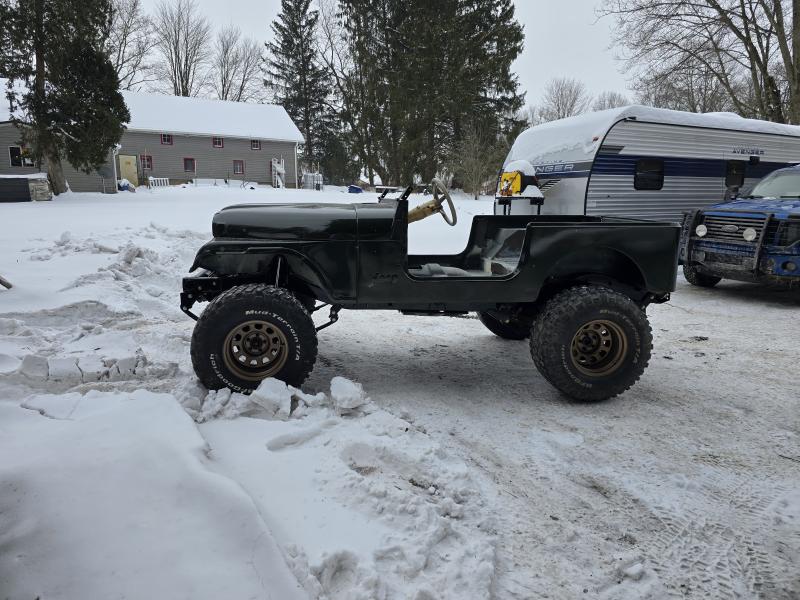
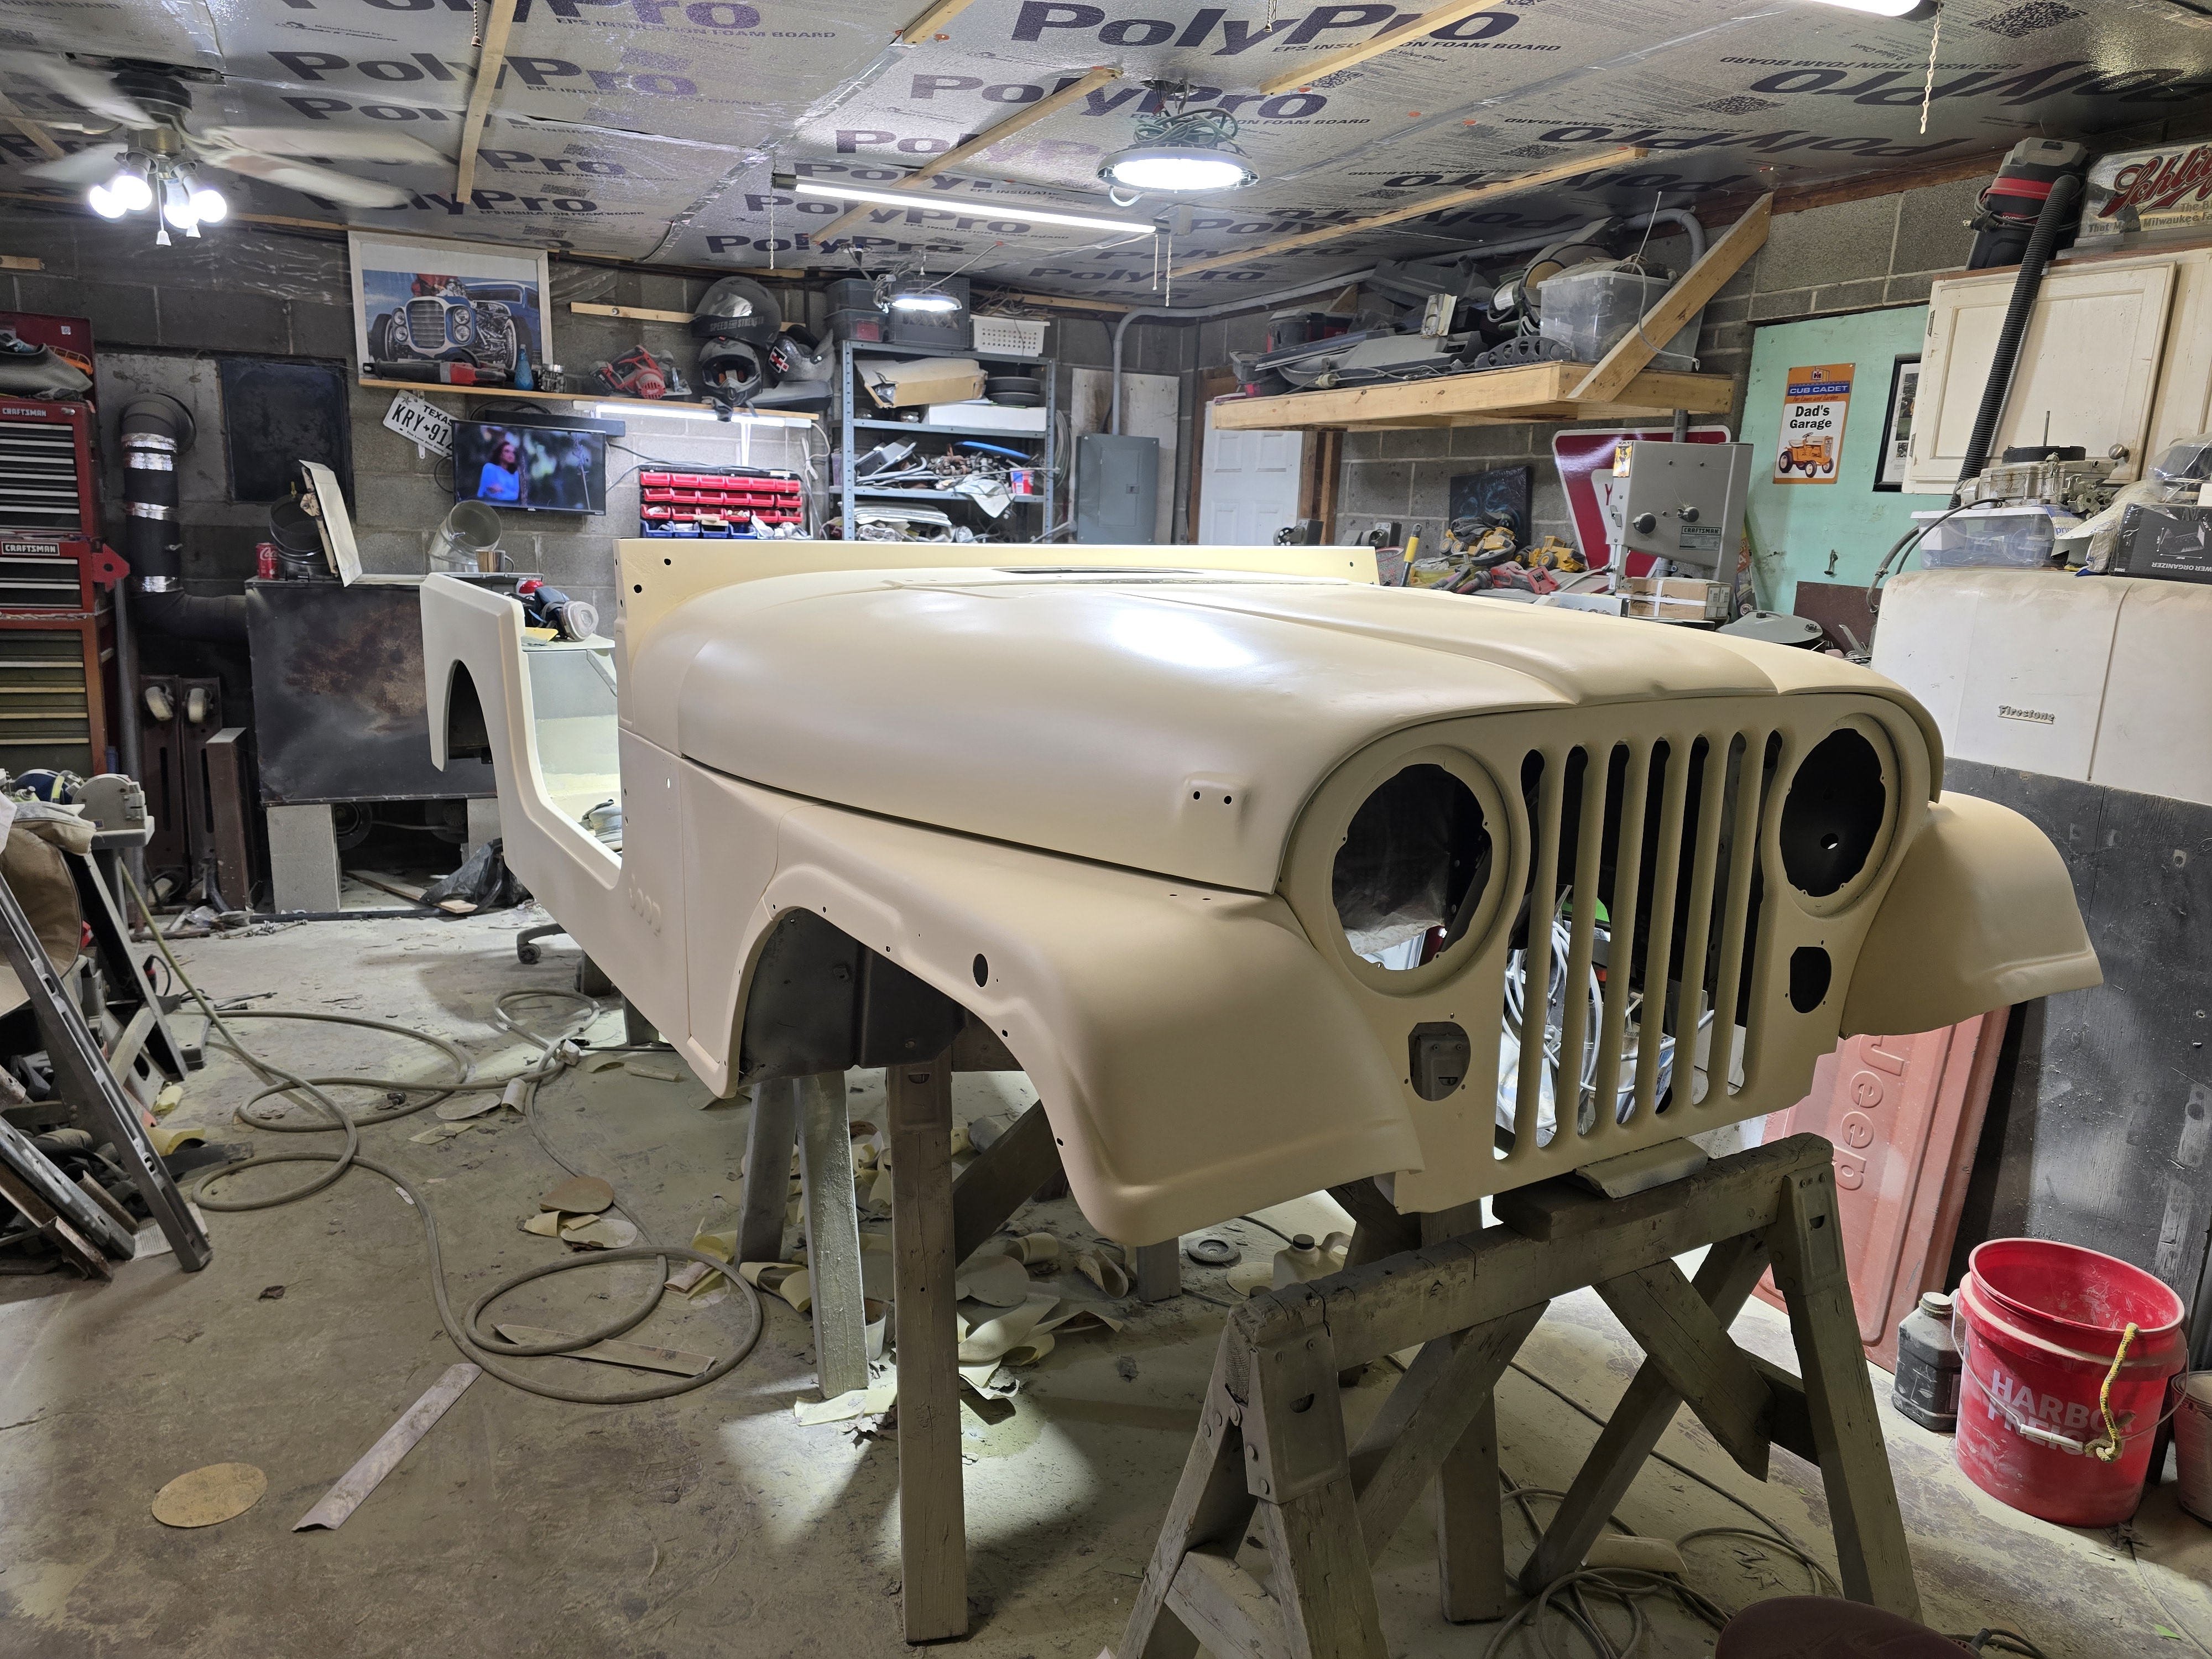
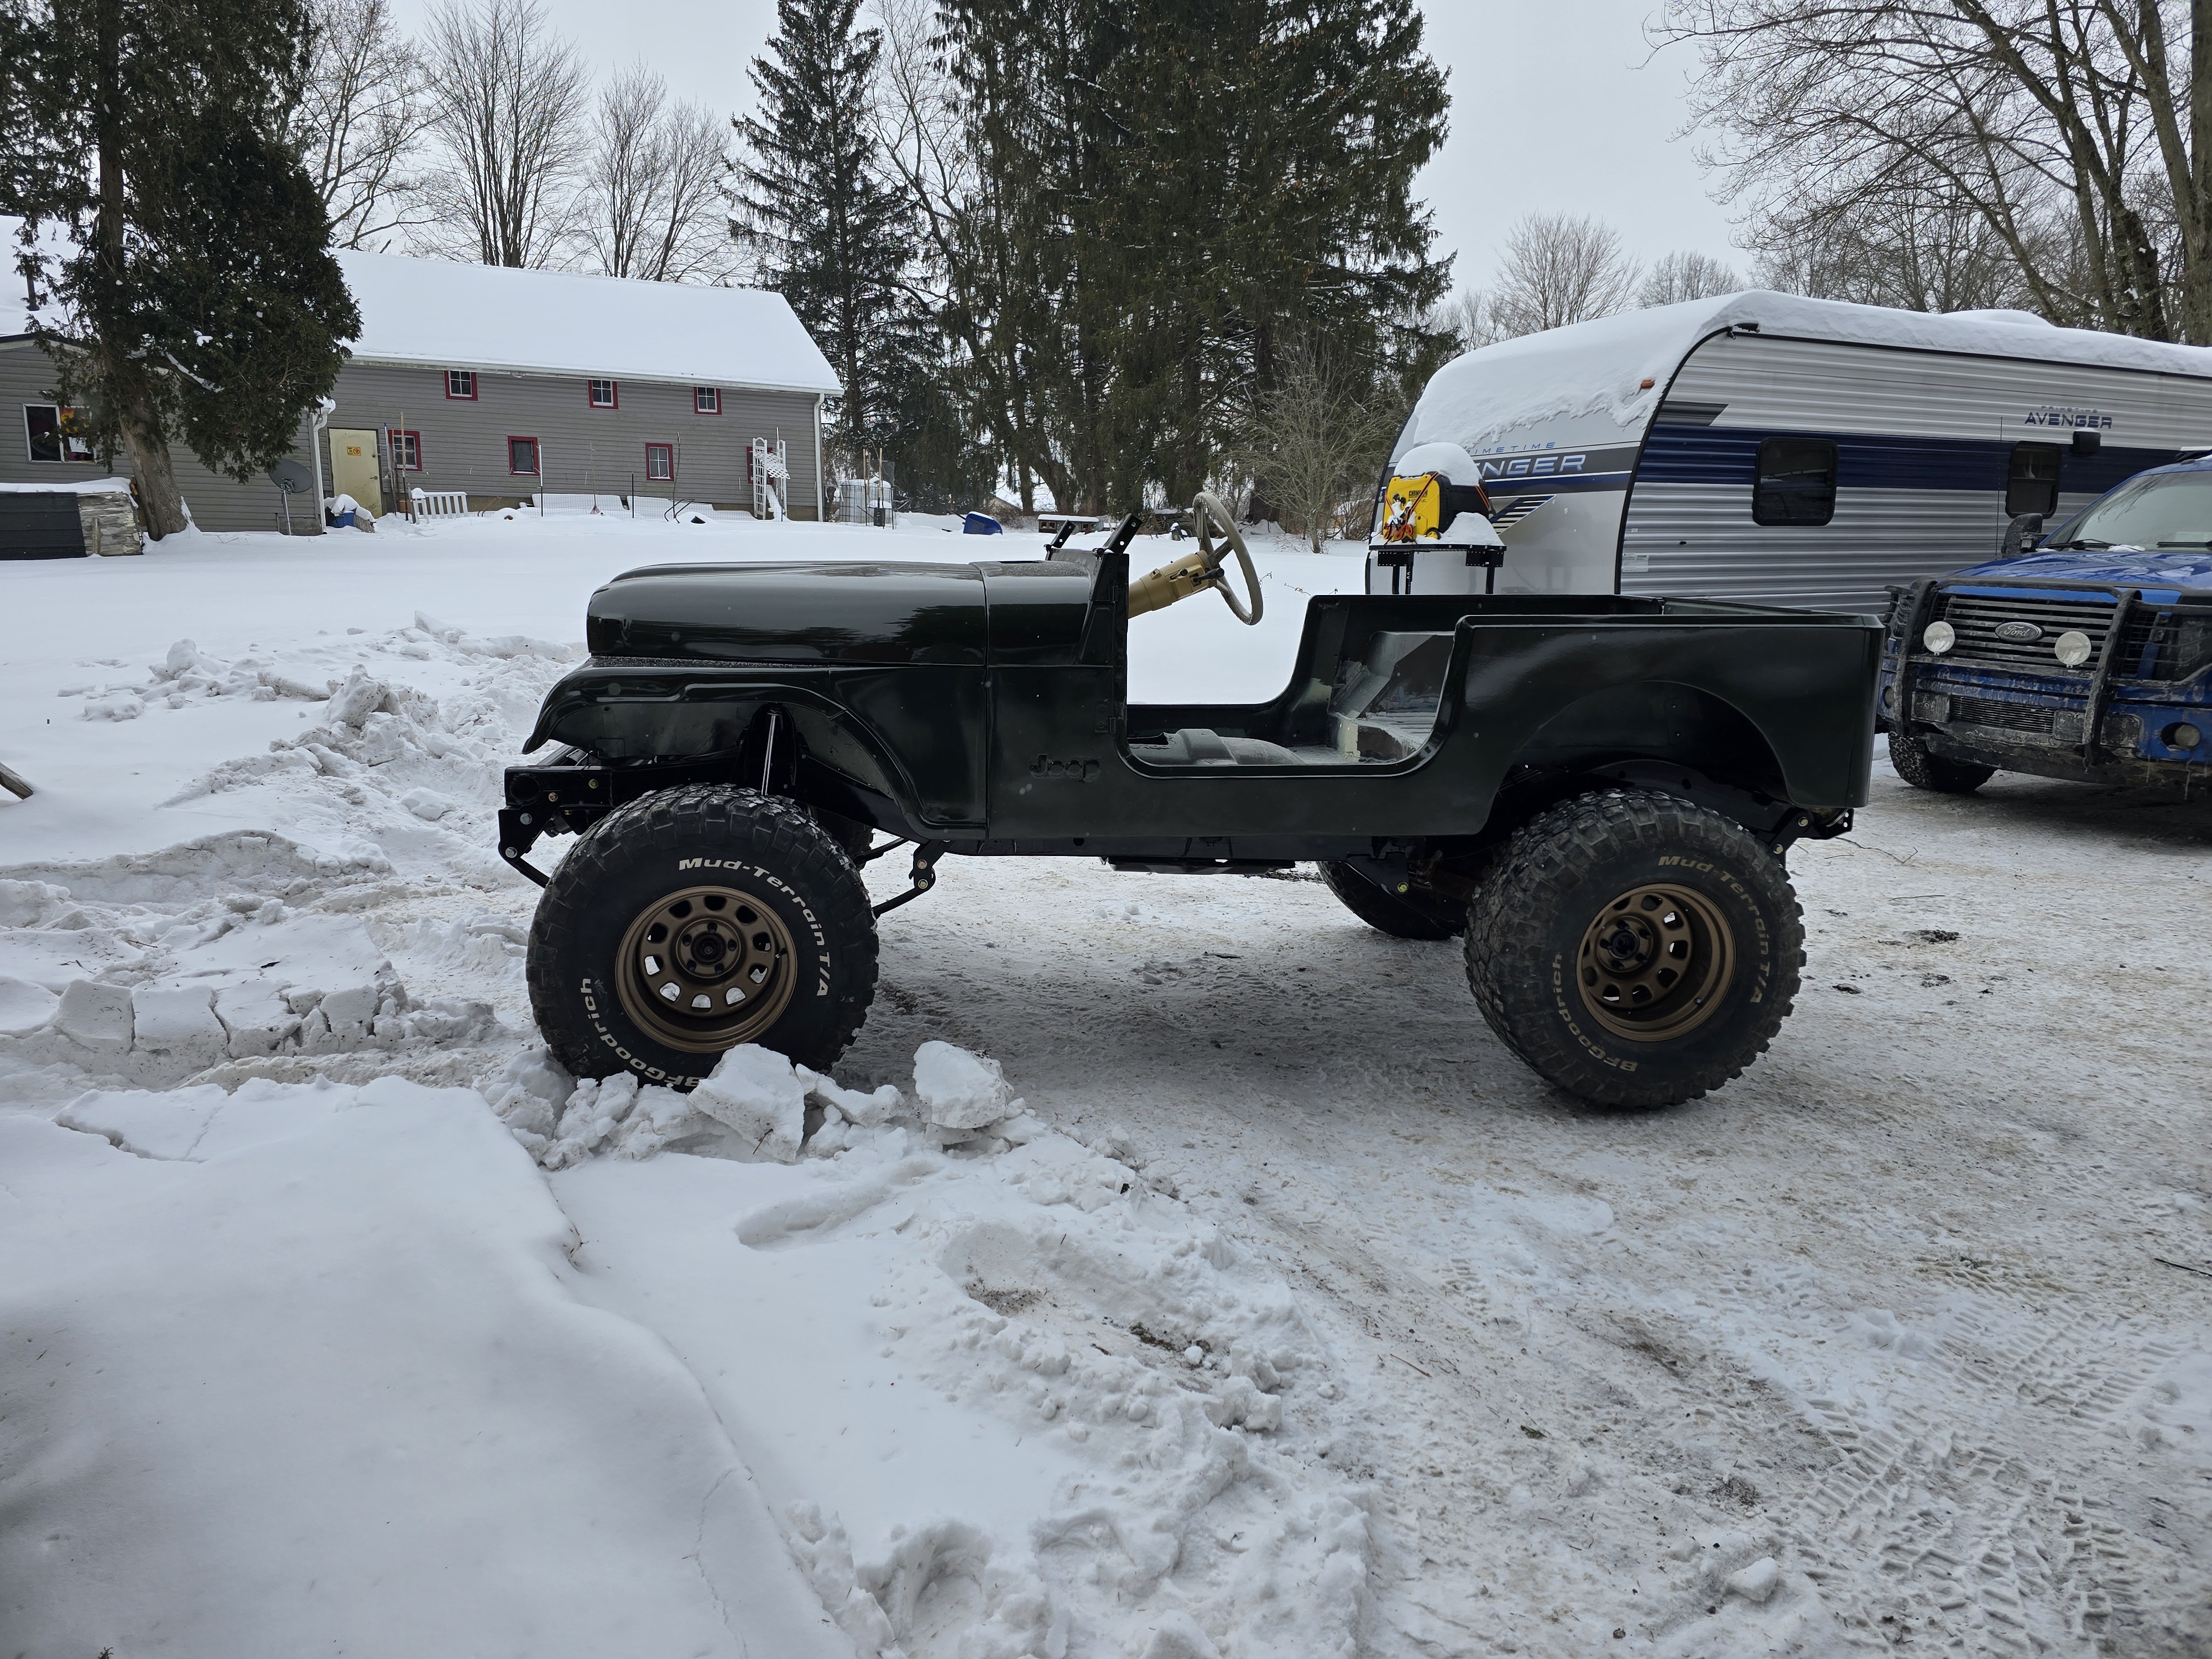
Andrew Phillips | Burghill, OHWe all have that one hotrod that we saw as a kid that just doomed us with the eternal itch to be a gearhead. For me, the first time I saw a Jeep CJ7 with a v8 and side pipes roaring down the highway, I knew I'd have one someday. Fast forward to 2023, I finally got my first Jeep Wrangler, an ‘88 YJ. Though not my dream CJ7, it was a step in the right direction. Immediately, I put a 350 Chevy under the hood and side pipes and began living my childhood fantasy. After two summers of absolute fun and countless smiles per gallon, the original A999 transmission gave up the ghost. The time had come. I was getting my CJ7.
But, what to do with the YJ. It held a little sentiment in my heart being the first 4x4 drop top I owned. BINGO! I will turn that into my CJ7. I started gathering parts and coming up with a plan to build my dream Jeep. It had to look like a CJ7, and it obviously needed a V8. It’s 2026 and the hot rod world is no longer carburetors, drum brakes, non-overdrive transmissions, so it had to be modernized. So, from the ground up was the way to build it.
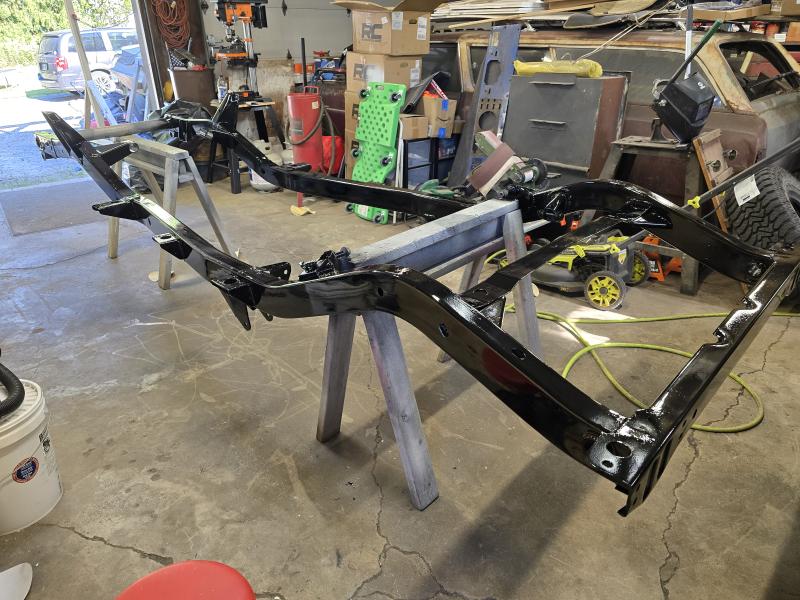
I started with a rust-free frame, a 4.5-inch lift kit, and some much-needed upgrades to axles and steering. A Ford 8.8 from a ‘95 Explorer gave me a hefty rear end, 3.73 limited slip, and disc brakes - PERFECT! The front end needed the same kind of love. The factory Dana 30 would stay, but a shackle reversal, steering box relocation, and a crossover steering would be the ticket to a comfortable and reliable ride from a straight axle. Now, how to make her scoot? The automatic transmission was dead, and well, 3 pedals are cooler. So, a Jeep 5-speed manual transmission and the factory transfer case would give me 4-wheel drive and overdrive. Power comes from an LS built by a local race shop using all kinds of goodies.
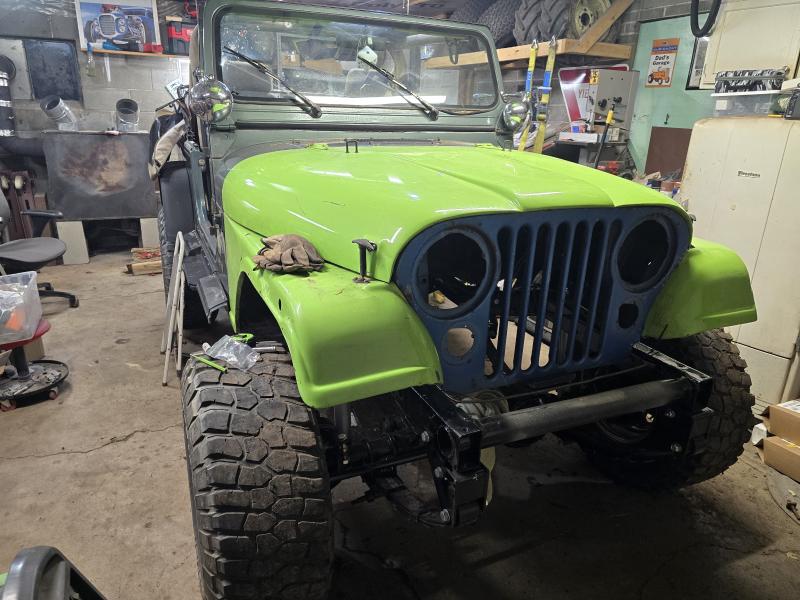
Cosmetics were next. I had square headlights, and Jeeps aren't supposed to have those. I was able to source a CJ7 front clip from various marketplace sellers, and a tailgate from a junkyard. After hours and hours of rust repair and retrofitting a cj7 front end, tailgate, and dash, I finally have my CJ7 lookalike, I call it my YJ7. By the time you're reading and reviewing this I'll be in the final assembly stage of the build: new custom fit and upholstered seats from a local shop, body and paint by myself, I'll have the coolest Frankenjeep in town!